🔧 Ball End Mill Speeds and Feeds Calculator | CNC Guide
Dial in RPM, feed, local surface speed, and chip thinning for CNC finishing and 3D contouring
| Material | SFM range | Chip load | Note |
|---|
| Operation | SFM factor | Feed factor | Note |
|---|
| Step | Overlap | Chip thin | Contact note |
|---|
| Job | Dia / DOC | Length | Note |
|---|
A CNC ball end mill is use to cut three-dimensional contour, organic shapes, and mold. Because the cutting edge of a ball end mill is curved, the cutting edge does not engage in a straight line with the workpiece. The diameter of the cutting edge change throughout the cut.
If the person select the incorrect RPM for the workpiece, the tip of the end mill could stall. Additionally, if the feed rate is too high for the shallow stepover setting for the ball end mill, chip thinning will occur. Chip thinning cause the thickness of the chips to decrease, thus increasing the effective feed rate of the end mill.
How to Use a CNC Ball End Mill
The equator of the ball end mill present a challenge when cutting the workpiece. When the axial depth of engagement of the tool is shallower than half of the radius of the endmill, the effective cutting diameter of the endmill is reduced. Thus, deeper engagement of the tool with the workpiece is required.
If the operator does not increase the RPM at this shallow depth of engagement, the ball endmill will burn the workpiece. The percentage of stepover also affect the cutting process. For instance, a stepover of 10% of the endmill diameter will provide a smooth cut at the cost of aggressive chip thinning.
A stepover of 30% of the endmill diameter will allow for deeper engagement of the endmill into the workpiece, and is useful for roughing molds. However, using such a stepover with a long reach endmill will cause vibration. The types of material that is to be cut will dictate the RPM and feed rate for the ball endmill.
For instance, aluminum allow for deep, fast passes with the endmill at surface speeds between 300 and 900 sfm. In contrast, stainless steel and titanium has much lower recommended surface feet per minute speeds, typically to 40 sfm. Other materials, such as woods and composites will have other appropriate settings for the endmill.
Additionally, the number of flutes of the endmill can also indicate the type of material that will be cut. For instance, two flute allow the chips to exit the endmill when cutting softer materials. However, three and four flute endmills are use for metals.
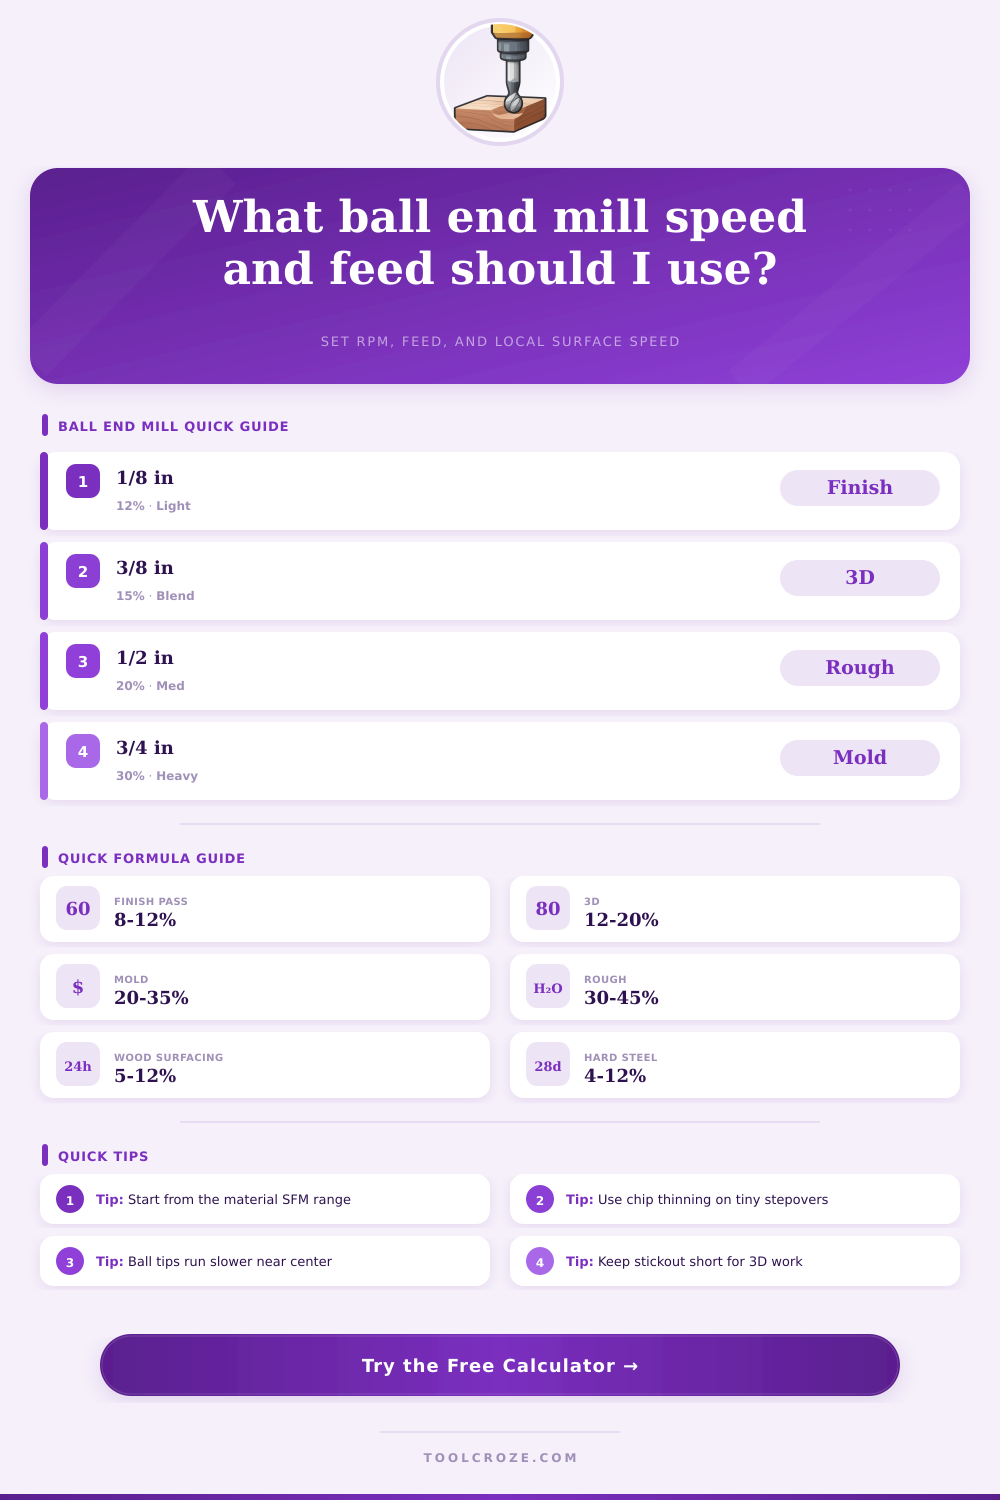
A calculator can help the operator to determine the appropriate settings for the ball endmill. For instance, the operator can ease the feed rate by 10% during the finish pass of the endmill. Additionally, when cutting aluminum with a 1/8-inch ball endmill at a stepover of 12% and with a light axial depth, a conservative surface speed should be use.
If the axial depth is increased, however, the local diameter of the ball endmill will increase, thus reducing the RPM that is required of the endmill. The feed rate of the ball endmill when cutting aluminum typically starts at 0.0025 inches per tooth. However, this rate must be adjusted for chip thinning.
Common error include ignoring the stickout of the endmill. For instance, long reach endmills will deflect when cutting deeply into the workpiece. In this case, the operator can reduce the stickout of the endmill or the stepover can be increased to 15%.
A second common error when using ball endmills is to chase the maximum chip load for the workpiece. The tip of the ball endmill travel at the slowest speed. Thus, if the feed rate is increased at the tip of the ball endmill (where the speed is the least), chatter will result.
The equator of the ball endmill travel at a faster speed than the tip. Cycle time can be a factor in the speed and the finish of the workpiece. For instance, using a two flute ball endmill to cut a four inch contour at 18,000 RPM and a feed rate of 20 inches per minute will take the endmill less than three minutes to perform the cut.
If the stepover is doubled to 25% for roughing passes in walnut, the chip thinning that occur will reduce the feed rate, thus halving the cycle time. However, the finish will not be as smooth as if the endmill followed such roughing passes with a cleanup pass. Preset buttons can save the operator time when programming the ball endmill.
For instance, preset buttons can be set for specific materials. For example, a button can be set for a specific stepover for hardwoods. These presets are not absolute; the operator must still adjust for the radius of the endmill and the flute count.
For instance, even if the axial depth is limited to the radius of the endmill, the local diameter will change when the axial depth is changed. Environmental factor can impact the cutting process. For instance, the type of coolant used can change the chip load that should be set for the ball endmill.
Flood coolant is use for aluminum; mist coolant is use for acrylic to avoid melting the workpiece. Additionally, wear on the taper that connect the endmill to the spindle can reduce the RPM of the endmill by as much as 5%. Additionally, vibration in the spindle from unbalanced rotors will increase as the speed of the endmill increases.
Finally, the way that the workpiece is secured to the machine will impact the cut. For instance, vacuum tables will flex under heavy loads; rigid fixturing will allow the endmill to maintain its set feed rates. The chips that are removed from the workpiece will indicate if the settings of the ball endmill are correct.
For instance, if the chips curl, the setting are likely correct. However, if the workpiece edges turn blue, the feed rate is too slow. Additionally, if there is a built up edge along the workpiece, the RPM is too low.
If the workpiece has a wavy pattern on its surface, the stepover should be checked; if the local speed of the workpiece at the spot should be checked. Thus, by managing the stepover, axial depth and RPM, the user can ensure that the ball endmill accurately cuts the material.