Living Hinge Calculator | Slot Pattern and Bend Radius
Plan slot pitch, band width, and bend radius for living hinge layouts in plastic, plywood, and veneer.
| Size | Type | Wt | Hinges |
|---|---|---|---|
| Straight slots | Start | 12-18 lb | 2 |
| Staggered slots | PP | 18-28 lb | 2-3 |
| Honeycomb | HDPE | 35-55 lb | 3 |
| Serpentine | Serpentine | 60-90 lb | Wide hinge |
| Type | Rating | Use | Note |
|---|---|---|---|
| Straight | 30 lb | Thin | Quick test |
| Staggered | 40 lb | Balance | Even bend |
| Honeycomb | 25 lb | Start | Open cells |
| Serpentine | 70 lb | Wide | Free curve |
| Core | Factor | Best use | Hint |
|---|---|---|---|
| PP | 0.45 | Flexible | Thin duty |
| HDPE | 0.92 | ABS | Tougher sheet |
| Plywood | 0.82 | Display | Good flex |
| Oak | 1.00 | Serpentine | Best test |
| Project | Size | Load | Note |
|---|---|---|---|
| Start leaf | Straight slots | PP sample | Thin door |
| Box flap | Staggered slots | HDPE test | Balance door |
| ABS slab | Honeycomb | Arc layout | Curve test |
| Diamond lattice | Serpentine | Wide hinge | Serpentine use |
A living hinge is an pattern of slots that are cut into a rigid material to make it flexibely. By cutting a precise patterns of slots into a sheet of plastic or plywood, the sheets will be able to bend many time without breaking. Living hinges is used in many different items, from packaging lids to sculptural display.
The number of cuts that are make into the material need to be balanced with the thickness of that material. If the number of cuts is too low, the resulting material will not be able to bend. However, if the number of cuts is too high, the material will break into many small piece.
How to Make a Living Hinge
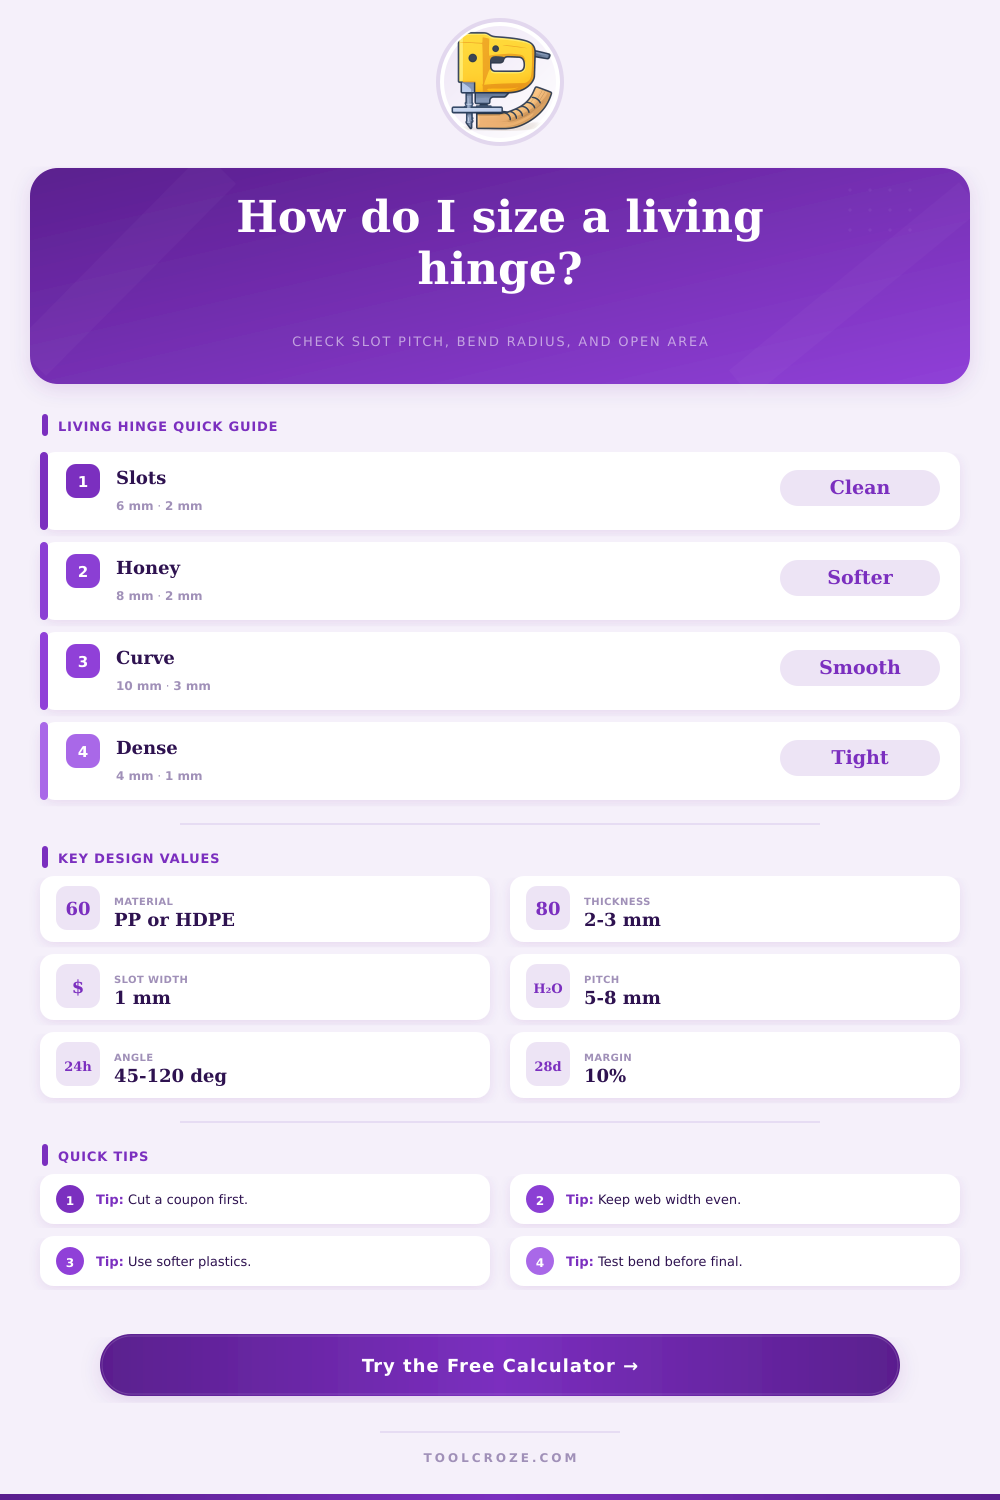
The design of a living hinge is dependent upon the pitch of the slots in the material and the width of the web of the material. The pitch can be wide if soft plastics like polypropylene are being used. With harder woods, however, a pitch that is too wide could cause the wood to split, so the designer should avoid a wider pitch.
The slots should be straight for making prototypes of a living hinge, but staggered slots will provide for a smoother bend in the material. Both serpentine and honeycomb pattern are used for living hinges that need to make a dramatic curve in the material. Serpentine and honeycomb patterns allow for more of the material to be open up.
Some materials require different approach to be cut to allow them to bend into a living hinge. Polypropylene is a soft plastic that will allow for slots to be made with minimal removal of the material. High-density polyethylene is a plastic that is tough but allow for creeping of the material under the load that is placed upon it.
Thus, there need to be more web area for polyethylene than some of the other plastic. Plywood is another material that can be used to create living hinges if the sheet are thin (around 2 mm or 3 mm thick). With hardwoods like oak, much more force will be required to bend the material, so serpentine slot should be incorporated into the design to prevent the wood from splintering.
In either of these cases, a calculator can help to determine the bend radius needed. These calculators consider the density of the material and the flex score of the material. The open area percentage is a measurement of the amount of material that is remove from the living hinge.
The percentage of open area should be between 20% and 40% for the best result. If the percentage is too high, the living hinge will be light but lack strength. If the percentage is too low, the hinge will not be able to bend.
The length of the slots can be adjusted because longer slots will remove more material from the living hinge. It is also necessary to incorporate safety margin so that the living hinge will not tear along the edges. A 10% inset is recommended as a safety margin because it will allow the hinge to bend while also providing enough material for other hardware to mount to the living hinge.
The thickness of the material is a critical element in the creation of living hinges. The thicker the material of items like plywood, the more room for the material to bend. Thus, a thick piece will require a larger bend radius than a thin veneer.
Flex scores help to determine if the living hinge that is to be created will be too flexible or too rigid to be useful, so that the designer do not overwhelm the material. Preset patterns can be used to speed up the process of creating living hinges. Thus, if the living hinge will be used as a door, a staggered slot pattern can be used.
For items that require an arc shape, such as lamp shades, arc patterns can be used as a preset. Test coupons is another way to ensure that the living hinge that is created will work well. A test coupon is a piece of material in the same dimension as the living hinge that is to be created, but on a smaller scale (such as 6×6 inch squares).
These coupons allow for the test of a pattern before any metal is cut from the material. Additionally, the type of machine that is to be used to cut the living hinge into the material also has an impact on the living hinge. For instance, a laser cutting machine will cut slots that are approximately 0.5 mm in width, whereas a router blade will remove material at a width of 1 mm to 2 mm.
Thus, a router require that the web width of the living hinge be increased to account for the increased width of the cuts. The radius of the bend of the living hinge is the measurement of the tightest curve that the material can make. If the bend radius is too small, the living hinge will begin to crack after around 50 cycle of bending.
Using an oversized radius for the living hinge wastes the flex that the material has of that area. The bend radius and the number of rows of slots can be combined to determine the total number of cuts that will need to be made into the material. Thus, knowing the number of cuts will allow for the designer to determine both the length of time that the machine will take to complete the project, as well as the wear that the bit will suffer in the cutting of the living hinge.
Presets can be used to create the living hinge more efficiently. For instance, the “PP serpentine” preset allow for the settings to be automatically set for a thin piece of polypropylene. The “heavy oak” preset allow for the settings to be automatically set for a thick piece of oak.
Both of these presets include experience into the living hinge, such as offsetting the rows in a staggered pattern so that the bend angle are even throughout the hinge. It is also recommended to leave notes next to each preset to ensure that any adjustment to the preset are documented. For instance, if the living hinge perfectly bends when it is dry, it will stiffen when it gets wet.
When creating a living hinge, it is important to avoid some common mistake. One common mistake is not including a safety factor into the living hinge. Using a 5% caution margin can help to even out the stiffness of the living hinge.
If the safety factor is not incorporated, the living hinge may be too flexible. Another mistake is to create the living hinge to have a maximum open area of the material. Using a maximum open area can cause the living hinge to sag under the weight of whatever is place upon it.
Yet another mistake is not considering the grain of the wood in relation to the placement of the slots. If using wood, the slots should be placed perpendicular to the grain of the wood for the best results. To create the living hinge, the designer should pick a pattern that will meet the requirements of the curve of the item that will be created, pick the material that will best work for the item, and then adjust the pitch of the slots (by adjusting the length of the slots) until the flex score of the material is satisfactory.