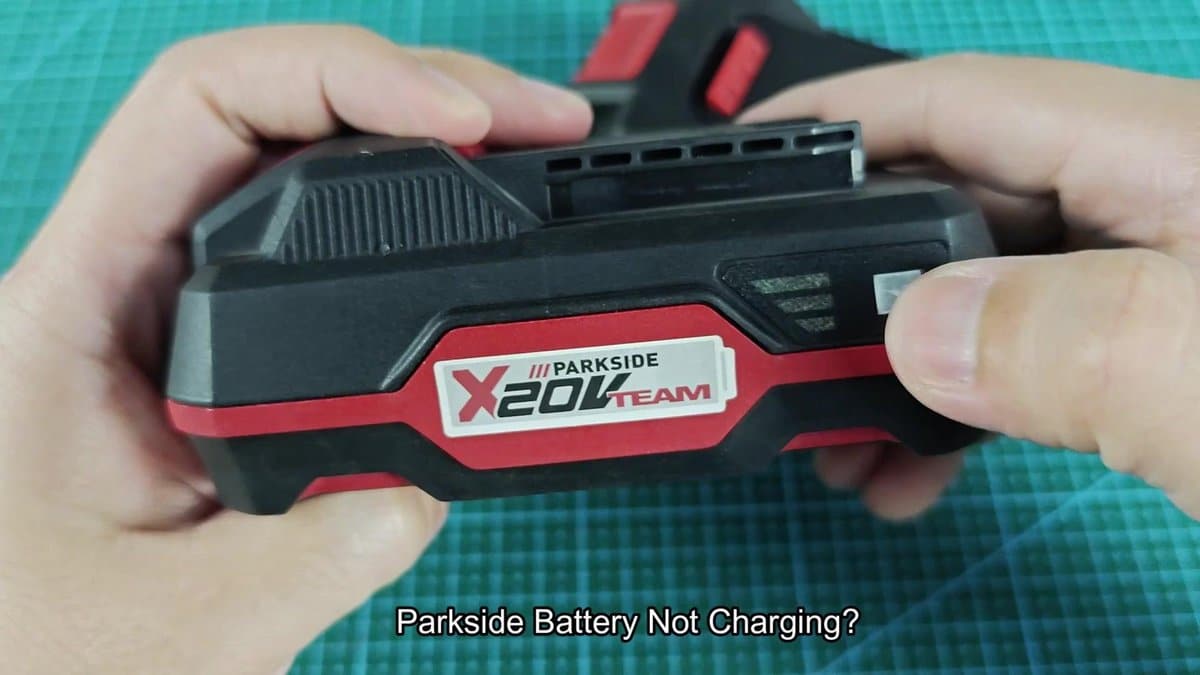
Parkside Battery does not Charge? Here is the Solution for a Parkside X20V battery That Refused to Charge When I Put It in the Charger Yesterday. The battery indicator showed some light when I pressed the status button, however the Charger simply did not want to accept it.
Really bothered me, because the battery looked to be in good condition and did not have visible damages.
The solution involves using another working Parkside battery to basically "jump-start" the dead one. It seems temporary, but it could work for longer time. The whole process happens quickly and requires a healthy battery with same voltage plus some wires with clips.
How to Jump-Start a Parkside X20V Battery That Won’t Charge
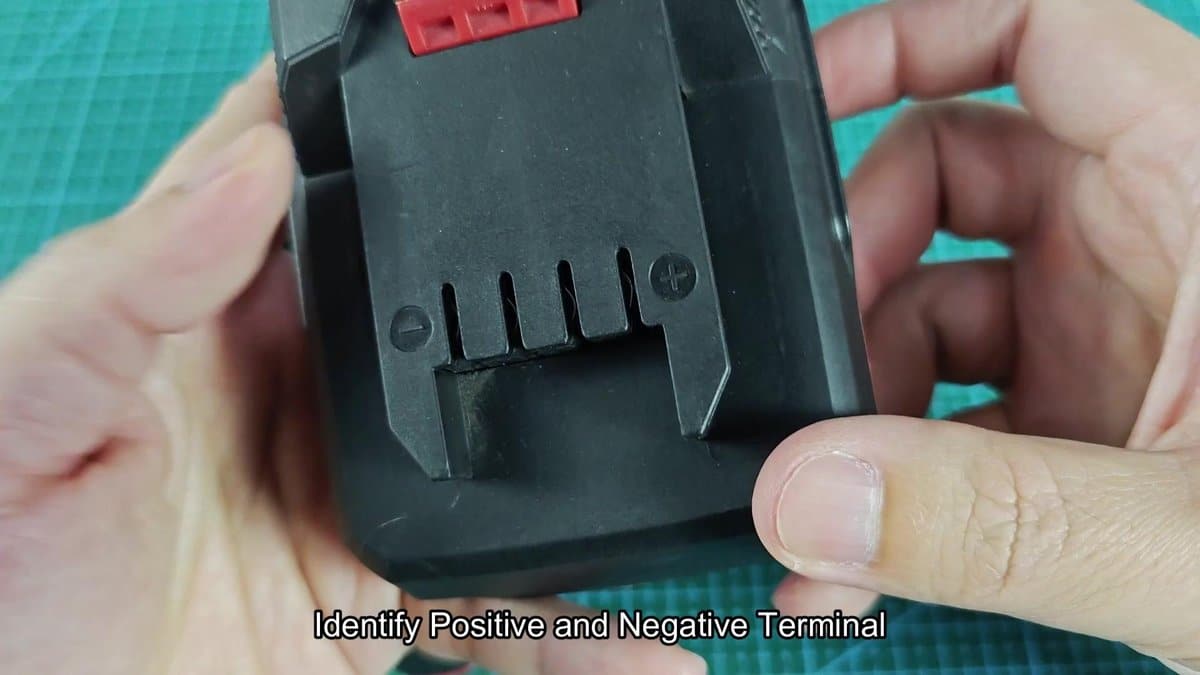
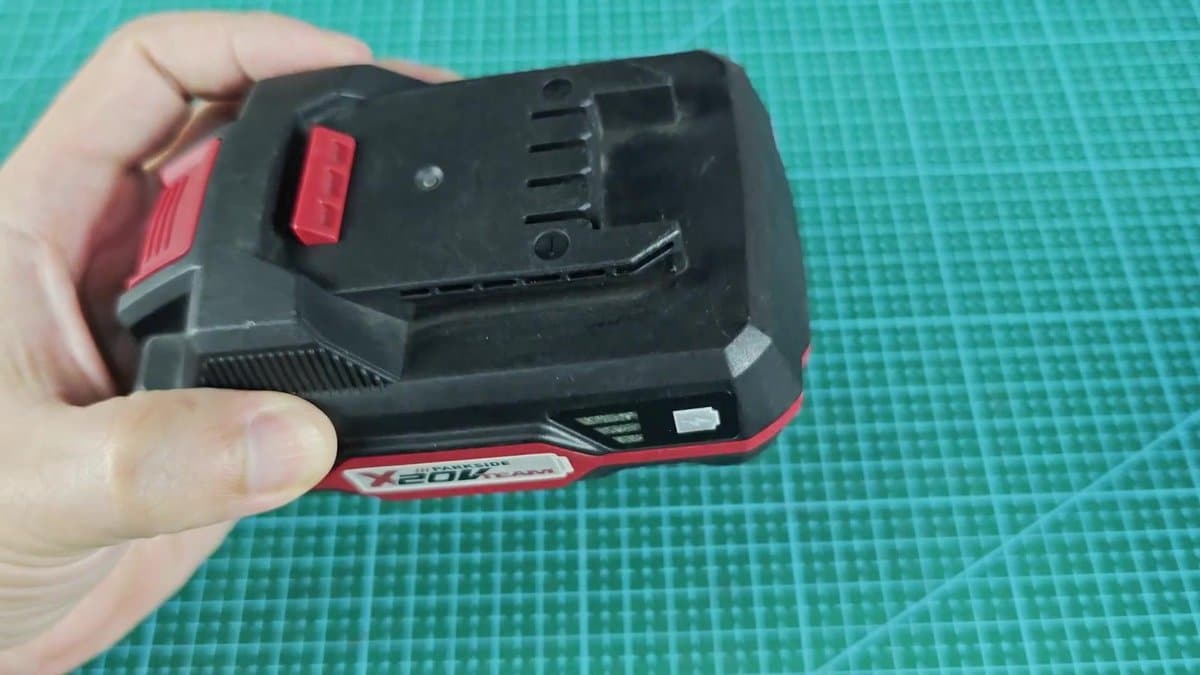
First find the positive and negative terminals that are on the bottom of the battery. Parkside battery have a few plus and minus symbols right on the plastic beside the contacts. The terminals sit in holes, with plus on one side and minus on the other, split by a red bit in the centre.
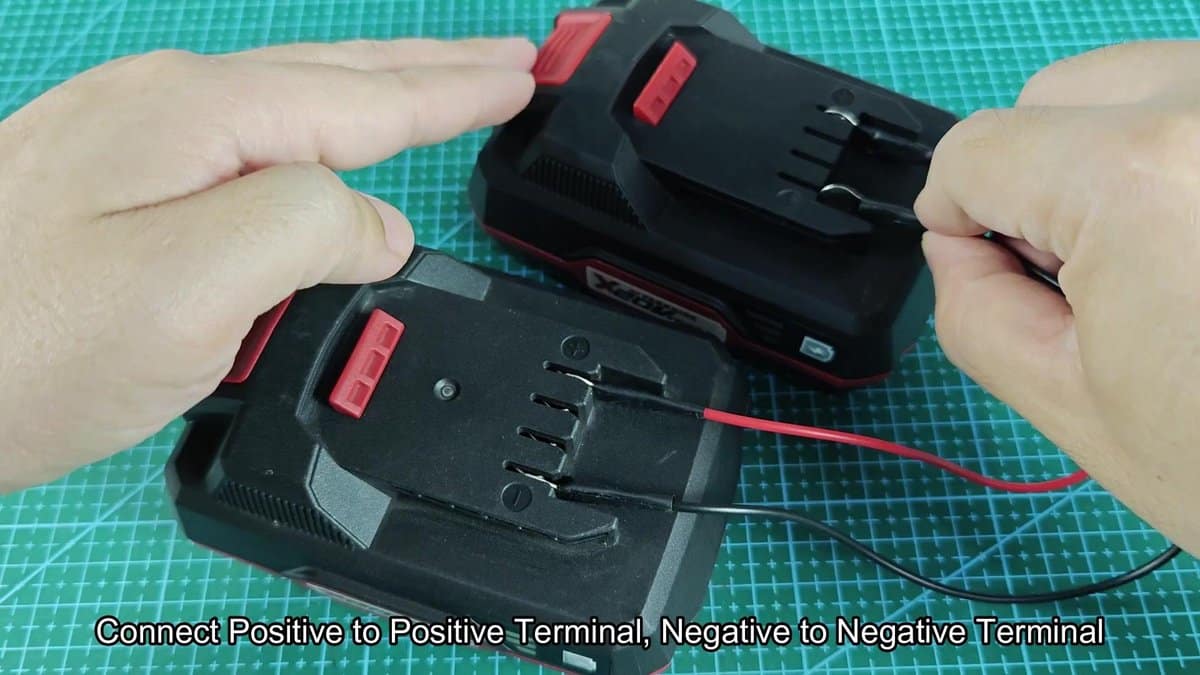
Take another 20V battery that is fully charged and works well. Put both on the table and check twice the marks of the terminals to ensure the right connection. Later comes the actual connection.
I used two short wire, one red and one black, each with ring clips clamped to the ends. I connect the red wire of the extra battery to the plus of the dead one, and likewise the black to the minus.
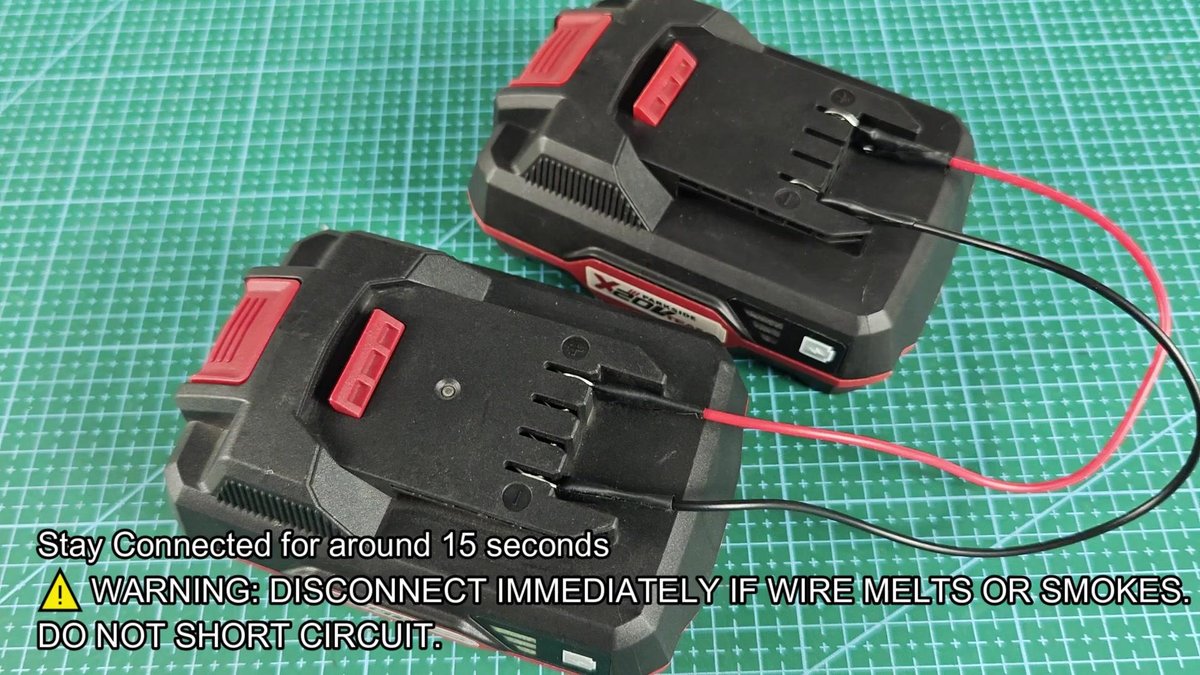
The ring clips did not seat easily in the holes, required a bit of effort. They are not entirely easy to reach, and the wires tried to slip from the places at first. In the end I managed to reach good metal contact for both, and they stayed connect.
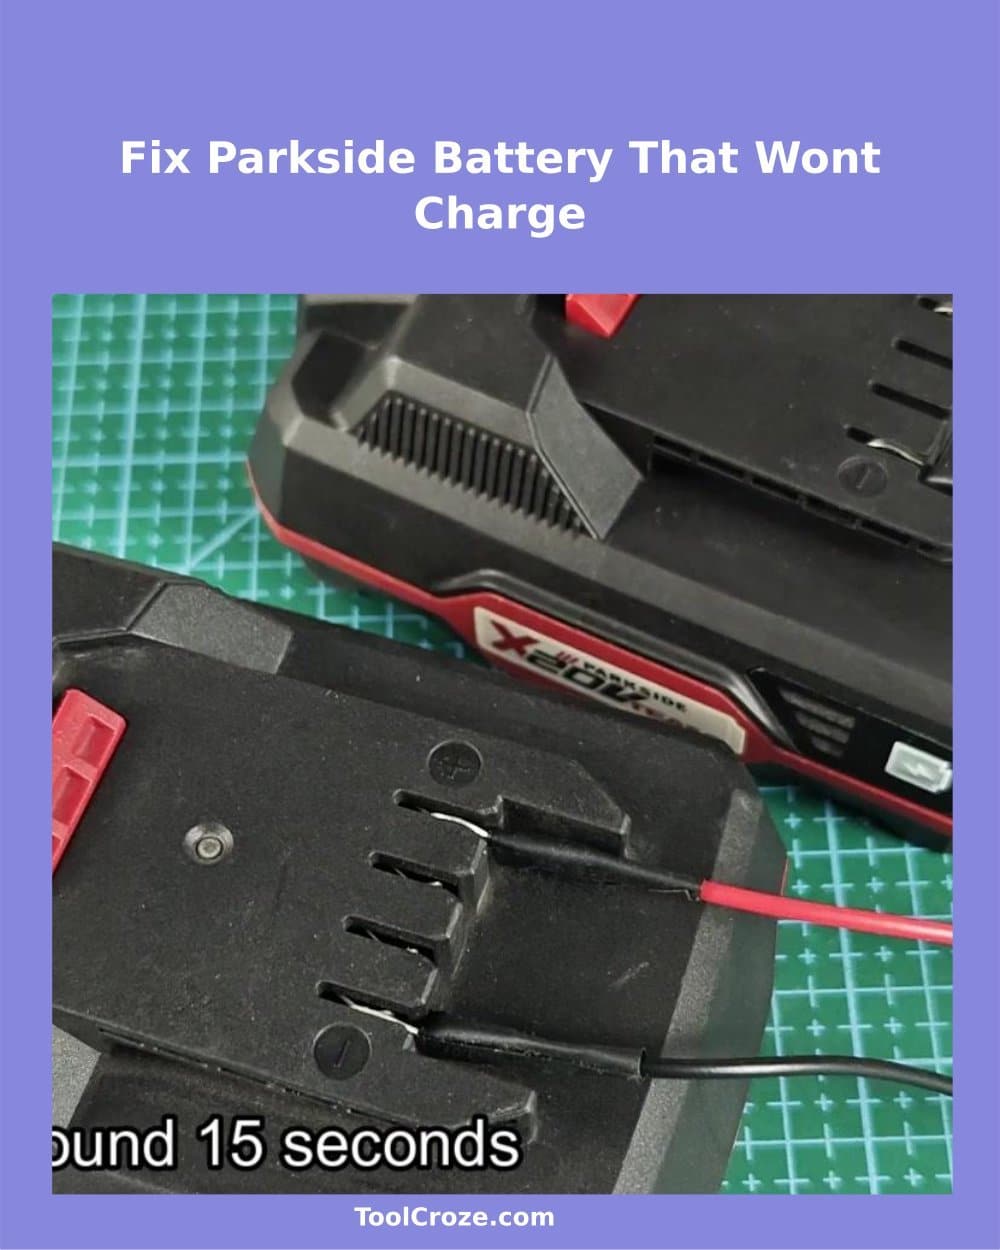
Disconnect immediately, if wires heat up or smoke, and avoid short circuit. Basically that forces electricity of one battery to the other, and things could end bad, if there is something wrong about the connection.
I connect the two batteries and left them like this for fifteen seconds. I watched the wires closely during the connection. Nothing exciting happened.
After that I disconnected the wires and separated them. The dead battery still looked the same from outside. No sign showed that something changed or that the method worked.
It seemed useless. But then I brought the once dying one to the Charger to try. The green indicator on the Charger showed that it works and is ready.
I placed the battery in the spot and heard the usual click.
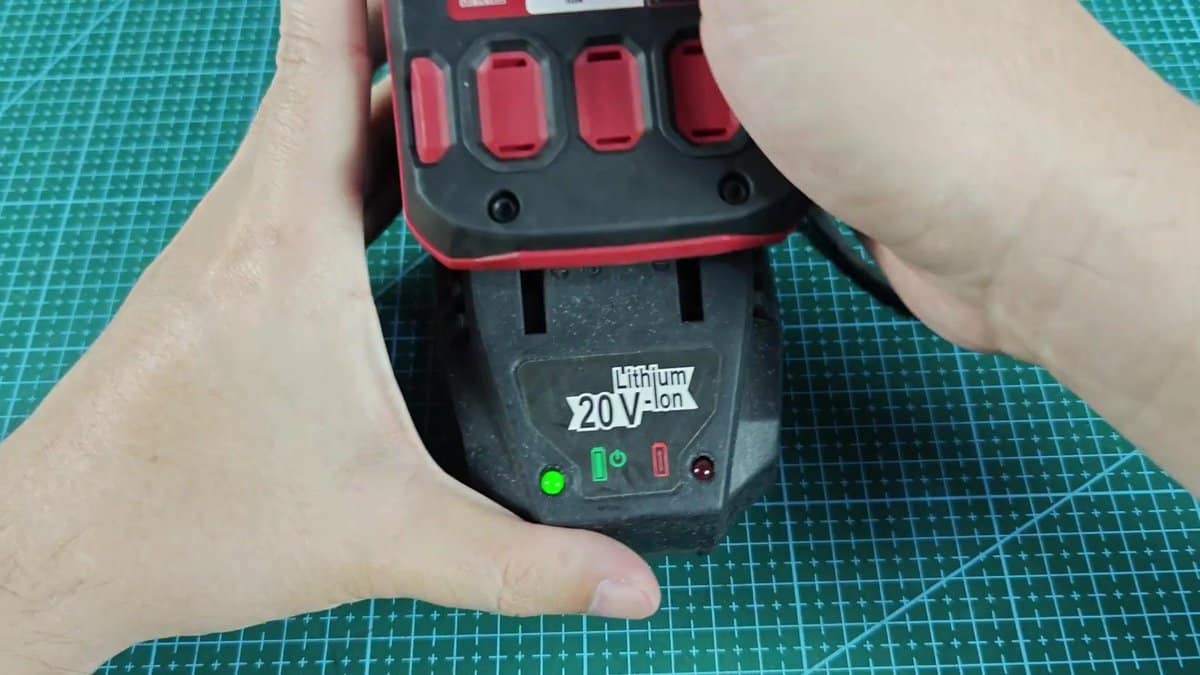
Here the Charger recognised it without hesitation. That red solid light shows active charging, and the Charger accepted it without errors. Finally!I left it there to check, whether it actually takes charge.
The red indicator stayed steady during the next hour, while the battery recharged. It did not show any errors, as if the battery never had a error. What happens is that lithium batteries have protection that closes them, if voltage falls too low.
The jump method gets past that, pushing a small amount of electricity from another battery, which raises the voltage enough to reactivate the protection. I did not think that trick would work this well. The battery again works normally and stays like this.
I charged it three more times during the past week, without problems. That saved me the money for a new X20V battery that would cost around forty dollars.Note that this method works only if the cells of the battery are still good. Damaged or old cells do not get fixed by means of a jump, even if you try many times.
