
The Skil DL6293B has a base that accepts a fully-charged 20V battery, which slide onto the base and locks in place mechanically. You press the button on the battery pack to check the charge level before doing anything else.
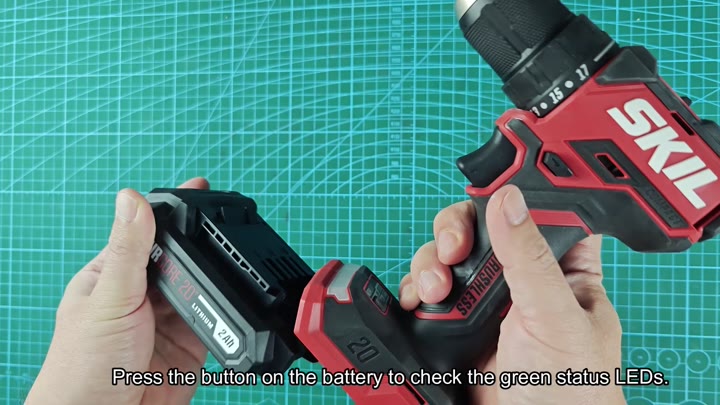
Before using the tool, make sure the battery is fully charged by pressing the button on the battery pack. Green status LEDs will illuminate to confirm the tool is ready. No point starting out with a dead cell.
Drilling and Fastening Performance
You slide the charged 20V battery into the base of the SKIL DL6293B until it clicks in place.
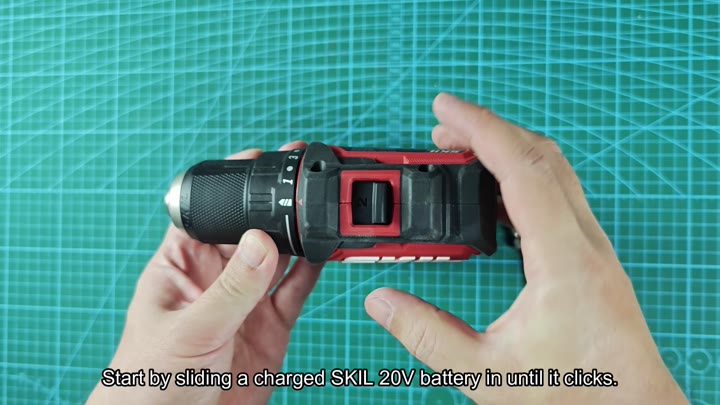
Tight quarters are no problem with this compact drill driver.
You press the button on the battery pack to check the charge level.
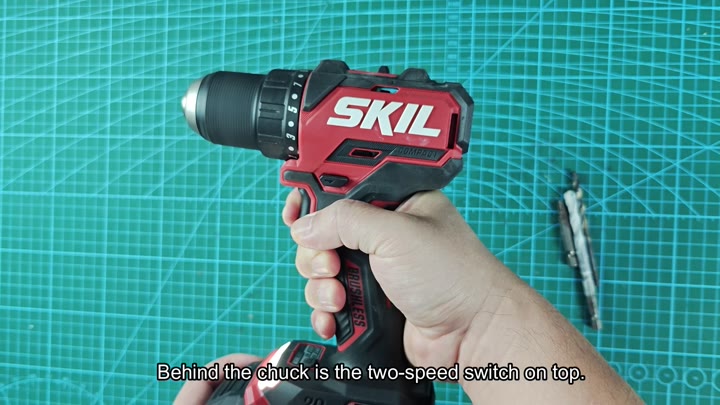
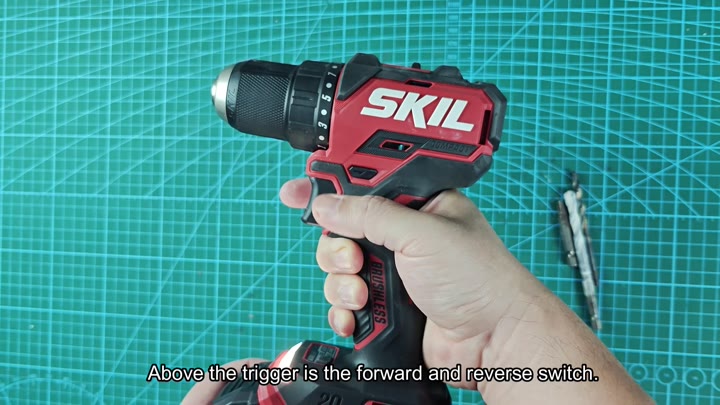
The on/off and forward and reverse selection are up from the trigger so changing directions is easy. Also note the two speed switch is located behind the chuck for fast adjustment.
There is an inbuilt LED work light too to illuminate the working area. It is very handy if you are drilling around a dark corner.
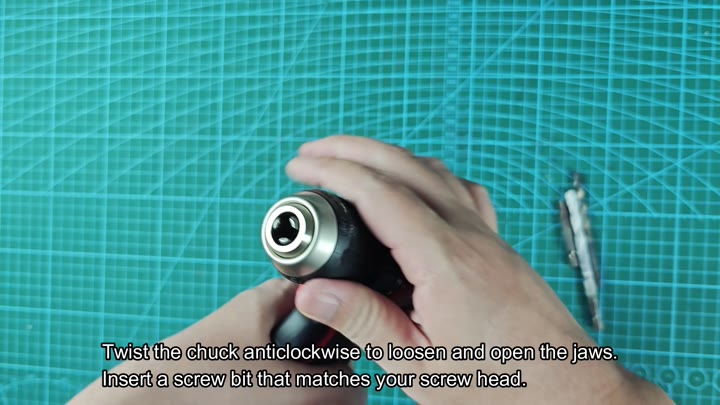
When you have a job that requires driving, open the jaws by loosening the chuck by turning it anti-clockwise.
You twist the chuck anticlockwise to loosen the jaws and open them wide for a driving task.
There’s a matching screw bit that fits firm into the center.
The chuck has 17 different torque positions (i.e., amount of force with which you can turn) and there’s a collar behind the chuck where you adjust this. So if you’re concerned about not stripping delicate screw heads, just pick a lower torque position.
Higher settings tackle tougher fasteners.
For the more difficult fasteners, increase the torque settings
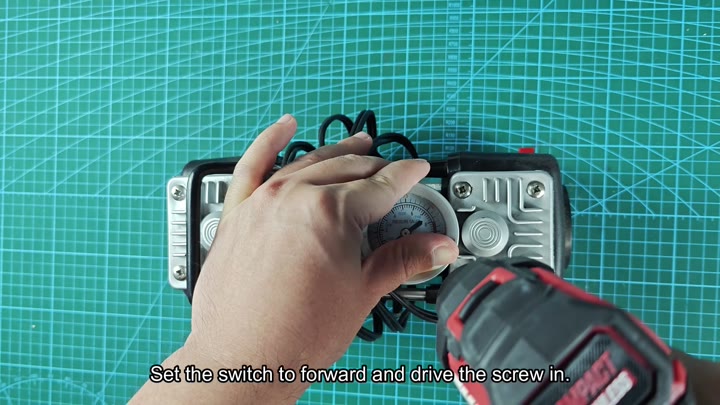
Then you engage the switch to forward, press on the trigger and drive that screw into whatever it is that you’re driving it into. And it does so immediately, thanks to a brushless motor.
It seats perfectly and there’s no wobble or anything as the screw goes in smooth as butter. Then you back the screw out again by reversing the direction. The clutch disengage just in time so that it doesn’t over tighten and backs out nice and clean.
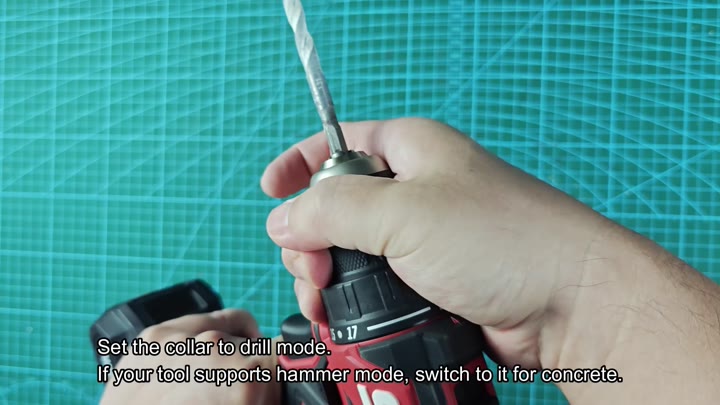
To start drilling, you turn on the collar by flipping it over to the drill mode symbol.
The chuck spins freely when you switch the collar to drill mode.
But then it disconnects the clutch so that the chuck is spinning free at maximum power. For this step, you use a wood drill bit.
With the two-speed gearbox, you can set it on the right speed for the material. Then you pull the trigger and the drill rips through the wood in no time flat. It is straight as an arrow with no splintering of the hole.

Then there’s concrete. Here you replace the wood bit with one meant for concrete (and so on).
One major problem is that there is no hammer function here, as the DL6293B doesn’t have it. For serious masonry work, you need a hammer drill. But for older, softer concrete and light duty, this will do just fine with a regular old drill driver. Again, you’ll switch back to the collar in drill mode.
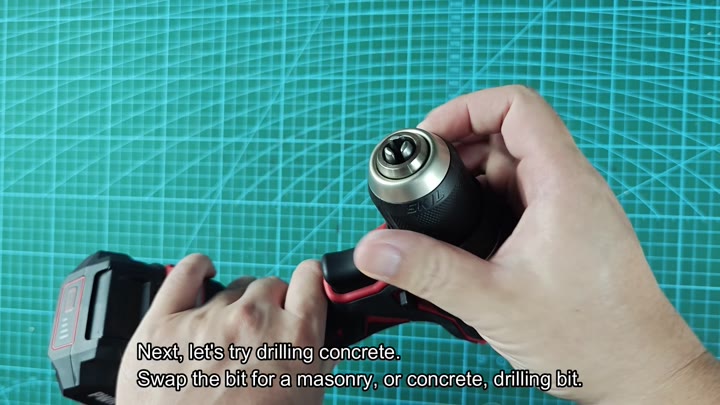
Now, there is a spinning bit on concrete.
It isn’t totally useless on a hard surface, but it does make a slight dent. It is not fast and it is not very deep. You can feel the motor straining slightly under the load.
And that’s why you should of wanted the proper tool for the task. A hammer drill is what you need for concrete. Perfect. Screws and wood? Yeah, this one’s right in its wheelhouse.
