Spray Foam Insulation Calculator
Estimate net cavity area, spray foam board feet, adjusted kit yield, cured R-value, lift count, foam volume, and cured material weight.
Full calculation breakdown
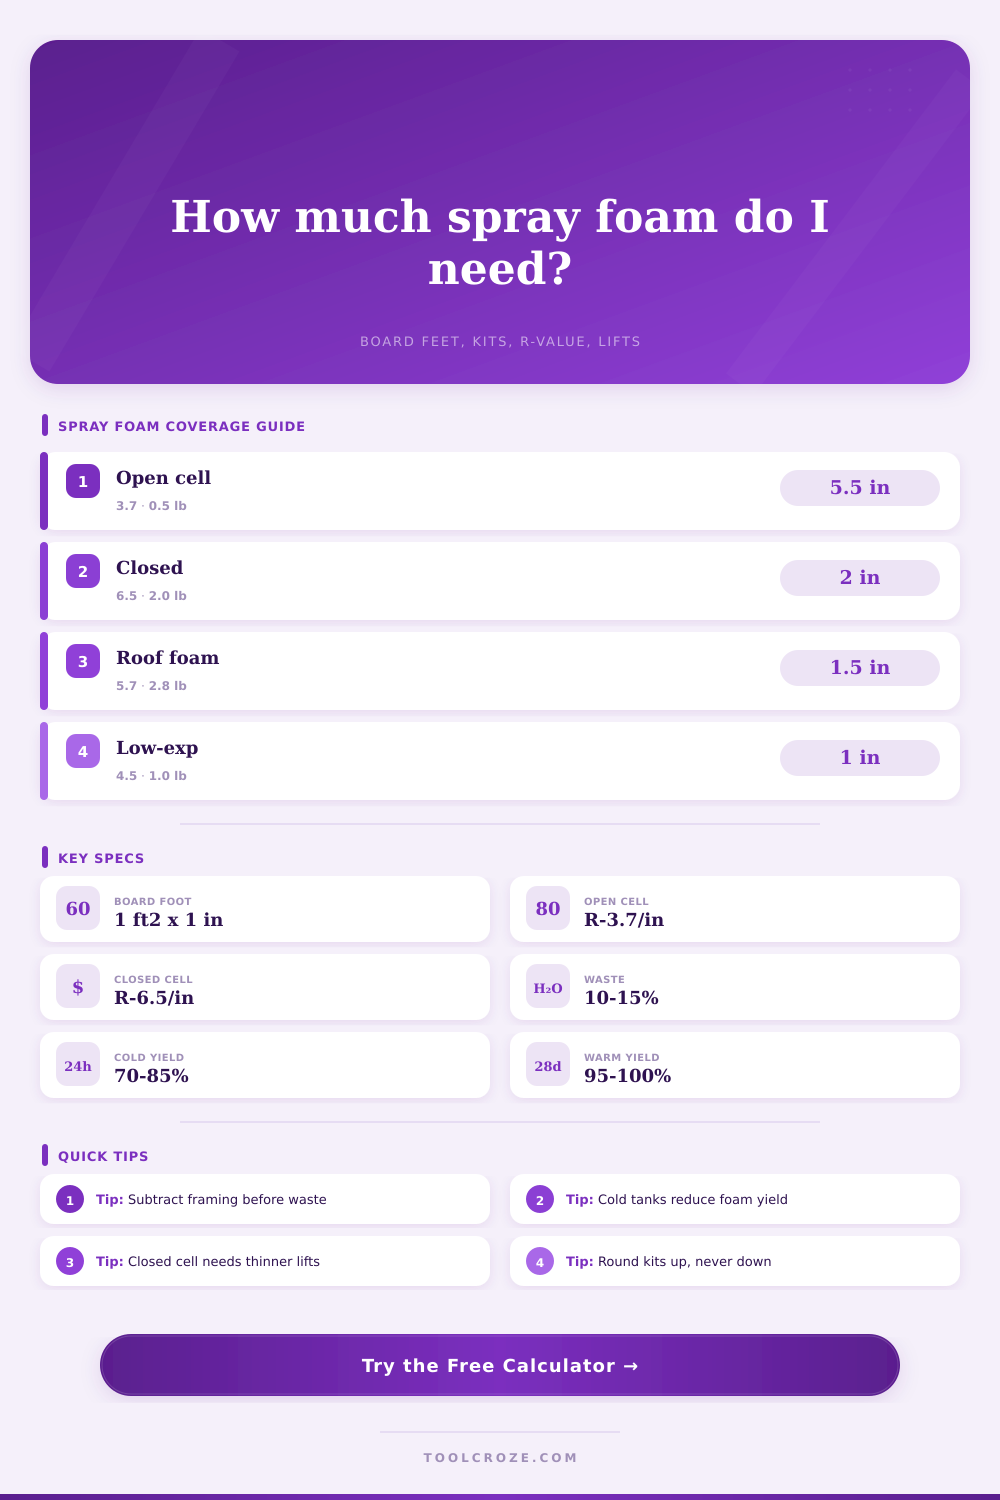
| Foam type | Typical density | R-value per inch | Maximum lift used here |
|---|---|---|---|
| Open-cell half-pound foam | 0.45-0.60 lb/ft³ | R-3.6 to R-3.8 | 5.5 in per lift |
| Closed-cell two-pound foam | 1.8-2.2 lb/ft³ | R-6.0 to R-7.0 | 2.0 in per lift |
| High-density roofing foam | 2.5-3.0 lb/ft³ | R-5.5 to R-6.0 | 1.5 in per lift |
| Low-expansion detail foam | 0.8-1.2 lb/ft³ | R-4.0 to R-5.0 | 1.0 in per lift |
| Application | Common foam choice | Typical target depth | Typical deduction |
|---|---|---|---|
| 2x4 exterior wall cavities | Open cell or closed-cell flash | 3.0-3.5 in | 18-25% framing |
| 2x6 exterior wall cavities | Open cell full fill or hybrid flash | 2.0-5.5 in | 18-25% framing |
| Roof deck underside | Open cell or closed cell | 5.5-8.0 in open cell | 5-12% rafters |
| Rim joist and band joist | Closed cell or detail foam | 2.0-3.0 in | 10-20% blocking |
| Crawlspace masonry walls | Closed cell | 1.5-2.5 in | 3-8% penetrations |
| Metal building walls or roof | Closed cell | 1.0-2.0 in | 5-10% girts or ribs |
| Condition selected | Yield factor | Why it matters | Planning note |
|---|---|---|---|
| Cold tanks or substrate below 55°F | 0.72 | Foam expands less and cures slower | Warm materials before spraying |
| Cool jobsite, 55-65°F | 0.84 | Moderate yield loss is common | Use extra reserve |
| Normal jobsite, 65-75°F | 0.94 | Near-rated output with careful spraying | Good baseline |
| Warm conditioned tanks, 75-85°F | 1.00 | Closest to kit rating | Use rated yield |
| Hot substrate above 90°F | 0.90 | Fast reaction can waste foam | Spray thinner passes |
| Project scenario | Typical gross area | Typical thickness | Board feet before waste |
|---|---|---|---|
| Single 12 ft by 8 ft stud wall, 22% framing | 96 sq ft | 3.5 in | 262 bf |
| Two 24 ft roof slopes, 8% rafters | 768 sq ft | 5.5 in | 3,887 bf |
| Thirty rim joist bays, 16 in by 10 in each | 33 sq ft | 2.5 in | 74 bf |
| 40 ft crawlspace wall, 4 ft high, 5% obstruction | 160 sq ft | 2.0 in | 304 bf |
| 20 ft by 8 ft metal wall panel, 8% ribs | 160 sq ft | 1.5 in | 221 bf |
How much spray foam do you need? When it comes to insulating with this stuff, I think we all worry that we’ll either go too heavy or not have enough on hand. It’s pricey, and once you start using it, there isn’t much room for miscalculation. However, you don’t have to be some sort of technical wizard to get it right. You just have to know how the product performs ahead of time.
Before you break out your first can, the calculator will estimate cured weight, volume, lift count, R-value, kit yield, and board feet. That means you’ll know where you stand prior to opening up the very first can. It covers metal panels, crawlspaces, rim joists, roofs, and walls.
How to Calculate Your Spray Foam Needs
Know your square footage from board feet: Spray foam is measured in volume; homeowners typicaly think about their homes in terms of square feet. A board foot is defined as one square foot with an inch of depth. So if you are insulating a 100 sq ft wall with three inches of foam, that’s three hundred board feet, not simply one hundred. It sounds easy, but this is the part most estimates get wrong.
What’s the depth required? It is not just what is visible. Next up: consider what’s in the wall structure. Wires? Pipes? Framing members? Electrical boxes? Stud walls aren’t blank canvases. Deduct the percentage of stuff in the wall, typically about twenty percent with conventional construction, and plug it into the calculator.
Why? Because if you calculate by total wall surface area, you either run out at tricky corners, or end up using too much foam. The tool will make that adjustment for you; it’ll know the fraction of each stud wall covered by framing. No guessing required.
Spray foam also performs different than depending on temperature. Cold temperatures cause chemical reactions to slow, resulting in less expansion. Below fifty-five degrees the foam won’t expand to its rated size; this includes both tank temperature and surface temperature. What that means is if your kit should of been good for six hundred board feet, it may only be good for four hundred in the cold.
To avoid running out of foam at the tail-end of a project, the calculator factors in the temperature on-site, so you don’t need to worry about this factor. It’s small, but it makes a difference in final product.
When applying the foam, know that there will be multiple lifts. The foam will cure, which creates heat, so don’t think you’ll be able to cover a thick layer all at once. It won’t work, as it may burn the foam and/or make it fall out of the gun too fast. With closed-cell foam, you’ll need thin layers. Typically no thicker than 2 inches per lift. Open-cell foam can take a little bit thicker layers, but not by much.
Knowing how many lifts you need will help you plan your schedule, since a large cavity might require several days of work.
To select the right kind of foam, choose an open or closed cell foam based off what you want to do with it. A closed cell foam is stronger and denser, which gives it higher R-value (R-value/inch) and helps it seal better. It’s also heavier, more expensive, and more difficult to apply. An open cell foam can fill out large cavity spaces well; it’s less dense, lifts more, and costs less. See below: The comparison chart shows the tradeoffs in terms of weight (lift depth), strength (density) and R-value.
Pick accordingly (considering your budget and climate), but keep in mind that the physical properties of the foam itself will determine how long it takes to get there.
Save money and reduce waste by planning. When buying materials, start by taking precise measurements of the space. Determine the volume, factor in weather conditions, make adjustments, then buy the stuff. It might sound like overkill, but it pays to be exact in this business. You don’t want to drain your bank account when trying to seal out the air with the foam. Take your time, get the right numbers, follow the chemical requirements, and you’ll have a sealed building envelope in no time.