Tube Bending Tooling Calculator
Select bend die radius, mandrel style, wiper die need, pressure die length, clamp length, and difficulty score from tube OD, wall, CLR, material, bend angle, and bend quality.
📌Tube Bending Tooling Presets
⚙Tube, Bend, and Tooling Inputs
Tube Bending Tooling Results
🛠Tooling Selection Grid
📊D-of-Bend and Internal Support Reference
| D-of-bend range | Typical mandrel call | Wiper die call | Primary risk |
|---|---|---|---|
| 4.0D and larger | Often no mandrel for thick wall tube | Usually not needed | Angle repeatability and springback control |
| 3.0D to 4.0D | Plug mandrel for thin wall or cosmetic work | Possible for thin or soft material | Mild ovality and inside flattening |
| 2.0D to 3.0D | Plug or single-ball mandrel is common | Often used when wall factor is high | Wrinkle start near the inside tangent |
| 1.5D to 2.0D | Ball mandrel, often multi-ball | Usually needed on rotary draw setups | Collapse, galling, and heavy thinning |
| Under 1.5D | Special tooling and trial bends required | Likely required with exact rake setting | Severe tooling sensitivity |
📏Clamp and Pressure Die Length Multipliers
| Bend difficulty | Clamp length guide | Pressure die guide | Setup note |
|---|---|---|---|
| Easy: score under 30 | 2.5D to 3.0D of tube OD | 3.0D to 3.5D of tube OD | Usually stable with standard pressure and grip |
| Moderate: score 30 to 55 | 3.0D to 3.8D of tube OD | 3.5D to 4.5D of tube OD | Watch tube slip and pressure die marking |
| Hard: score 55 to 75 | 3.8D to 4.8D of tube OD | 4.5D to 5.5D of tube OD | Mandrel, wiper, and assist setup matter |
| Severe: score above 75 | 4.8D to 6.0D of tube OD | 5.5D to 7.0D of tube OD | Plan test coupons before releasing production |
🧪Material Behavior Reference
| Material | Relative formability | Springback tendency | Tooling concern |
|---|---|---|---|
| Mild steel ERW or DOM | Good | Low to medium | Seam placement, grip pressure, and ovality |
| 304 and 316 stainless | Medium | High | Higher pressure, galling, and overbend allowance |
| 6061 aluminum | Fair, temper dependent | Medium | Crack risk in hard temper and surface marking |
| 6063 aluminum | Good | Medium | Cosmetic handling and wiper polish |
| Copper and brass | Good to soft | Low | Wrinkles and pressure marking on soft tube |
| 4130 chromoly | Good when normalized | Medium to high | Consistent mandrel support and bend angle repeatability |
🔧Mandrel and Wiper Selection Table
| Tooling item | Use it when | Common setting cue | Calculator signal |
|---|---|---|---|
| Plug mandrel | Moderate D bend, moderate wall factor | Nose just ahead of tangent point | Mandrel card says Plug |
| Single-ball mandrel | Tight bend or visible OD quality target | Ball supports tube through early bend zone | Mandrel card says Ball |
| Multi-ball mandrel | Very tight D, thin wall, or long bend angle | More balls follow bend arc with less collapse | Mandrel card says Multi-ball |
| Wiper die | Wrinkles start at inside tangent | Tip close to tangent, polished and sharp | Wiper card says Required |
| Pressure die assist | Tube drags, thins, or slips in tight bends | Assist follows bend without over-pushing | Boost row in breakdown |
💡Tooling Calculation Tips
There’s that crunch sound; the one you get when a tube buckles in the middle, like a crushed soda can on shop floor. It is that type of failure. He spent hours adjusting the machine. They dialed in pressure and got seam lined up. The material fold into an ugly oval at the tightest curve. It is a costly mistake that transforms precision job into scrap metal.
Rarely is the horsepower of the machine what determine whether or not you make a smooth bend or a wrecked part. What makes all the difference are your tooling selection. You are not just bending metal. You are battling the material’s tendency to spring back and testing your tools ability to keep their shape.
How to Bend Tube Without Crashing It
In the bender bay, there is only one metric that rules all: the D-of-bend ratio. It’s just the centerline radius divided by tube outside diameter. Most thick-walled tubes will tolerate a four D bend with little issue… This is a gentle curve. On the other end of the spectrum is a one and a half D bend; a tight squeeze that require some serious intervention.
The math gets ran for you in above calculator, but knowing why that number matters is what keeps tube from buckling. When that ratio decrease, the inside wall of your tube violently compresses. With no support, where does that metal go? It collapses in on itself and creates wrinkles that ruin part.
The thickness of the bend wall. The other key factor here are wall thickness. For any given ratio of bend diameter to tube diameter, a thicker walled tube will withstand pressure much better than a thinner walled tube without collapsing. Sometimes you can get by with a three D bend on a schedule pipe but that same three D bend on thin-wall aluminum might require pushing out in the inside wall with a plug mandrel.
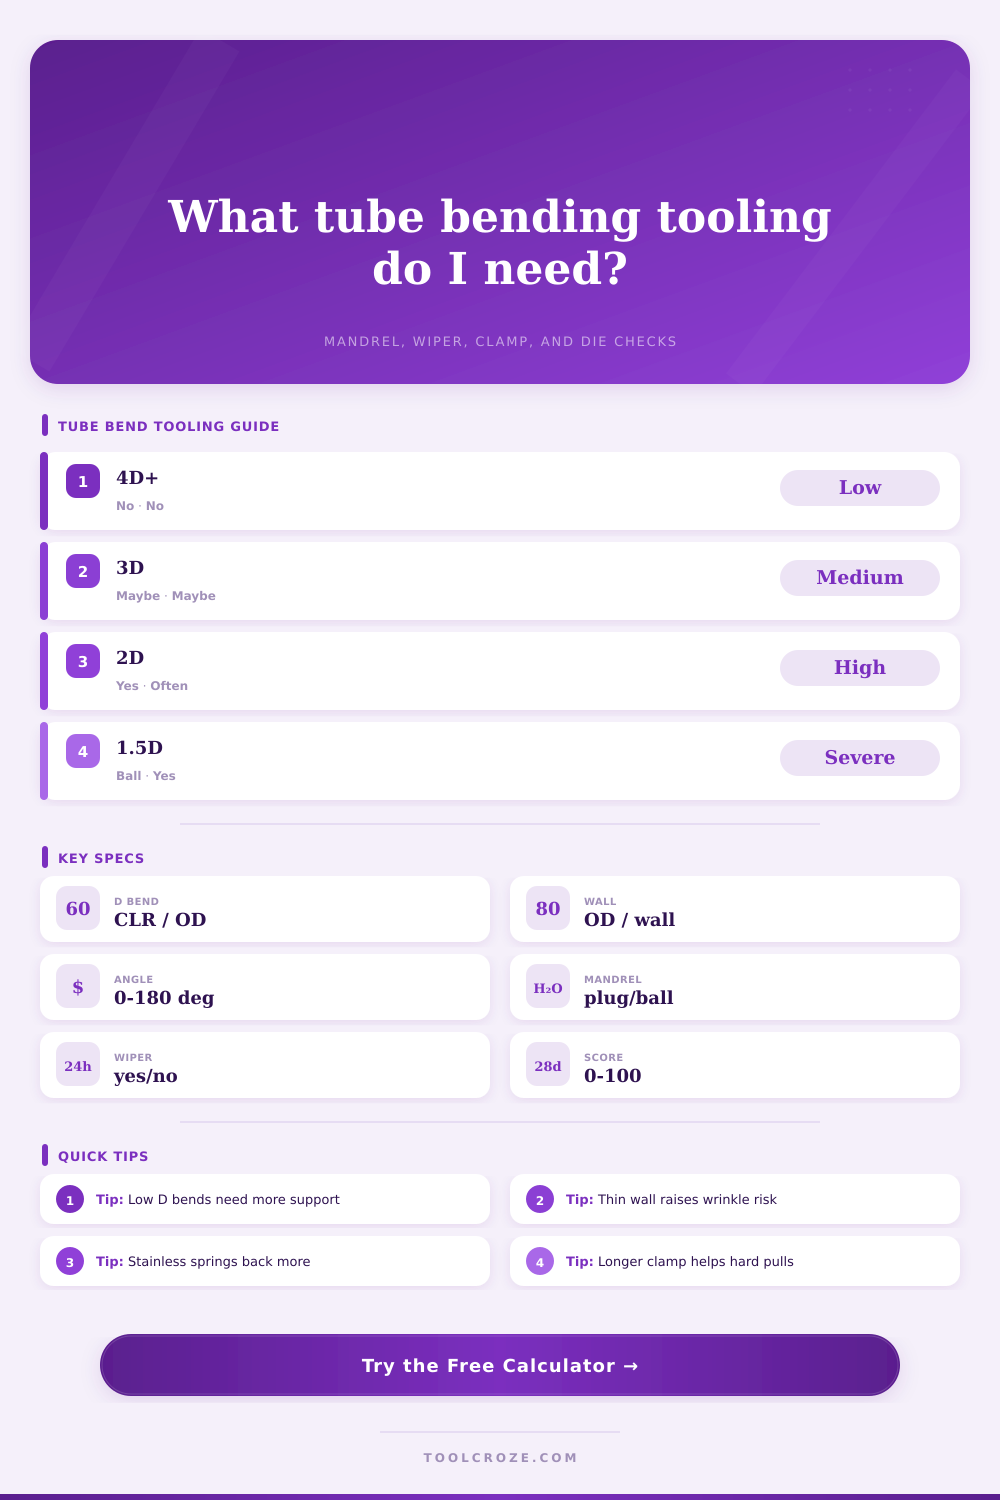
This page explains it well with the tooling selection grid. The grid show how wall thickness and tighter bends increases the need to use a mandrel for inside support. No guesswork here, just match internal support to external stress.
The other complexity factor that can’t be overlooked is material choice. If you choose stainless steel, it tend to spring back to its original shape, so you need to overbend it slightly to get the angle you want. Aluminum, on the other hand, is softer and susceptible to surface markings. So if you don’t polish your wiper die to a mirror finish, you’ll scratch what shows up on outside of bend.
The calculator takes these material traits into account when providing a suggested springback allowance. This isn’t guesswork and would of give you a good starting place for making your initial set of trial bends.
Most newbies don’t know that pressure dies and clamps is important as well. Too small a pressure die won’t hold onto the tube for an effective feed through the bend. This results in uneven tube thickness across the bend. This is not good. If the clamp is too small, it can slip by rotating or by sliding out completely at the end of the tube. This can ruin the machine and throw off your angle. The min length per table (referenced by difficulty score) are just enough to keep things under control.
But in the end it’s all about balance of forces. There is the force that causes the metal to resist changing shape. There is the force that makes it want to wrinkle up and remember itself. And then there is you, fighting those forces.
Part of getting the tooling correct is knowing what type of plug or ball mandrel you need. You must also know which pieces has the most forgiving geometry so they won’t buckle. Finally, you need to know how much tighter a bend can be made without losing control.
This knowledge, matching your tooling to both the properties of the metal and the shape of the bend. Is what stops the buckling from happening. The parts fits together as intended, and the curves becomes smooth.