Chip Load Calculator Wood
Calculate CNC router chip load for wood from wood type, bit diameter, flute count, RPM, feed rate, target chip load, depth of cut, stepover, cutter style, and dust or heat conditions.
📌Wood Routing Presets
⚙Chip Load Inputs
Wood CNC Chip Load Results
🪵Current Wood and Bit Grid
📊Wood Chip Load Reference
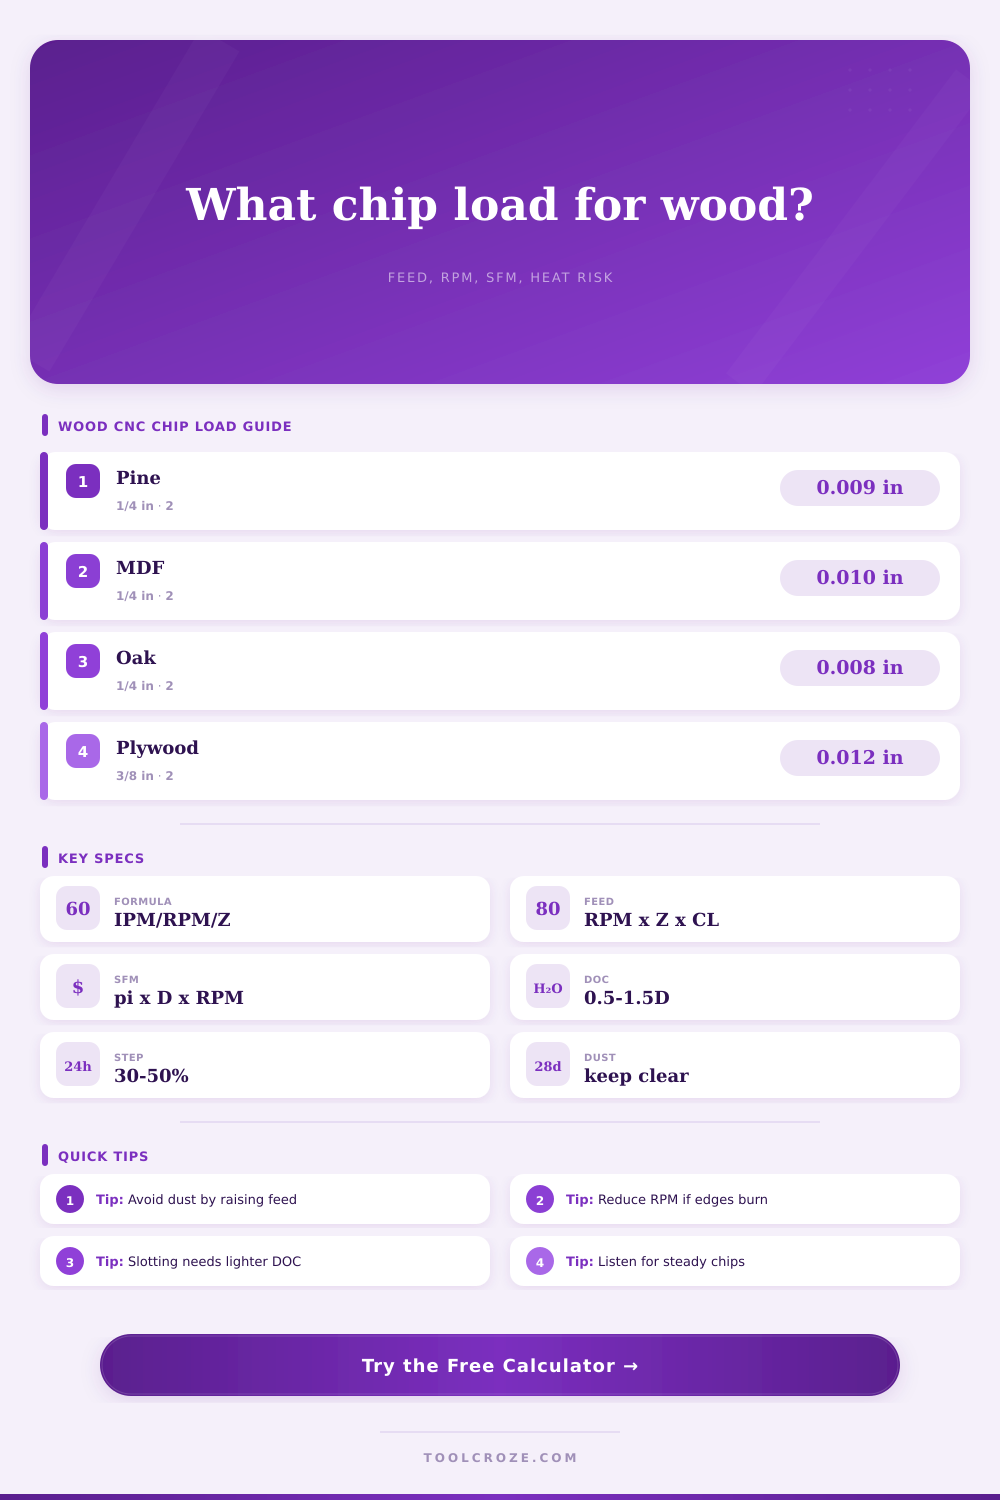
| Wood or Sheet Good | 1/8 in Bit | 1/4 in Bit | 3/8 in Bit | Routing Note |
|---|---|---|---|---|
| Soft pine, fir, cedar | 0.003 to 0.005 in | 0.007 to 0.011 in | 0.010 to 0.016 in | Chips clear easily but fuzzing can appear with dull tools |
| Poplar, walnut, cherry | 0.003 to 0.005 in | 0.006 to 0.010 in | 0.009 to 0.014 in | Balanced feed gives clean edges and steady chips |
| Red oak, white oak, hard maple | 0.0025 to 0.0045 in | 0.005 to 0.009 in | 0.008 to 0.012 in | Reduce depth before reducing chip load too far |
| Cabinet plywood and Baltic birch | 0.003 to 0.005 in | 0.007 to 0.012 in | 0.010 to 0.016 in | Compression bits help veneer faces when depth is correct |
| MDF | 0.0035 to 0.006 in | 0.008 to 0.013 in | 0.012 to 0.018 in | Keep chips moving because MDF dust holds heat |
🔧Wood and Bit Grid
| Bit Diameter | Common Flutes | Best Wood Use | Starting DOC | Starting Stepover |
|---|---|---|---|---|
| 1/8 in spiral | 1 or 2 | Letters, pockets, small profiles, plywood tabs | 0.06 to 0.13 in | 30% to 45% of diameter |
| 1/4 in spiral | 1 or 2 | Cabinet parts, signs, hardwood profiles | 0.12 to 0.30 in | 35% to 50% of diameter |
| 3/8 in spiral | 2 | Fast sheet cutting and thicker hardwoods | 0.20 to 0.50 in | 35% to 50% of diameter |
| 1/2 in spiral | 2 or 3 | Heavy roughing, slabs, deep pockets | 0.25 to 0.75 in | 30% to 45% of diameter |
| Surfacing cutter | 2 to 4 | Spoilboards, slabs, flattening passes | 0.01 to 0.04 in | 40% to 75% of diameter |
📏RPM, Feed, and Surface Speed Examples
| Setup | RPM | Chip Load | Calculated Feed | Surface Speed |
|---|---|---|---|---|
| 1/8 in, 2 flute, hardwood detail | 18,000 | 0.0035 in | 126 IPM | 589 SFM |
| 1/4 in, 2 flute, plywood cutout | 18,000 | 0.010 in | 360 IPM | 1,178 SFM |
| 1/4 in, 1 flute, small router | 20,000 | 0.008 in | 160 IPM | 1,309 SFM |
| 3/8 in, 2 flute, MDF sheet | 16,000 | 0.014 in | 448 IPM | 1,571 SFM |
| 1/2 in, 2 flute, surfacing | 14,000 | 0.012 in | 336 IPM | 1,833 SFM |
🌡Dust and Heat Risk Guide
| Symptom | Likely Cause | Calculator Signal | Adjustment |
|---|---|---|---|
| Fine dust instead of chips | Chip load is too low | Actual chip load below target range | Raise feed or lower RPM while staying within machine limits |
| Brown or shiny edge | Heat and rubbing at the cutter | High RPM with low chip load or poor dust clearing | Improve extraction, lower RPM, or increase feed |
| Bit chatter or rough wall | Tool pressure is too high | High MRR, deep DOC, or heavy stepover | Reduce depth, reduce stepover, or use a larger bit |
| Packed slot chips | Full-width slot has nowhere to clear | Slot operation with high engagement and weak clearing | Use shallower passes, ramping, air assist, or pocket-style clearing |
💡Wood CNC Routing Tips
When you burn out an oak board instead of cutting a neat groove in it, it teaches you something about physics. And that blackened, charred edge isn’t pretty; it’s also a symptom of the bit rubbing instead of biting into wood. Why? Because the metal was heated up to long and the wood responded by burning. Wasted material is the end result.
Chip load is the single most important variable in routing. The chip load are the most critical variable in routing, but it’s also the one variable people most often guess at. They’ll find some forum post telling them how fast to spin their CNC router and dial in the perfect RPM, but if they don’t match that feed rate with what’s appropriate for their own bit, they’re going to have trouble. It’s easy math, but building the intuition take longer.
What Is Chip Load
Chip load represent how thick each shaving is. Too much and the bit stalls, chatters or breaks. Too little and it’s basically sanding with a belt sander. Friction heats up and you get fine dust clouds that fill your shop air and make it look like you’re burning something. So we want a happy medium where the material shave off in a single, clean cut ribbon.
That’s what the calculator does. It takes the feed rate and your spindle speed and spits out the all important chip load number. You put your bit size, flutes and desired feed in and it will tell you if you’re rubbing or cutting. That make all the difference in your surface finish.
The type of wood matter most when determining which settings to use. Some woods are more forgiving, including softwoods like pine. These cut easy with little resistance, allowing you to go fast and deep into material while still clearing away chips. Then there are harder woods like oak or maple that require more skill. You’ll want to pull back on speed and depth of cut just a bit more.
For example, a ¼ inch spiral bit cutting red oak versus one cutting baltic birch plywood is going to be different than before. The veneers in plywood can delaminate if you’re too heavy handed. That means sometimes the feed rate has to increase slightly to help keep edge clean. Other times, a compression bit might work better.
The charts that come with the tool give you some good starting places for those situations. They give you an idea where the suggested chip load change from a softer wood to a denser hardwood. Think of it as a starting place but not a hard rule. Final settings will depend on sharpness of your tool and the rigidity of your machine.
Stepover plays a huge role in this equation as does depth of cut. What may be the optimal chip load for shallow passes? Now double the depth and suddenly the load on each tooth skyrockets. The feed rate lag and the bit slows down. Chip load goes down. Heat goes up. This is where many operators get themselves into trouble.
They run a roughing pass at the proper feeds and then forget to adjust their feeds for the finish pass, or vice versa. And slotting is even more demanding. There’s nowhere for the chips to go when a bit is completely engaged in a slot. That’s why the calculator adjust the risk assessment based off your type of operation. If it flags a high heat risk, that tells you that the material is trapping energy. Reduce the stepover or slow down.
The last test is to listen to your machine. That high pitched constant whine is a good cut. An erratic chatter or a lower more growling roar are a bad cut. If it is too low and it growls, increase the feed. If there is too much chatter, reduce the depth. Your ears will tell you when you’ve got it and the tool puts you in the right area.
Getting it is a combination of numbers and noise. Once you master the mix of both, no more burnt edges. You get clean wood, sharp tools, and parts that fit together perfectly the way you designed them. Learning the math pays off because the feeling of a perfect cut would of been well worth the time spent getting it right.