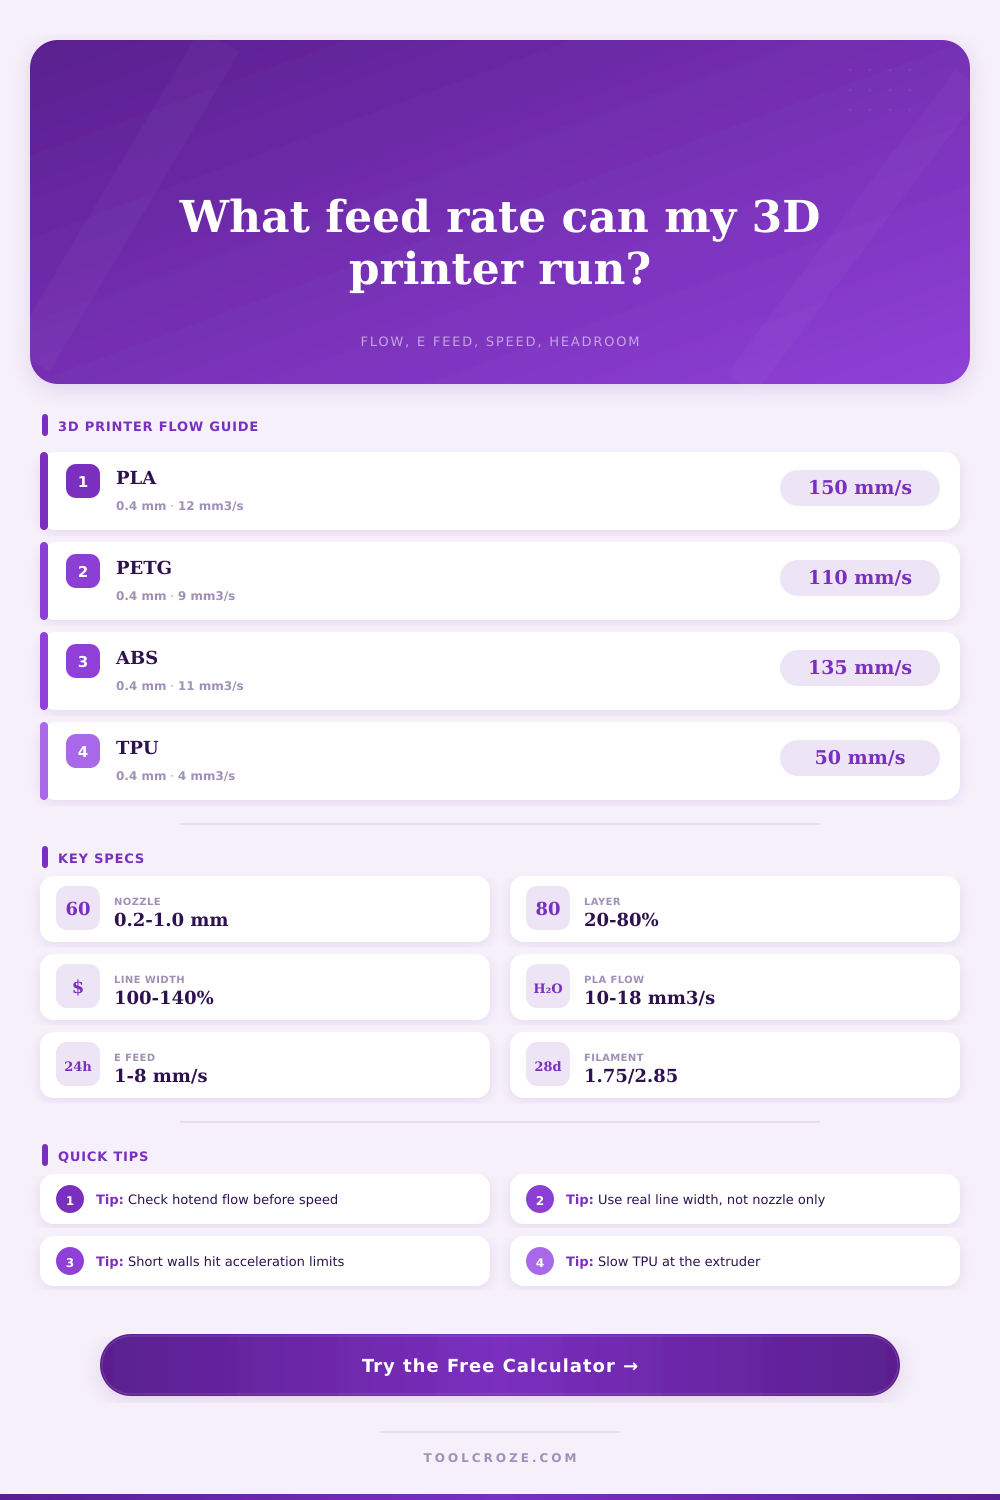
3D Printer Feed Rate Calculator
Estimate extrusion flow, filament E feed, acceleration-limited print speed, material flow headroom, and safe maximum speed from nozzle, layer, line width, filament, and hotend limits.
📌Printer and Material Presets
⚙Feed Rate Inputs
3D Printer Feed Rate Results
Full Breakdown
🧪Material and Nozzle Grid
📊Material Flow Reference
| Material | Typical Flow Limit | Feed Behavior | Use in Calculator |
|---|---|---|---|
| PLA / PLA+ | 10 to 18 mm³/s | Flows easily and tolerates higher speeds | Default for standard 0.4 mm nozzles |
| PETG | 7 to 12 mm³/s | Needs slower feed for shine and layer bond | Reduce outer walls before infill speed |
| ABS / ASA | 9 to 16 mm³/s | Good flow in an enclosure with stable heat | Use enough cooling control for corners |
| TPU 95A | 2 to 6 mm³/s | Extruder path compression limits E feed | Keep E feed conservative even if flow is low |
| Nylon / PA | 6 to 12 mm³/s | Moist filament increases pressure variation | Use dry filament before raising speed |
| Polycarbonate | 5 to 10 mm³/s | High temperature material, pressure rises fast | Use lower headroom for strong parts |
| CF nylon | 5 to 11 mm³/s | Abrasive filler and wider nozzles are common | Check hardened nozzle and real flow test |
| Wood-fill PLA | 4 to 9 mm³/s | Particles favor wider nozzles and modest speed | Use a lower flow cap than plain PLA |
📐Nozzle, Layer, and Line Width Reference
| Nozzle Diameter | Usual Layer Range | Normal Line Width | Flow Planning Note |
|---|---|---|---|
| 0.25 mm detail nozzle | 0.06 to 0.18 mm | 0.25 to 0.32 mm | Low flow, high detail, slower walls |
| 0.40 mm standard nozzle | 0.10 to 0.30 mm | 0.42 to 0.50 mm | Best baseline for slicer profiles |
| 0.60 mm draft nozzle | 0.18 to 0.45 mm | 0.62 to 0.72 mm | Flow limit is often reached before motion limit |
| 0.80 mm large nozzle | 0.24 to 0.60 mm | 0.82 to 0.96 mm | Needs high flow hotend for fast prints |
| 1.00 mm vase nozzle | 0.30 to 0.75 mm | 1.00 to 1.20 mm | Use slow speeds unless flow capacity is tested |
⚡Acceleration and Feature Speed Reference
| Feature Type | Common Speed | Acceleration Sensitivity | Feed Rate Note |
|---|---|---|---|
| Outer wall | 35 to 80 mm/s | High on small details | Quality usually limits before flow |
| Inner wall | 60 to 140 mm/s | Medium | Good place to raise speed gradually |
| Sparse infill | 100 to 250 mm/s | Low on long lines | Flow limit often controls real speed |
| Solid infill | 60 to 160 mm/s | Medium to high | Watch top-surface gaps at high flow |
| Support | 60 to 180 mm/s | Medium | Lower flow can improve removal |
| Bridge | 20 to 60 mm/s | High | Cooling and tension matter more than max flow |
🖨Material and Nozzle Max Speed Grid
| Material / Hotend | 0.4 mm Nozzle at 0.20 x 0.45 | 0.6 mm Nozzle at 0.28 x 0.66 | 0.8 mm Nozzle at 0.36 x 0.88 |
|---|---|---|---|
| PLA standard flow, 12 mm³/s | About 133 mm/s | About 65 mm/s | About 38 mm/s |
| PETG standard flow, 9 mm³/s | About 100 mm/s | About 49 mm/s | About 28 mm/s |
| TPU direct drive, 4 mm³/s | About 44 mm/s | About 22 mm/s | About 13 mm/s |
| High-flow PLA, 24 mm³/s | About 267 mm/s | About 130 mm/s | About 76 mm/s |
💡Feed Rate Tips
How fast does the extruder move? That’s the question we’re trying to answer here.
If you’ve printed before, I’m sure you’ve seen this happen: Your 3d printer chugs along until suddenly it’s stuttering or stopped entirely because it couldn’t keep up with amount being asked of it. For many people, they’ll put a speed down that makes sense in their head but doesn’t work when the machine hits go. Figuring out how much a hot end can push through is often the difference between a successful print and a fail. It’s where math meets mechanics. This calculator takes guesswork out by doing the work for you once you input your filament type and nozzle size.
How to Find the Right Print Speed
People make mistake of thinking “speed” only matters in mm/second. That’s not true. Volume comes first; speed is secondary. How much melted plastic needs to flow past the nozzle tip each second? It is more if you’re printing wider lines, and it is more if you’re printing higher layer. Printers can’t starve. Otherwise, they’ll have problems sticking layers together, or the filament break because the extruder slips. Think in terms of how many cubic millimeters of plastic your printer needs to shoot out each second (not just how far it has to go). Most people don’t understand that. That’s why inputs on the tool look like they do.
You input your line width, your layer height, and your nozzle diameter. Those three things determines the cross-section through which your filament is pushed out. Take the product of that area and multiply it by your target print speed. Then you have the flow rate you need. Compare that value to material limit you enter into the tool. That’s typically a function of your hotend design. With a stock brass nozzle, you’re probably capped at roughly twelve cubic millimeters per second, though with a high-flow, volcano-type hotend, you could be up near twenty-four. If the flow rate you’ve requested is more than what your hotend can handle, the calculator flags that. At that point, you know no matter how hard your stepper motors try, your speed settings simply won’t work for hardware you’re running.
Short features also rely heavily on acceleration. While printer may be able to hit maximum speed along long straight walls, it doesn’t have such freedom in tight corners or small details. It has to accelerate and decelerate frequently. Based off both your acceleration settings and your typical segment length, the tool will estimate what average speed is likely to be. That’s key, as it sets realistic expectations. You can have the printer run at a hundred millimeters per second, but with slow acceleration the actual average speed could be just sixty. When trying to predict surface quality or total print time, that makes all the difference.
The safe operating range depends upon material. Some materials string out easy (PETG) when forced at high speed. Other materials is stiffer and need to be pushed slower or the drive gear compresses the material (TPU). Some materials are forgiving and can easily be pushed harder without issue (PLA). The table on the page includes typical maximums for each material as reference. These aren’t hard and fast, but a great place to start. If you set a TPU preset, it will automatically lower the flow limit to protect against the most likely problem, under-extrusion.
The E feed rate is another thing to consider. It’s the rate that filament is fed through the hotend. If you use higher ratio extruder gears or more flexible materials, a feed rate that is too high can cause problems. Instead of teeth on the extruder pushing the filament smoothly, they’ll strip away the surface of the filament. You’ll know something is wrong because you will hear some grinding sounds before you see any visible signs of defects on the print. This could of saved you from hours of bad prints and is something the tool tests for you.
It’s all about finding the balance. You want fast, but not at the expense of reliability. The calculator highlights the bottleneck, such as an extruder limit. Is it the hotend flow? It shows if the motion system acceleration is the limit. This lets you see the constraint and then use the right lever. Maybe you need to drop down a layer height. Maybe you need a bigger nozzle. Maybe you just need to learn to live with a slower wall speed on short walls. But whatever the constraint is, knowing lets you stop guessing and start optimizing.
The math doesn’t lie. It only tells you where the friction is. Then you know what is holding back your print and go from there.
The feed rate isn’t just some arbitrary number. It connects your digital model to physical world. And if you keep this bridge strong, the prints will follow.