Joist Notch Calculator
Check sawn wood joist notches and bored holes against common depth ratios, span zones, bearing distance, edge clearances, I-joist restrictions, and remaining section depth.
⚙Plumbing And Electrical Presets
📏Joist And Cut Inputs
Joist Rule Check
Breakdown
📊Current Rule Grid
📐Common Sawn Joist Rule Table
| Cut Type | Common Limit | Allowed Zone | Clearance Check | Calculator Flag |
|---|---|---|---|---|
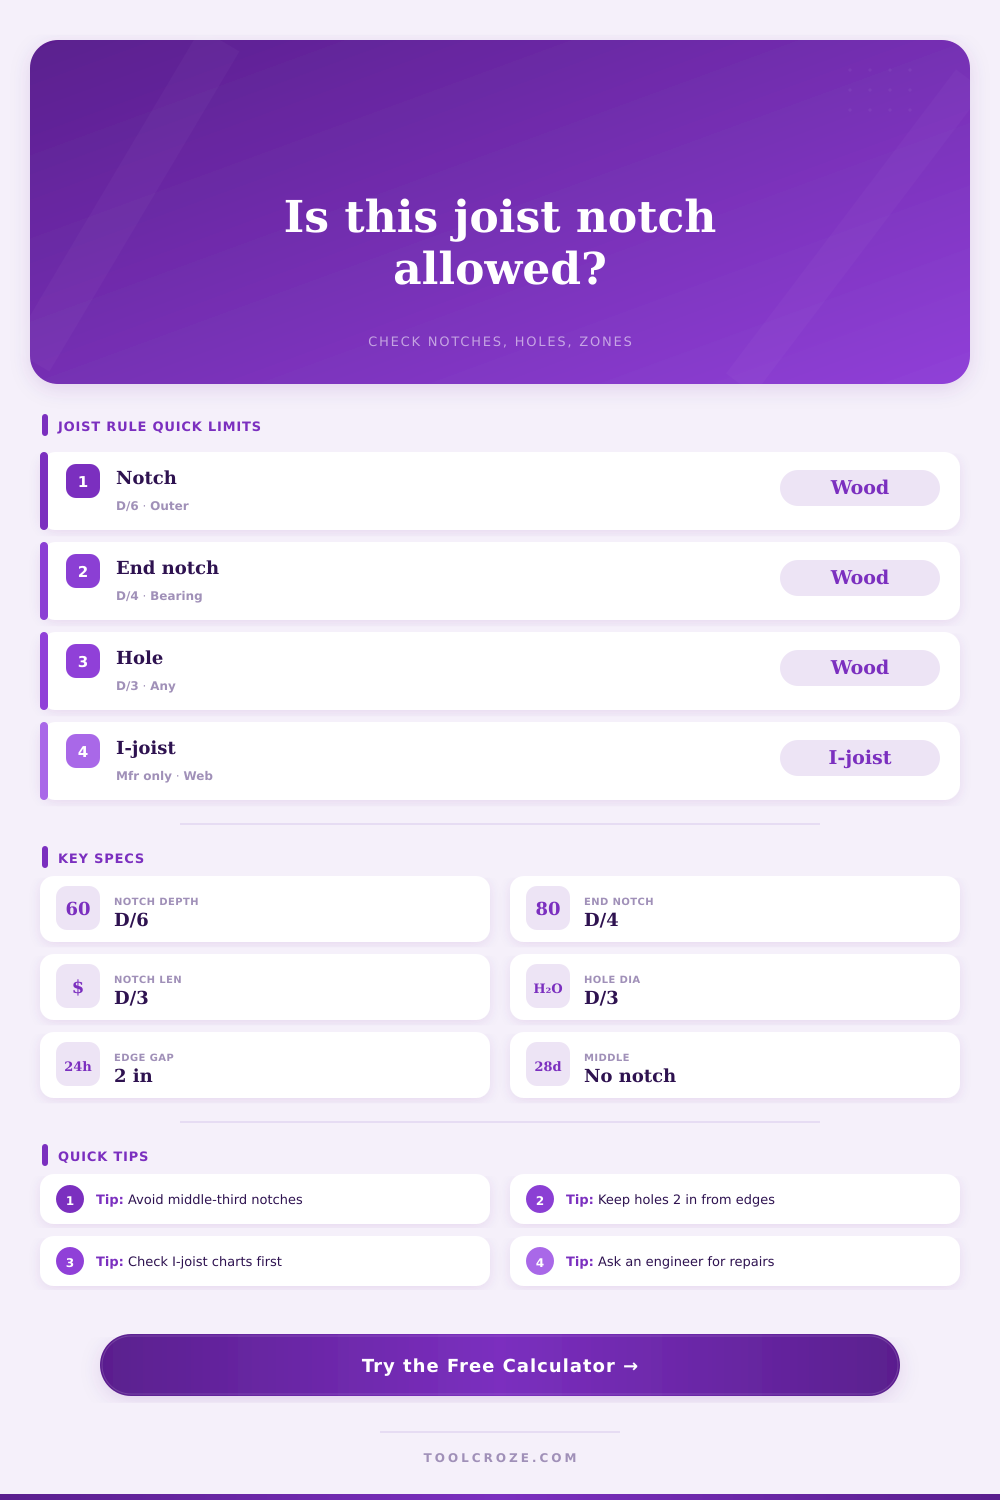
| Regular top or bottom notch | Depth not over joist depth / 6; length not over depth / 3 | Outer third only | Avoid bearing seats and other cuts | Depth, length, and zone |
| End notch at bearing | Depth not over joist depth / 4 | At joist end or support area | Use only where end bearing remains adequate | End notch depth and bearing distance |
| Bored round hole | Diameter not over joist depth / 3 | Any span zone when edge rules pass | Hole edge at least 2 in from top and bottom | Diameter, edge gap, spacing |
| Middle-third notch | Not permitted by common sawn-joist rule | Middle third of span | Repair design usually needed | Automatic fail / review |
| I-joist flange cut | Do not notch or cut flanges unless designed | Manufacturer detail only | Web holes follow product charts | Manufacturer approval required |
📏Actual Joist Depth Examples
| Nominal Joist | Actual Depth | D/6 Notch | D/4 End Notch | D/3 Hole |
|---|---|---|---|---|
| 2x6 | 5.50 in | 0.92 in | 1.38 in | 1.83 in |
| 2x8 | 7.25 in | 1.21 in | 1.81 in | 2.42 in |
| 2x10 | 9.25 in | 1.54 in | 2.31 in | 3.08 in |
| 2x12 | 11.25 in | 1.88 in | 2.81 in | 3.75 in |
| LVL / engineered lumber | Varies | Manufacturer | Manufacturer | Manufacturer |
🛠Plumbing And Electrical Opening Examples
| Opening Use | Typical Size | Better Placement | Common Issue | Calculator Input |
|---|---|---|---|---|
| NM cable bundle | 3/4 to 1 in hole | Centered vertically in joist | Too close to joist edge | Hole diameter and edge clearance |
| PEX supply pair | 1 to 1-1/4 in hole | Outer or middle span if hole rules pass | Clustered holes too close together | Hole spacing and diameter |
| 1-1/2 in drain pipe | 2 to 2-1/2 in hole | Centered in deeper joist | Oversize in 2x8 framing | Hole diameter versus D/3 |
| Closet bend or tub trap | 3 to 4-1/2 in opening | Reroute or frame opening | Too large for many joists | Review flag and remaining section |
| Small duct or boot | Rectangular notch | Designed framed chase | Middle-third notch | Notch depth, length, zone |
📝Span Zone Reference
| Span Zone | Location From Bearing | Notch Screen | Hole Screen | Why It Matters |
|---|---|---|---|---|
| Left outer third | 0 to 33.3% of span | Possible if depth and length pass | Possible if hole limits pass | Higher shear near bearing |
| Middle third | 33.3% to 66.7% of span | Not allowed by common sawn rule | Possible if edge and diameter pass | Higher bending demand |
| Right outer third | 66.7% to 100% of span | Possible if depth and length pass | Possible if hole limits pass | Higher shear near bearing |
| At support | Very near bearing end | Use end notch D/4 screen | Keep hole edge clear of bearing | Bearing seat must remain sound |
💡Joist Cutting Tips
You have a beautiful hardwood floor in your living room, and suddenly your plumber tells you that getting the new toilet drain to the wall requires cutting through a 2×10 joist. OK, that’s easy enough. You get out your saw, cut through wood, fit in your pipe, and you are finished. Years from now, floor might start to sag. Why? Because you probably didn’t cut the right portion of the joist. That’s the piece of wood whose cutting defies rules that make the floor stiff. Cutting it weakens the structure. Not only do you have to fit the pipe; you have to maintain stability of the floor.
But it’s realy simple with the calculator. You still has to plug in your joist dimensions and cut specifics, but it handles math for you once you do. It just figures out the math for you. You won’t make any more expensive errors from floors bouncing because you didn’t understand what numbers meant.
Why You Must Check Before Cutting Floor Joists
The best thing is this span zone stuff. Each part of the floor joist perform differently based off where it is on the joist. The first and last third are under shear force (from the wall). You can get away with notching in these spots as long as you don’t go above limit of how much you can reduce the depth. The middle third are under bending stress, which means you shouldn’t be cutting into it. Why? Because you’re taking away material that makes the joist straight. That weakens the floor.
If it’s not too deep, there’s a code exception that permits a notch in the outer third. The notch can be no more than one-sixth of the joist depth. In other words, on a 2×10 joist, you can’t notch as far as roughly 1.5 inches. Anything larger reduce the strength of wood. The table of references makes all this clear. You see here where code applies to both notching and round hole. Notching is usually more risky business. It removes support from above and below unless you center the cut, which is why round holes are usualy safer.
I-joists are engineered to be different than solid wood. They need to be treated differently. What makes an I-joist strong is bond between the web and the flanges. When you cut into the flange even by a fraction of an inch, it can destroys that engineered bond. That’s what the calculator warns about right away. Cuts in an i-joist aren’t a one-size- fits all deal. Each manufacturer has a chart of where they can be cut. Follow the specs on product to a T. Don’t cut it if you don’t have the chart.
Common issues includes plumbing and electrical problems. Many times, holes is just too large for small joists. No matter where they are located, a large hole can be too much. The calculator tests if the size exceed one third of its depth. Then it tests edge clearance. At least two inches of wood should remains from the edge to the hole. That way it distributes stress around the opening without splitting.
Space out multiple cable or pipes. Cuts clustered together form a weak area, they are like a row of small notches that increase the damage. Take note of what comes out of the other end of the tool (the remaining section). That will tell you how much wood remain to do the job. The lower that number, the more likely the floor is to deflect, leading to a sag or bounce. Best not to fix later with new floor but rather reroute a pipe now.
Knowing these trade-offs gives you the tools to make smart decisions. No pun intended, but you’ll avoid making a mistake before you even pick up a saw. You should of checked first. Joists are not just lumber; they’re structural components designed to carry certain loads. They’re calculated accordingly. Every time you cut one you change this calculation. The tool allows you to test yourself and see where those limits is. If you respect these important zones, you keep the floor safe. That means the floor will last for decades different than requiring repair. You want the floor to stay solid.