Concrete Block Shed Calculator
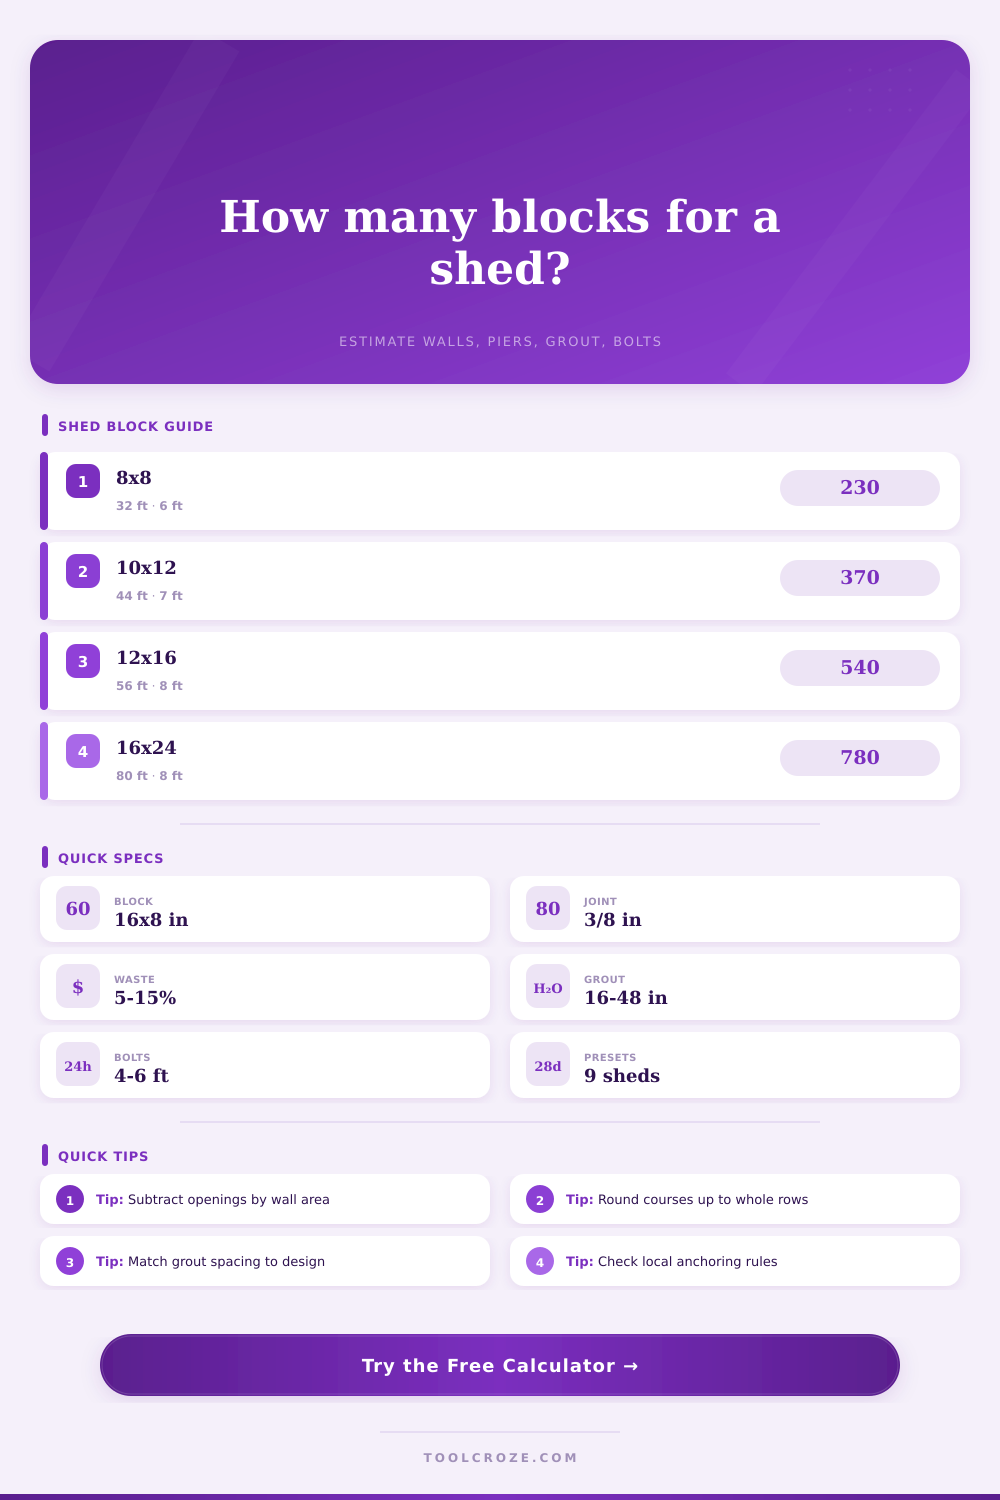
Estimate shed block wall takeoff quantities from perimeter, wall height, door and window openings, courses, pier spacing, mortar, grout cells, and anchor bolt layout.
Shed Block Takeoff
Full Calculation Breakdown
| Shed Use | Plan Size | Wall Height | Typical Openings | Takeoff Note |
|---|---|---|---|---|
| Garden storage | 8 ft x 8 ft | 6 ft | One 3 ft door | Short wall and few cuts |
| Tool shed | 8 ft x 10 ft | 6.7 ft | 4 ft door, one window | Light anchor layout |
| Mower shed | 10 ft x 12 ft | 7 ft | 6 ft double door | Large door deduction |
| Workshop shed | 12 ft x 16 ft | 8 ft | Double door, two windows | Common full-height CMU wall |
| Equipment shed | 16 ft x 24 ft | 9.3 ft | Wide door and windows | More piers and grouted cells |
| Nominal CMU | Module Face | Face Area | Blocks Per 100 ft² | Best Shed Use |
|---|---|---|---|---|
| 4 x 8 x 16 | 16 in x 8 in | 0.889 ft² | 113 blocks | Nonbearing partitions or veneer |
| 6 x 8 x 16 | 16 in x 8 in | 0.889 ft² | 113 blocks | Light stem walls |
| 8 x 8 x 16 | 16 in x 8 in | 0.889 ft² | 113 blocks | Common shed foundations |
| 10 x 8 x 16 | 16 in x 8 in | 0.889 ft² | 113 blocks | Taller or heavier walls |
| 12 x 8 x 16 | 16 in x 8 in | 0.889 ft² | 113 blocks | High load or retaining zones |
| Layout Item | Common Spacing | Calculator Count | Useful Check | Planning Note |
|---|---|---|---|---|
| Vertical grout cells | 16 to 48 in | Perimeter divided by spacing | Round up to full cells | Engineering or code controls spacing |
| Corners | Each corner | Included as minimum cells | Keep corners reinforced | Openings may need extra cells |
| Piers or pilasters | 6 to 10 ft | Perimeter divided by spacing | Add at corners and jambs | Useful for long shed walls |
| Anchor bolts | 4 to 6 ft | Perimeter divided by spacing | Round up and add corners | Plate, sill, or bond beam anchor |
| Bond beam | Top course | Perimeter by block length | One course around wall | Often used below framed roof plate |
| Material | Calculator Basis | Typical Allowance | What Changes It | Field Check |
|---|---|---|---|---|
| Mortar bed joints | Course length x joint x wall thickness | All horizontal courses | Joint thickness and block width | Includes a waste factor |
| Mortar head joints | Block count x joint x face area | One head joint per block | Half blocks and corner cuts | Estimate only, not mix design |
| Grout cells | Cell count x height x core area | 0.06 ft² per 8 in block core | Block type and reinforcement layout | Confirm actual core geometry |
| Bond beam grout | Perimeter x bond beam core area | Top-course continuous fill | Bond beam block shape | Add only when used |
Don’t think of building a block shed as just putting together a box over a weekend. A wooden framed structure is fine but concrete masonry units are another matter. Block building mean working with weight, volume and reinforcement so the walls don’t buckle under roof load or soil shift.
Before laying down your first block, you must know exactly how many blocks you will need. The calculator do all the grout volume and door opening calculations for you. It saves you from buying excess material and running out during a rainy Saturday.
How to Plan Your Block Shed
Here’s where the math come in: The blocks’ nominal dimensions are what they’re listed by, eight inches high (with the mortar joint) by sixteen inches long. Generally, the mortar joint is approximately three-eighths of an inch thick. Don’t forget to account for it; it matters. Without the joint allowance, you’ll be shortening the actual block size when you does your calculations. That creates a gap that both looks unfinished and weakens the bond. The tool assumes the module size, not the core size; it makes sure your courses matches what the actual wall height turns out to be.
Estimates fail at openings. They estimate the sq ft of their wall and then deduct the sq ft of their door. Then they neglect to account for broken blocks that don’t divide neatly into fractions. Remember, you can’t cleanly split a block into fractional amounts. If you have to cut one to fit around a door jamb, it’s going to be scrap. Account for waste. Five to fifteen percent is normal. That accounts for all those blocks that broke while being handled. Or there were the ones you had to cut to fit the corner. It could also be for the first few courses when you made a mistake. After calculating how many net blocks you’ll use, the calculator apply a waste factor. This is the safety margin that keeps you from running out at the last minute and busting your budget.
The structure is honest because it is reinforced. This isn’t stone laid haphazardly. You’re making a composite material. The grouted cells plus the vertical piers makes up the tensile strength that concrete alone doesn’t have. How widely spaced those vertical piers are matters. Under lateral pressure (soil pressure and/or wind uplift) the wall could bow in between those pier. The table of references will help you visualize that. For instance, a very small garden shed may only need minimum reinforcement. In contrast, a big workshop requires a denser grid of piers with their corresponding anchor bolts to resist soil pressure and wind uplift.
People often underestimate the volume of mortar and grout. A small amount doesn’t seem like much on its own, but it multiplies fast in a big shed! This is calculated based off joint thickness and course lengths (the length across which they run).
A small amount doesn’t seem like much on its own, but it multiplies fast in a big shed! This is calculated based on joint thickness and course lengths (the length across which they run). It identifies head joints from bed joints (which recieve different applications). Head joints connect blocks laterally to tie the wall together vertically; they’re the ones running along the height of the wall. Bed joints are the ones that hold the weight of the blocks above them: the ones running horizontally. Knowing the difference will let you mix enough mortar for every phase of construction.
The last key component is securing the roof plate to the foundation of the block. At evenly spaced intervals along the top course, anchor bolts must be set into the foundation. Failure to do this results in a weak spot where the roof will pull loose during high winds. Because it accounts for the distance between each bolt (spacing), the calculator tells you how many anchors you will need to fully secure the perimeter. It rounds up because you don’t get half a bolt.
A block shed teaches lessons of precision. A little detail makes all the difference: whether it will stand up for 5 or 50 years. Measure twice; calculate well; reinforce enough. Get your takeoff correct, and the walls go up straight and true. They will support the siding, the roof, and everything else you want to put inside. You should of planned for this too.