
Remove the battery: Remove the battery before starting work on drill to stay safe. This will also make it lighter to work with.
There are multiple screw securing the shell. A few is located around the trigger area and under rubber pads. Use the right screwdriver so you don’t damage the screw heads.
Inspecting Internal Components
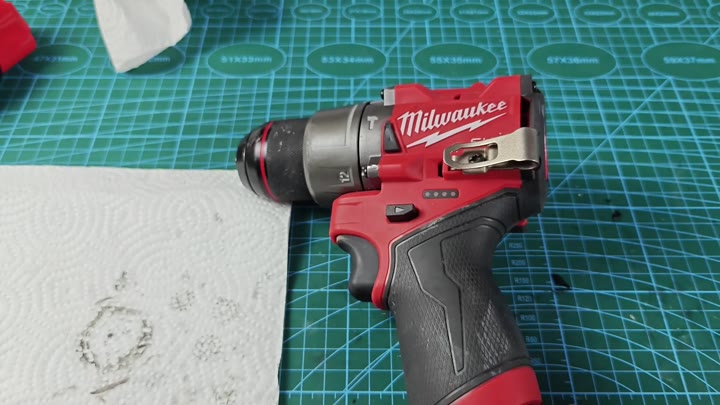
After removing fasteners, you pull the two housing halves apart. Avoid using a metal tool if possible since it will damage internal wiring or scratch up finish; use a plastic pry tool instead.
As you open the case, you mark where each wire is located. Before unplugging any switches or trigger assemblies, you map out their plug locations on main board, as these are delicate components.
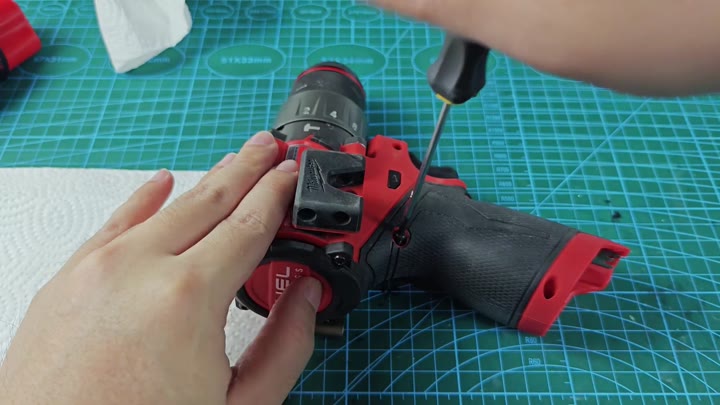
It’s a single piece with the motor and gear box. This thing weigh a bunch so you hang onto it when you’re pulling it through. It comes straight out of handle like that.
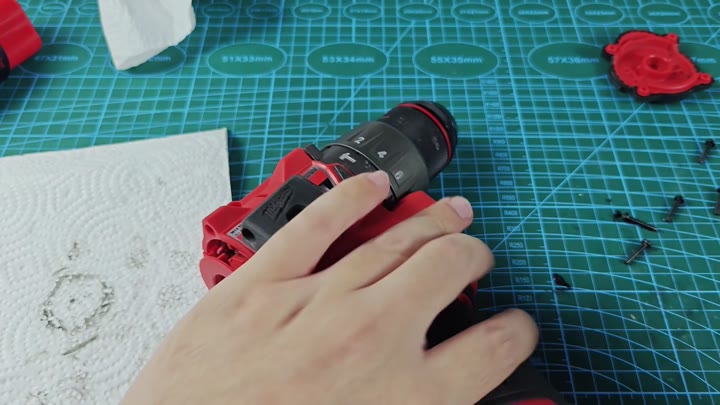
Now we get to see what’s inside. Laying out all of the pieces on a nice clean work surface help keep order with the parts.
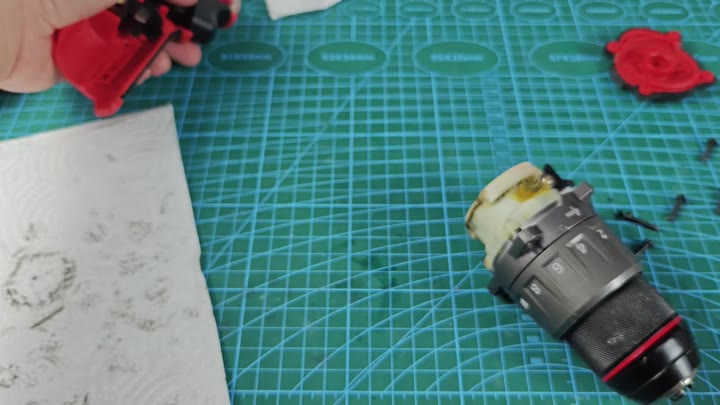
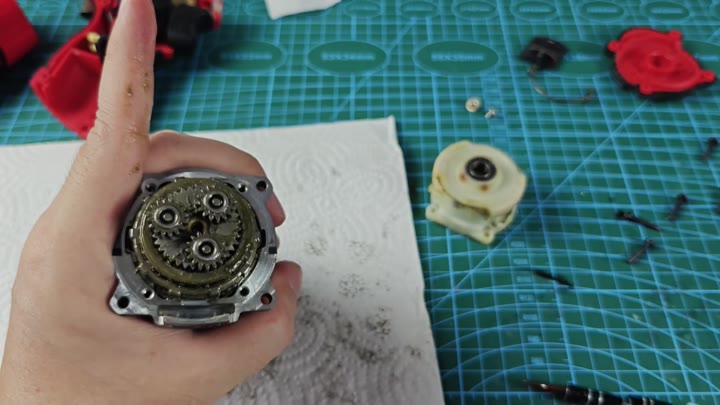
It prevents the loss of your shims and gears.
Check gear set for any signs of wear and tear or missing lubricant; is the clutch operating smoothly? Is the clutch operating smoothy?
Sometimes that mode selector ring get dirty. Grinding sounds can come from a loose bearing ball, so it is often a reason to take apart the beast. Clean out the grime and you’ll have a better feel for the tool.
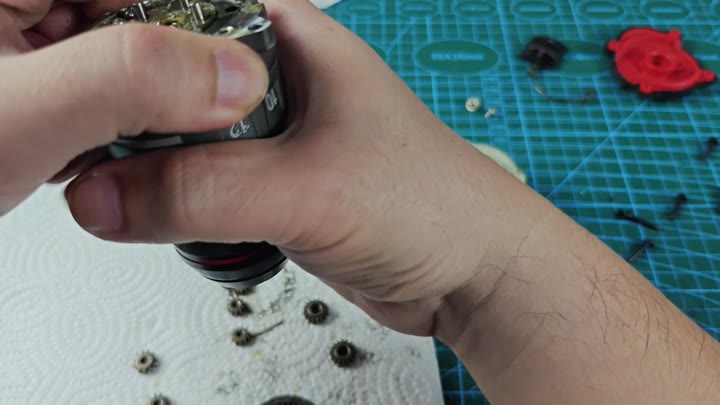
Gears is small and precise. Check all of them for any flat spots or chips. If you has damage to the teeth, it’s replacement time.
On the smaller pinion you might notice some light scoring but that is normal. Make sure they aren’t deep gouges.
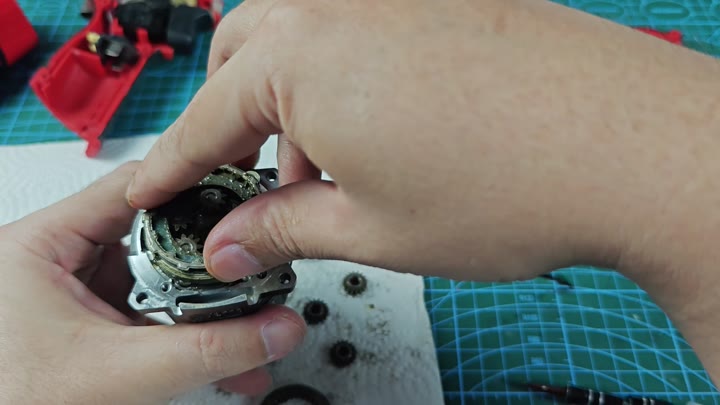
In reverse order, you rebuild the tool. First, put gearbox and motor back inside the shell. Next, attach wire harnesses just as they were originaly attached.
Check to make sure the trigger switch is oriented correctly or your drill won’t fire correctly. Carefully line up screw holes before closing the case.
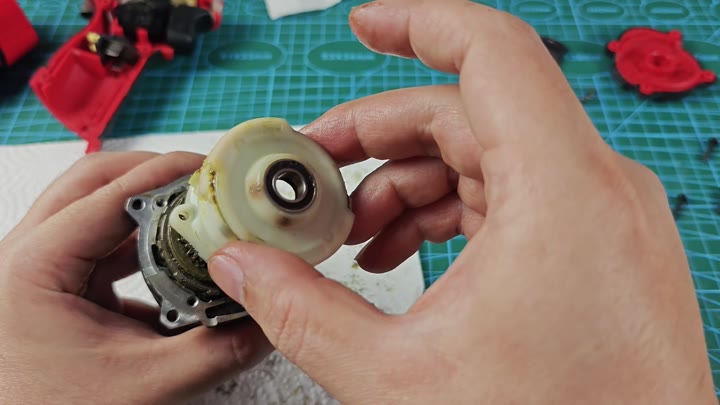
First, you don’t want to cross-thread so you thread the screws back in manually. Once they’re started, then you use driver to tighten them down. Overtightening will crack plastic housing.
Next, put the battery back into place. Then you fire up the tool and work through several different speeds to make sure everything works like it should of.
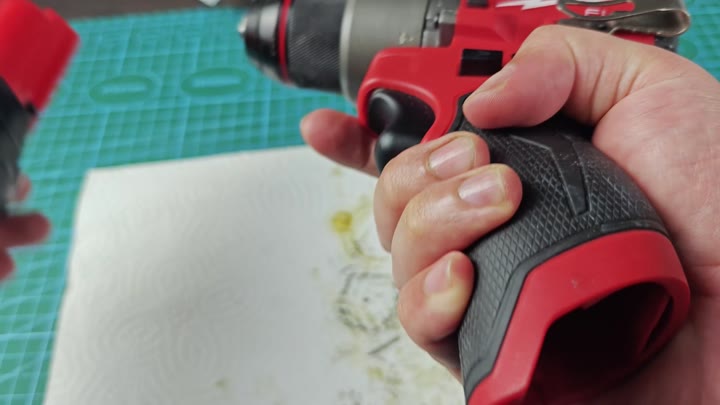
The M12 models differ slightly from one another. Switch layout and clutch adjustment may be different than some models. If you’re not sure what to look for, read the manual. This guide covers general process for most standard drills.
The majority of these drill operate the same way with similar components. And the outcome is a like-new drill that’s cleaned and in tip-top shape.
Be nice to little plastic clips. They will snap if forced. Take your time and reap the rewards later.
It’s a repeatable process, but that’s how it goes. Don’t rush the wiring, as this is most important piece. The payoff are worth the work.
Now your drill runs better. No more annoying noise. The torque feel consistent. The whole thing was simpler then expected. Keep those parts sorted out.
