Segmented Bowl Angle Calculator
Size segmented woodturning rings by segment count, rough diameter, wall thickness, saw kerf, taper bevel, stave length, and board yield.
Segmented Ring Cut List
| Segments | End miter | Central angle | Ring character |
|---|---|---|---|
| 8 | 22.500° | 45.000° | Bold polygon, fast glue-up |
| 10 | 18.000° | 36.000° | Lidded boxes and small forms |
| 12 | 15.000° | 30.000° | Classic beginner bowl ring |
| 16 | 11.250° | 22.500° | Smoother wall with manageable parts |
| 24 | 7.500° | 15.000° | Feature rings and gentle curves |
| 32 | 5.625° | 11.250° | Large platters and fine rims |
| Finished OD | 12 segments | 16 segments | 24 segments |
|---|---|---|---|
| 6 in / 152 mm | 1.61 in / 40.8 mm | 1.19 in / 30.3 mm | 0.79 in / 20.0 mm |
| 8 in / 203 mm | 2.14 in / 54.4 mm | 1.59 in / 40.4 mm | 1.05 in / 26.8 mm |
| 10 in / 254 mm | 2.68 in / 68.1 mm | 1.99 in / 50.5 mm | 1.32 in / 33.4 mm |
| 12 in / 305 mm | 3.22 in / 81.7 mm | 2.39 in / 60.6 mm | 1.58 in / 40.2 mm |
| Blade kerf | Typical use | Effect on 24 cuts | Shop note |
|---|---|---|---|
| 0.063 in / 1.6 mm | Ultra-thin feature strips | 1.51 in / 38 mm lost | Needs very stable sled support |
| 0.090 in / 2.3 mm | Thin-kerf table saw blade | 2.16 in / 55 mm lost | Good balance for small bowls |
| 0.098 in / 2.5 mm | Common thin-kerf carbide | 2.35 in / 60 mm lost | Use for many bowl blanks |
| 0.125 in / 3.2 mm | Full-kerf rip/crosscut blade | 3.00 in / 76 mm lost | Plan longer stave strips |
| Ring location | Usual segments | Allowance | Reason |
|---|---|---|---|
| Foot ring | 8-12 | 0.08-0.12 in | Needs chucking and truing stock |
| Belly ring | 12-18 | 0.06-0.10 in | Most visible curve of the bowl |
| Feature ring | 24-48 | 0.04-0.08 in | Small parts magnify kerf errors |
| Rim ring | 16-32 | 0.06-0.12 in | Leaves room for final rim profile |
Woodturners is familiar with the special kind of frustration that accompanies spending three hours cutting out segments to discover ring is an oval. Why? Because what looks like geometry on computer screen isn’t necessarily the same than the geometry on the work bench.
The width of your saw blade, the thickness of the walls, and how many segments you want all affects the angle at which you’ll have to make each cut. It’s a lesson learned by turners by throwing away scrap pieces. Doing math before picking up your tools can save you time and material.
How to Plan Your Woodturning Project
The calculator I’ve linked here will run numbers for you. Trig equations becomes concrete lists of cuts.
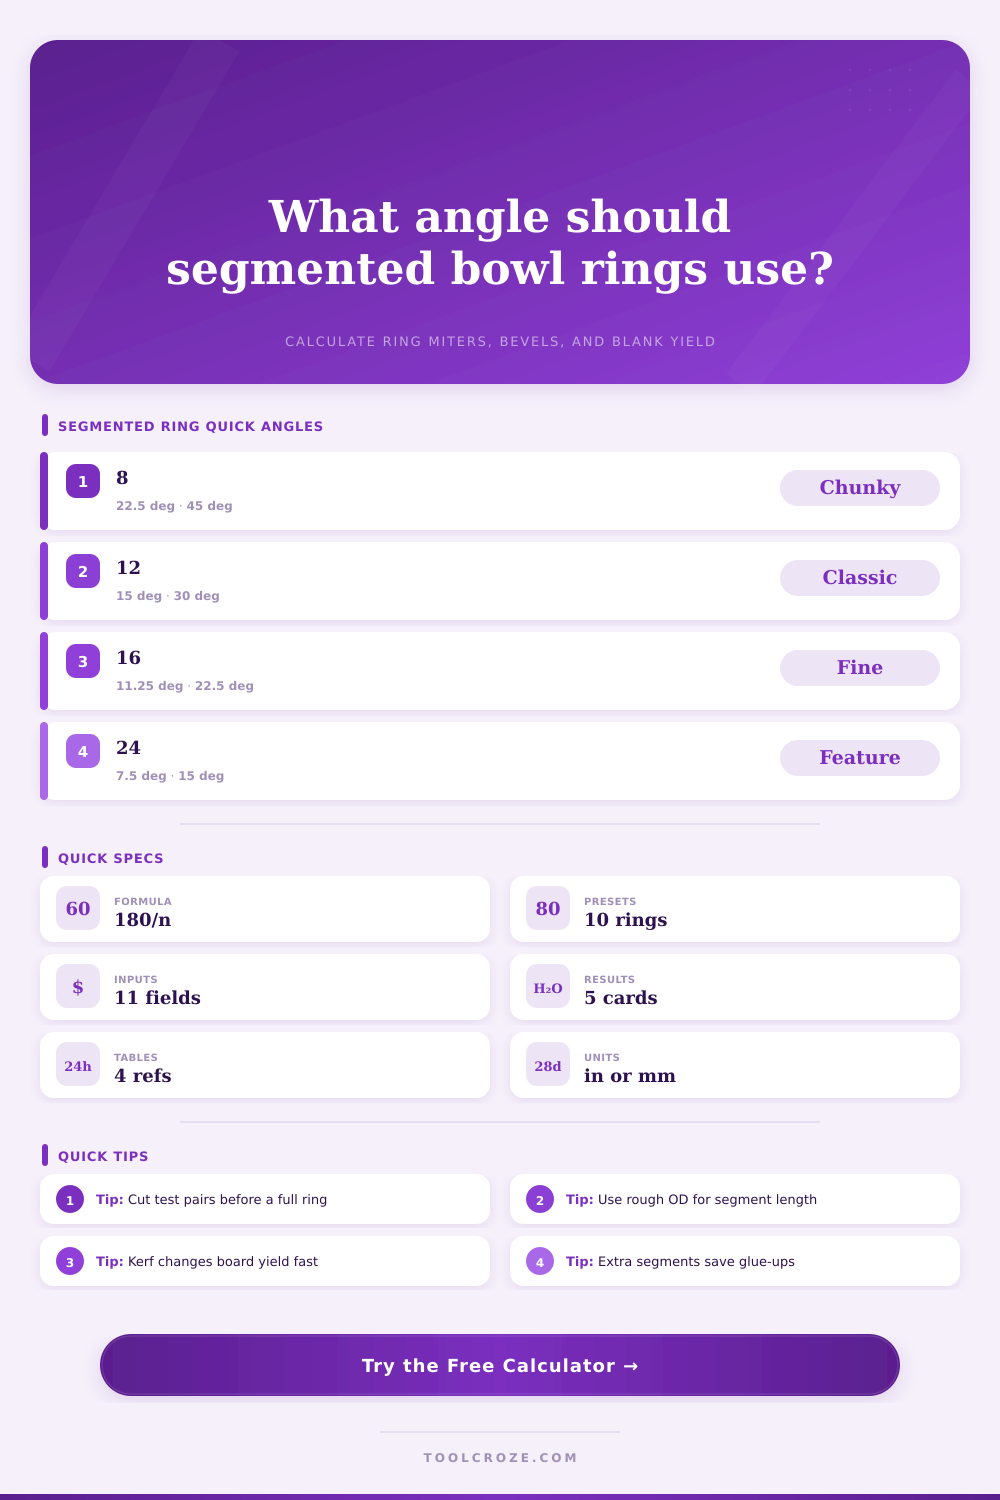
Segmented turning rely heavily on the miter angle. For example, if you’re creating a 12-segment bowl, then each individual segment require a 15 degree cut (half of its angle in the middle). Sounds easy? Not so fast. The result depends based off the saw blade.
Each time the blade passes through wood, it takes away some of the material. That’s called kerf. Unless you account for it, each ring at the end won’t be big enough to hold the pieces which leaves gaps between segments. To make up for this, the tool allows you to enter width of your particular blade so length of each calculated segment can be adjusted accordingly. The resulting pieces fit perfectly, no gap.
How many segments? That’s a decision about how detailed or smooth it should of be. Eight segments makes a chunky bold looking bowl. Not bad for being really fast to glue up. Twenty four or thirty two will make a gentle smooth hardly visible curve.
But it also dramatically reduce your tolerance for cutting errors. Even a tenth of a degree off on your miters means a visible step at the joint. You can see from chart on the page how the central angle gets smaller the more segments there are. So you decide whether you want something smooth or rustic.
Geometry also has a lot to do with wall thickness. If you’re making thick-walled bowl, you’ll notice your segment need to be shorter in the inside edge and longer on the outside than they would for thin-walled one. This creates a taper.
This can sometimes mean you have to cut something on face of the segment if you want to build a really pronounced shape for a bowl. To account for those tapered rings, the calculator use trigonometry to find a bevel angle. When cut at this angle, all of your pieces will line up perfectly with the curve. Otherwise, your bowl could look great on the outside but have stepped joints on the inside that just can’t be sanded out.
The choice of material also gets more attention than most acknowledge. Beginners should start with hard maple. It cuts cleanly with a crisp edge, is stable, and is forgiving. Other hardwoods such as purpleheart are dense; others such as padauk is brittle. These will not behave the same way naturaly.
The blade’s pressure causes them to splinter or crush at the joint, which widens the gap between segments. If you don’t plan for this waste in your length of stock you’ll be adding some. By allowing you to trim away spare segment, the tool compensates for the waste.
The more, the better. I always cut 20 percent more because some pieces inevitably gets lost or cracked during the glue-up process. This way, you have some spares on hand.
There’s also this last variable that math doesn’t quite account for: clamping pressure. Wood has its own way; even if you cut it perfectly, it move. In order to bond, the surface needs to compress a bit so that the glue can spread. And this compression can throw off angles by fractions of a degree.
That’s why it’s so important to cut a few test pairs from scrap wood first before you invest in good lumber. Lay the long faces down. Turn one piece over and line up the long faces again. Do you see any light between the two? Your sled is off, fix it now or fix it later with some more scrap wood.
Preparation is the antidote for frustration. Once you have calculated the number of strips to cut out of each piece of stock, you can eliminate guesswork. Then you can begin construction. Knowing the yield of each board eliminates waste and increases efficiency. Your piles of wood go from unruly to organized and your projects becomes projects.
Less time wasted at the table saw means more time spinning in front of the lathe. What you’re really aiming for isn’t making a bowl, but making one confidentely. When you know that all the time spent calculating produce results, those hours feel like a worthwhile investment.