Roof Rafter Angle Calculator
Calculate rafter pitch angle, plumb cut, seat cut, line length, birdsmouth layout, and hip or valley references from roof span, pitch, overhang, and stock size.
⚒Rafter Presets
📐Roof Inputs
Rafter Layout Results
📏Geometry Grid
📋Reference Tables
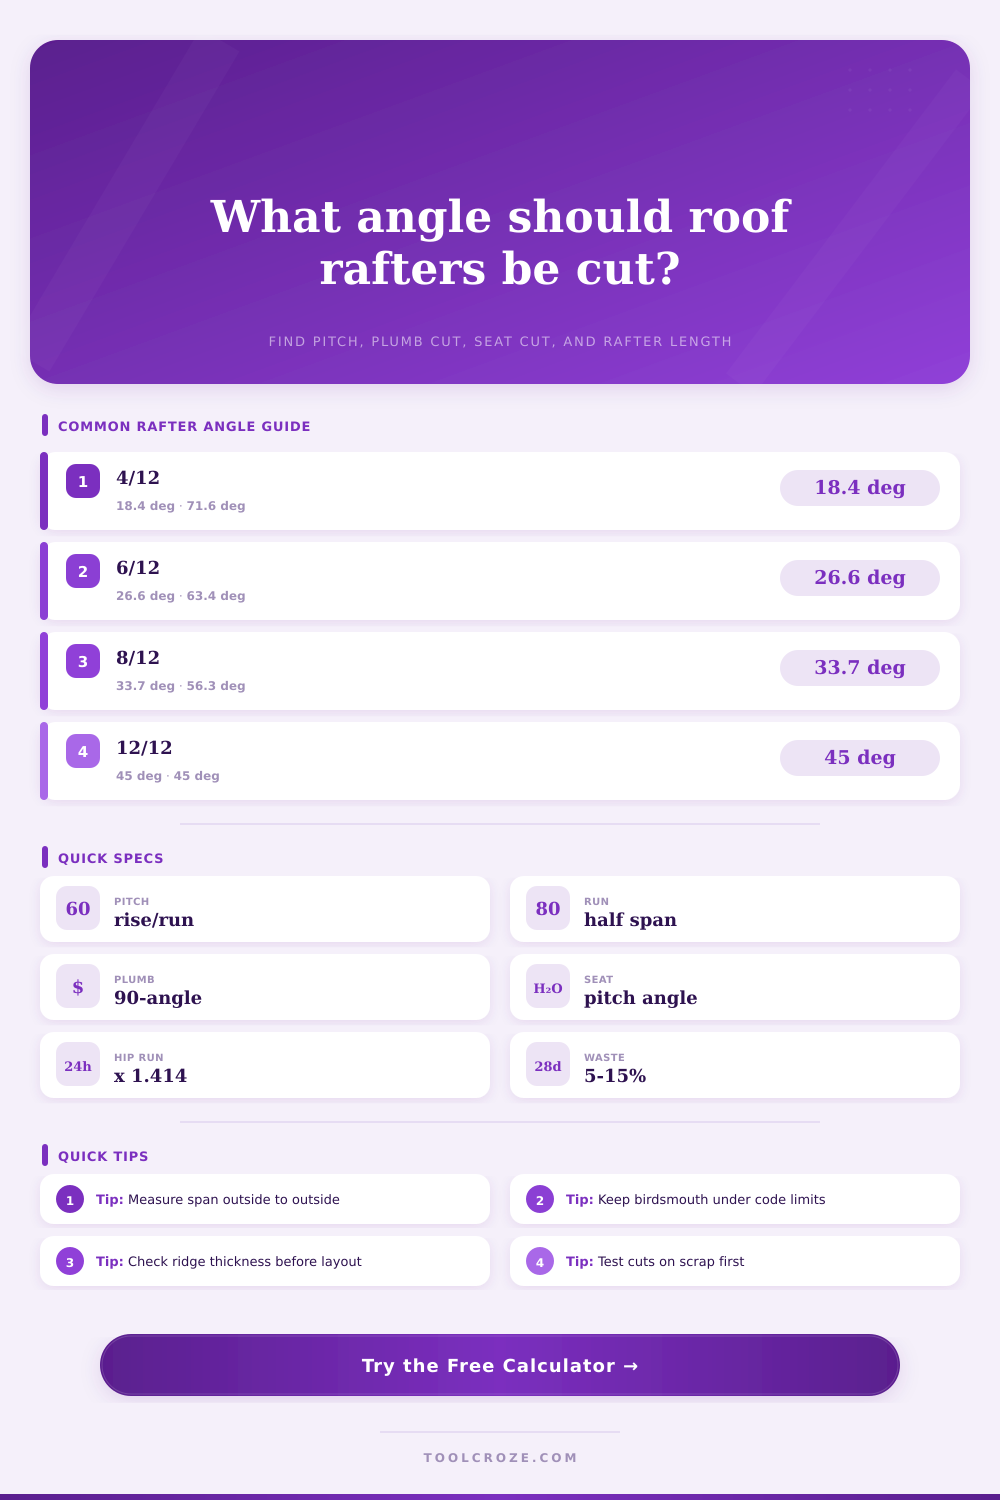
| Pitch | Pitch angle | Plumb cut from edge | Common length per ft run |
|---|---|---|---|
| 3/12 | 14.0° | 76.0° | 12.37 in |
| 4/12 | 18.4° | 71.6° | 12.65 in |
| 5/12 | 22.6° | 67.4° | 13.00 in |
| 6/12 | 26.6° | 63.4° | 13.42 in |
| 8/12 | 33.7° | 56.3° | 14.42 in |
| 10/12 | 39.8° | 50.2° | 15.62 in |
| 12/12 | 45.0° | 45.0° | 16.97 in |
| Rafter type | Plan factor | Plumb reference | Layout note |
|---|---|---|---|
| Common | 1.000 | Use pitch rise over 12 | Ridge to wall plate |
| Jack | 1.000 | Same as common | Shortens by spacing step |
| Hip | 1.414 at 45° | Use pitch rise over 17 | Outside corner to ridge |
| Valley | 1.414 at 45° | Use pitch rise over 17 | Inside corner to ridge |
| Birdsmouth item | Formula reference | Typical limit | What to check |
|---|---|---|---|
| Heel depth | User input | Often 1/4 depth | Local code and design |
| Seat width | heel / tan(angle) | Plate bearing width | Full bearing on wall |
| Remaining depth | stock - heel | Do not over-notch | Rafter strength |
| Tail drop | overhang x pitch | Project specific | Fascia height |
| Compound reference | Use on | Starting value | Adjustment |
|---|---|---|---|
| Common plumb | Common and jack | 90° - pitch angle | Square saw cut |
| Hip plumb | Hip and valley | atan(pitch / plan factor) | Lower than common angle |
| Side cut | Cheek at ridge | atan(sin plan x tan pitch) | Reference, verify fit |
| Backing bevel | Hip top arris | atan(tan pitch / plan factor) | For equal-pitch roof |
🛡Layout Tips
So if you have framed a roof by eye before you might notice that there isn’t always a stack of lumber that fits perfect together. It is not because you can’t cut lumber, but more often because of the geometry within pitch itself.
Applied trigonometry for roof framing, but no math degree required. You just need a respect for angles. Define your rise and span then let the calculator do the rest. Raw dimensions becomes exact cut lines. Less guesswork means less time calculating and more time cutting.
Why Roof Framing Is Hard and How to Fix It
The key to all of that is pitch. Pitch is not the same thing as slope, but rather a ratio of rise divided by run. Normaly we express that in inches of rise per twelve inches of run. So if the roof rises six inches for each foot it runs out, that’s a six-over-twelve pitch. The pitch determine the length of the rafter and the angle of the cut on top (the so-called plumb cut).
The tool takes the pitch you enter and converts it into an angle in degrees, something your miter saw or speed square can use. If you don’t have that right, the rafters won’t intersect where they are supposed to at the ridge. Or maybe they’ll be up too high and create a gap.
It takes into account thickness of your ridge board. Most folks overlook this: The rafter stops at the edge of the ridge material. That’s why the thickness of the typical two-by-eight and two-by-six do matter. To determine actual run, the calculator deducts one-half the ridge’s thickness from the span. This correction alter the rafter’s horizontal length. Without considering the ridge width, common rafters will overhang. And the resulting peak will sit taller then desired. This tidbit makes the difference between a snugger-than-planned fit or an annoying afternoon of snips-and-clips.
Notching is tricky. Get it wrong, and you’re in trouble: The birdsmouth notch holds the rafter flat against the wall plate. To do that there needs to be enough bearing surface for the rafter to rest on the wall plate. But don’t notch so deeply as to reduce the amount of material below the top of the board (which would weaken the structure). The calculator will show how this works with heel depth and stock depth. If the notch is too deep, the beam lose strength. Too shallow and the rafter will rock on the plate. Building codes in most areas specifies the maximum heel depth as a quarter of the thickness of the material.
Compound angles: Hip and valley rafters add another layer of complexity because they involve compound angles. They angle into the corner. That means both a plumb cut needs adjustment, plus there is also a miter angle on the cheek. Geometric factors of those cuts is in reference tables. A thirty-degree angle on one wing is different than a forty-five degree corner. Knowing those things will help you check your cuts before you cut the lumber.
Even if the angles aren’t altered, material selection make a difference. Wood isn’t always straight or square. Premium SPF board holds true; pressure-treated pine tends to twist. The calculator is based off perfect geometry, adjust for the real world lumber.
Cut one as a test run. Place it next to the wall plate and test how it connects. You’ll find your errors before wasting a whole rafter length. It should of taken a small amount of time and saves you a lot of frustration.
You need consistency in roof framing. “One right rafter means the next 10 should also be right.” That’s why having a good system of measurements or a pattern to follow is critical. The tool is based on a baseline accuracy. It delivers a starting point from which you can work confidentally.
After the marks are made it becomes all a matter of careful execution. Check the square and respect the geometry. Know that ridge thickness makes them tricky, an error generator. Get the angles right and the roof fits into place fast. This closes the gap between thinking about building something and actualy doing it.