Decorative Ceiling Beam Size Calculator
Estimate faux beam width, depth, spacing, reveal, box beam weight, visual sag margin, and blocking count for decorative ceiling layouts.
Decorative beam estimate
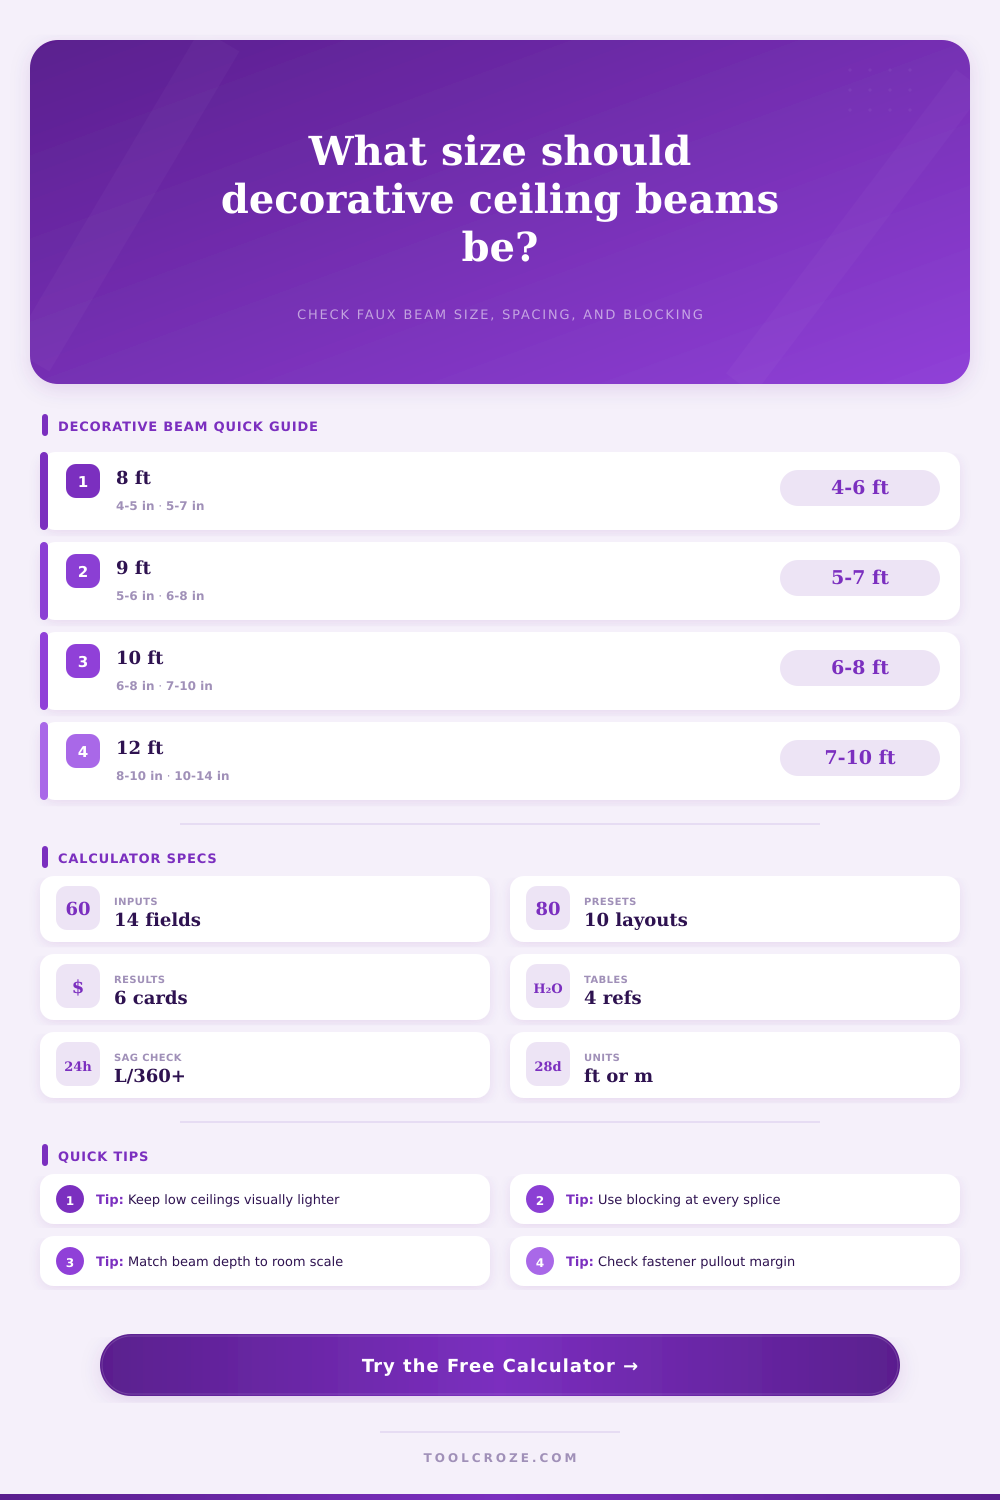
| Ceiling height | Typical faux beam width | Typical faux beam depth | Visual note |
|---|---|---|---|
| 7 ft 6 in to 8 ft | 4 in to 5 in | 4.5 in to 7 in | Use slim profiles so the ceiling stays open. |
| 8 ft to 9 ft | 5 in to 6 in | 6 in to 8 in | Good range for kitchens, dens, and bedrooms. |
| 9 ft to 10 ft | 6 in to 8 in | 7 in to 10 in | Deeper beams read more intentional in larger rooms. |
| 10 ft to 12 ft | 8 in to 10 in | 10 in to 14 in | Scale up spacing before making every beam wider. |
| Vaulted or tray ceiling | 6 in to 12 in | 8 in to 16 in | Check sight lines from the lowest viewing edge. |
| Material | Density used | Stiffness used | Best decorative use |
|---|---|---|---|
| Primed pine | 28 lb/ft³ | 1.20M psi | Painted U-shaped beams with moderate weight. |
| Poplar | 32 lb/ft³ | 1.45M psi | Smooth paint-grade beams with crisp corners. |
| MDF panel | 45 lb/ft³ | 0.60M psi | Shorter painted runs with close blocking. |
| Cedar | 23 lb/ft³ | 0.80M psi | Rustic or stained beams where lighter wood helps. |
| Faux foam | 8 lb/ft³ | 0.08M psi | Long visual runs that need very low ceiling load. |
| Layout target | Common center spacing | Reveal range | Calculator interpretation |
|---|---|---|---|
| Hallway rhythm | 3 ft to 5 ft | 0 in to 1/4 in | Tighter spacing can use shallower beams. |
| Living room beams | 5 ft to 8 ft | 1/8 in to 1/2 in | Balance beam width with open ceiling panels. |
| Coffered grid | 3 ft to 6 ft | 0 in to 3/8 in | Add trim allowance because intersections multiply. |
| Large great room | 7 ft to 10 ft | 1/4 in to 3/4 in | Wider spacing usually needs a deeper visual profile. |
| Tray ceiling accent | 4 ft to 7 ft | 1/4 in to 5/8 in | Shadow gaps help hide small ceiling waves. |
| Beam weight per foot | Suggested blocking spacing | Minimum fasteners | Field note |
|---|---|---|---|
| Under 3 lb/ft | 32 in to 48 in | 2 per block | Common for foam or thin cedar skins. |
| 3 to 6 lb/ft | 24 in to 32 in | 2 per block | Good default for pine and poplar box beams. |
| 6 to 10 lb/ft | 16 in to 24 in | 2 to 4 per block | Use more contact area and verify ceiling framing. |
| Over 10 lb/ft | 12 in to 16 in | Engineer review | Decorative loads can become installation loads. |
First up, you have a giant blank ceiling that feels slightly too big for the room. How do you give it more architectural weight? How do you create some character without actualy altering the structural joists?
Decorative beams achieves all of the above. But get their proportions wrong, and those decorative beams will date a room, or worse: make it feel cluttered. So how do you know what to measure? What’s the main job? Well, yes, there’s the wood selection. But beyond that, how do you balance physical reality against visual weight?
How to Choose the Right Beams
Lots of folks buy beams they love the look of in the store, only to see how puny they are when installed in their livig room. Or they use huge timbers for a room with low ceilings, which makes the room feel like a tunnel.
With the calculator you can make better choices by comparing beam sizes and how far apart to span them. It lets you see your room size compared to the beam’s width and depth. Generally, a beam look balanced if it is about a half inch wider than its depth. In a low-ceiling situation, though, a beam that is too deep just looks wrong, not like an accent at all.
The second consideration are weight. Faux beams typically consist of some type of foam or MDF or even pine, all hollow boxes. Although they appear solid, they is surprisingly heavy. When multiple beam traverse your ceiling, that adds up quickly.
The estimator gives an estimated weight of the final product depending on the construction and materials used. Why? The drywall of your ceiling cannot support that weight by itself. Blocking is required. Many people forget this part, and it is very important. They assume screws into drywall are sufficient but they’re not.
The estimator recommends how many places the beam must intersect wood joists or where additional blocking need to be installed, depending on material density and length of the beam. Skipping this step result in sagging beams. It may not happen right away, but it will eventually happens. The visual sag limit inputs allows you to determine how rigid the installation should of be. The closer your desired visual sag limit is to zero, the more fasteners and blocking you will need. The work is worth it if you desire crisp lines for years.
Then there’s the subject of spacing, where common sense goes out the window. While it helps to have some kind of rhythm, evenly spaced beams don’t always look best. For example: a room with ten foot ceilings can be spaced farther apart; you’ve got more room for the eye to move. Using tighter spacing in a hallway makes it feel more active because of the quicker rhythm.
The calculator calculates the distance from center-to-center to help you visualize it, taking into account the reveal, or shadow gap between the beam and the ceiling. This is key to making the beam appear attached rather than just painted on. That quarter-inch gap, just like the wood grain itself, really makes a difference in how high quality the install looks.
The materials also change the equation. Different materials requires different fastening methods. Lighter materials like foam can be floppy and need blocking closer together. Heavier ones like cedar are substantial but lighter than pine. Even the most common material, MDF is stiff but dense and heavy.
The calculator takes those variables into account, and scales up/down how much weight/stiffness you’ll need. So you don’t have to guess if that material will bend/bow/not. It turns the properties of the material into actionable install instructions. Plug in your room size, what kind of beam you want, and it crunches the numbers and spits out the results. Is your design physically possible with typical blocking? Or do you need to make it simpler?
To me a decorative beam isn’t so much a decoration of the ceiling as it is a frame for the room. The way to get that right is with size, by making the beams as much a part of the building structure as possible instead of resting on top of it. It is a tiny point, but an important one. Get the proportions correct and the room feels complete. Get them wrong and it feels staged.
The math preserves that completeness. It prevents you from seeing anything other than the shape you wanted. You come in the room, lift your head, and behold the image you imagined.