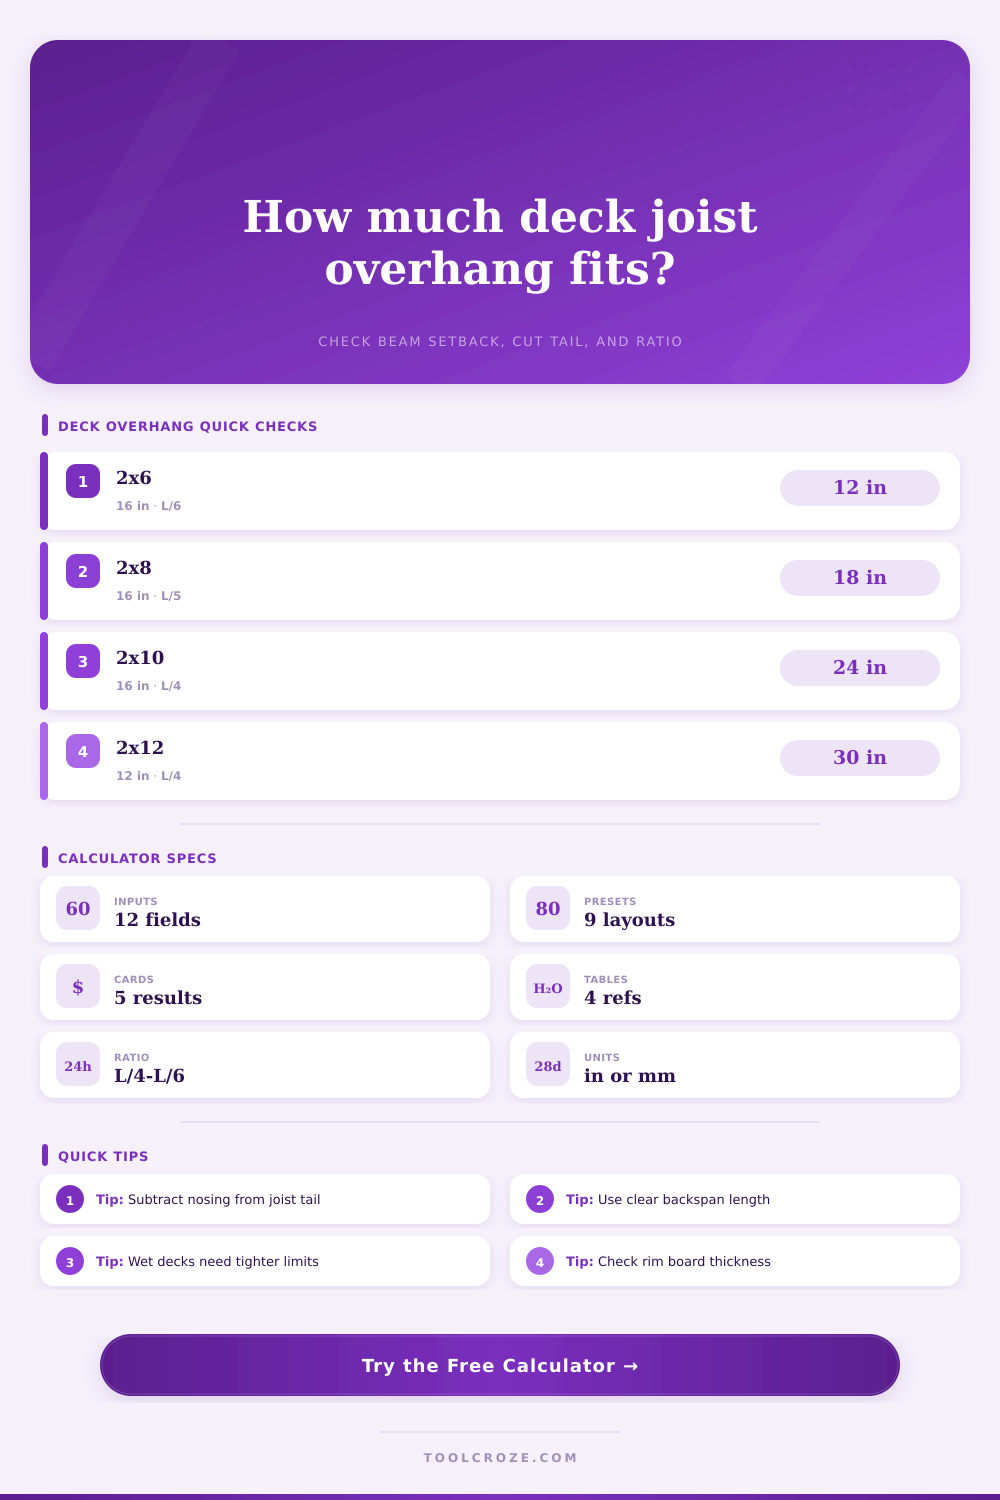
Deck Joist Overhang Calculator
Check the entered finished overhang, beam setback, picture-frame and nosing adjustment, joist cut length, allowable ratio, and support reaction change.
Calculation Breakdown
| Selected Limit | Typical Use | Backspan Basis | Best For |
|---|---|---|---|
| L/4 | Generous allowable ratio | Clear span to beam | Short, stiff joists with verified tables |
| L/5 | Conservative deck edge | Clear span to beam | Common picture-frame borders |
| L/6 | Tighter wet-service check | Clear span to beam | Guarded, wet, or uncertain framing |
| Size cap | Joist-depth practical limit | Actual member selected | Preventing ratio-only oversizing |
| Edge Detail | What It Adds | Calculator Treatment | Check Point |
|---|---|---|---|
| Plain rim | Rim thickness only | Cut tail subtracts rim | Joist end aligns with rim inside face |
| Decking nosing | Finished edge projection | Nosing is subtracted from tail | Keep nosing within decking limits |
| Picture frame | Border board inside edge | Reported as layout zone | Blocking may be needed under joints |
| Fascia cover | Visual thickness at edge | Use rim or fascia thickness input | Confirm finished face before cutting |
| Joist Size | Practical Tail Cap | Strong Layout Range | Notes |
|---|---|---|---|
| 2x6 | 16 in | 8-12 in | Best for small trim overhangs |
| 2x8 | 24 in | 12-18 in | Common picture-frame edge |
| 2x10 | 30 in | 16-24 in | Useful for deeper beam setbacks |
| 2x12 | 36 in | 18-30 in | Check beam and post reactions |
| Overhang Ratio | Beam Reaction Trend | Ledger Reaction Trend | Layout Meaning |
|---|---|---|---|
| 0% of span | Base reaction | Base reaction | Beam under finished edge |
| 10% of span | Moderate increase | Small decrease | Typical trim setback |
| 20% of span | Large increase | Noticeable decrease | Check beam sizing carefully |
| 25% of span | Very high increase | Can unload ledger | Use verified structural tables |
At times, when you build up to your deck beam, you might discover that you have more space then expected. That one foot beyond where you thought was needed? Well, how much does that realy impact the length of timber? How far out can you go? That’s some tricky math, applied through your deck joists.
If your joist extend beyond its support, then gravity no longer works with you. The beam calculator do the math so you can layout your project. And breaks down your real joist tail vs. It shows finished edge setback. It helps you get an apples-to-apples comparison between trim details and what you’re allowed.
How to Measure Deck Overhangs Safely
Overhang is primarily an aesthetic issue in most minds. Maybe you’d prefer a nice tidy appearance with the deck extending beyond rim board? That conceals any ugly framing below. Great idea, but every inch of joists projecting outward increases beam loading. And it reduces load on the ledger board (attached to your house).
It’s a tradeoff. Gain some visual width, but add stress to your footing and support posts. Fail to account for this change. And your beam will sag. Uplift forces will change, and your ledger connections can pop loose.
People often confuse how far out the finished deck overhang is versus where the tail of the joist actualy ends. When measuring the overhang, remember you’re measuring from the exterior edge of the decking to the beam. However, the joist don’t stop where the decking begins. It stops at the fascia or rim board. Specifically, it takes away the thickness of the rim, plus any nosing the decking has extended over the rim.
What remains is true cantilever length, which becomes important from a structural standpoint. Cutting your joists according to only finished deck width means they’ll extend too far past point where they need to terminate. You exceed what’s safely engineered.
When you’re up against bending stress, cutting size count. One thing you will want to think about is the backspan-to-overhang ratio. Backspan is clean distance from inside support, such as the ledger, to where the beam lands. Engineering tables and building codes advises you to limit the overhang to some fraction of the backspan. Limits often vary from a sixth to a quarter of the span.
A shorter joist (such as a 2×6) can support less overhang than a deeper 2×10. Not only because it’s deep but because of its ability to resist deflection. That’s why the reference table spells all of that out well. It depicts how various joist size correspond to practical tail caps, ensuring the cantilever doesn’t crack the finish flooring or visibly sag.
When wet, all bets is off. Water makes wood swell then contract. It weakens the structure. For decks exposed to rain, where water can collect, the tolerances has to be tighter. With this tool you can adjust it based off how it will be used. That’s because a wet joist isn’t as strong as a dry one.
There’s no substitute for experience. Maybe you’re comfortabley with how much you measured, but condition determines the safety factor. Exposure means that if you ignore these ratings, rot and structural failure will happen sooner then later.
So what do you notice in these? Pay attention to the beam reaction change when you look at them. That’s telling you the additional force the beam has to handle due to the overhang. So if it spikes, you’ll want to consider upgrading beam size or adding a post. And this isn’t just about getting the cuts right on the wood. It’s about making sure that the basic skeleton can support the new load distribution.
Also keep an eye on the ledger reaction shift. That represent the amount of unloading that will happen at the house attachment. Framing should match the finish and it’s got to be right. Use clean lines with math to back them. You should of used math to back them up so you do not risk your investment by not knowing what you are cutting from what you see.
Beam is level, ledger is tight and the extended edge looks good and doesn’t hide the risk of unchecked leverage. Once you know the difference, measure twice, calculate once and let the numbers lead the way.