Drywall Layout Calculator
Estimate board count, layout direction, seam quantity, stagger pattern, openings, edge sheets, cut sheets, and waste allowance for walls or ceilings.
⚙Layout Presets
📏Dimensions and Sheet Setup
📊Layout Results
Calculation Breakdown
🧰Layout Reference Grid
📋Drywall Planning Tables
| Sheet Size | Coverage | Best Use | Layout Note |
|---|---|---|---|
| 4 x 8 ft | 32 sq ft | Small rooms, patches | More butt seams but easy handling |
| 4 x 10 ft | 40 sq ft | Medium walls | Good compromise for 9 ft and 10 ft runs |
| 4 x 12 ft | 48 sq ft | Long walls, ceilings | Fewer butt seams on open runs |
| 4 x 16 ft | 64 sq ft | Large straight areas | Lowest seams when handling is practical |
| Orientation | Best Match | Seam Behavior | Cut Pattern |
|---|---|---|---|
| Horizontal | 8 ft walls and long runs | Creates one long tapered seam per row break | End cuts land at room corners |
| Vertical | Short walls or tall panels | Butt seams repeat at sheet width intervals | Top or bottom trim cuts may be needed |
| Ceiling Perpendicular | Ceilings over joists | Edges cross more framing members | Use staggered end joints between rows |
| Auto | Unknown or mixed areas | Compares both seam totals | Selects lower seam count first |
| Opening Type | Typical Area | Sheet Impact | Planning Note |
|---|---|---|---|
| Interior door | 18-22 sq ft | Usually saves partial sheets | Keep a full piece over corners when possible |
| Exterior door | 20-24 sq ft | May add edge cuts | Account for casing and jamb returns |
| Window | 12-20 sq ft | Reduces area but raises cuts | Avoid seams at opening corners |
| Large pass-through | 25-40 sq ft | May create reusable offcuts | Confirm framing breaks before ordering |
| Project Type | Waste Range | Preferred Sheet | Stagger Guide |
|---|---|---|---|
| Plain rectangular wall | 5-10% | Longest manageable | Half-sheet on second row |
| Full room walls | 10-12% | 4 x 12 ft where possible | Break seams away from doors |
| Ceiling board | 12-15% | 4 x 10 or 4 x 12 ft | Stagger end joints by bay |
| Closets and patches | 15-20% | 4 x 8 ft | Use offcuts for narrow returns |
💡Layout Tips
When purchasing drywall for a small room you need to factor in cuts. Mathematically, it seems as though number of sheets required would be clear from just some basic math. Most times it isn’t.
Most times you don’t even make it all the way around a single wall with a whole sheet because you didn’t leave enough extra. Then you have to go back to the supply store, again. This happens because folks believe that drywall is like paint. Just measure the entire space and then buy accordingly by the gallon.
How to Plan Drywall Cuts and Waste
Drywall is hard and heavy. Poor layout planning bites you in the ass. Laying out your seams make or breaks this process, before hoisting up a single board.
The standard size is four-by-eight-foot panels, which are convenient to transport; that’s why most folks use them. Sheet length determines your panel pattern; fewer butt joints. A longer sheet makes fewer butt joints, those hard-to-hide seams that require compound and tape. Longer sheets mean fewer butt joint, which makes for a better-looking finished result. On an open wall, use a longer board so there is less seams showing.
How long? Use a calculator to see if it’s better to lay out vertically or horizontally. It’ll run through the two choices quickly. It tries to find the least-waste layout while trying to align seams with studs. Why? Because a sheet-end without backer isn’t strong. A seam that doesn’t fall over a stud will eventually crack.
Finally, think about the seams: For a pro look, they should be staggered. If you line up your sheet ends in a grid, you get a weak spot where they cross that shows up in the texture. The tool takes into account offset pattern and factors it into calculations. That way, when it tells you how much to buy, it knows how to offset the rows. Often that means cutting out a whole sheet so that you have half-sheets for the next row. Seems wasteful, but it’s actualy efficient over time.
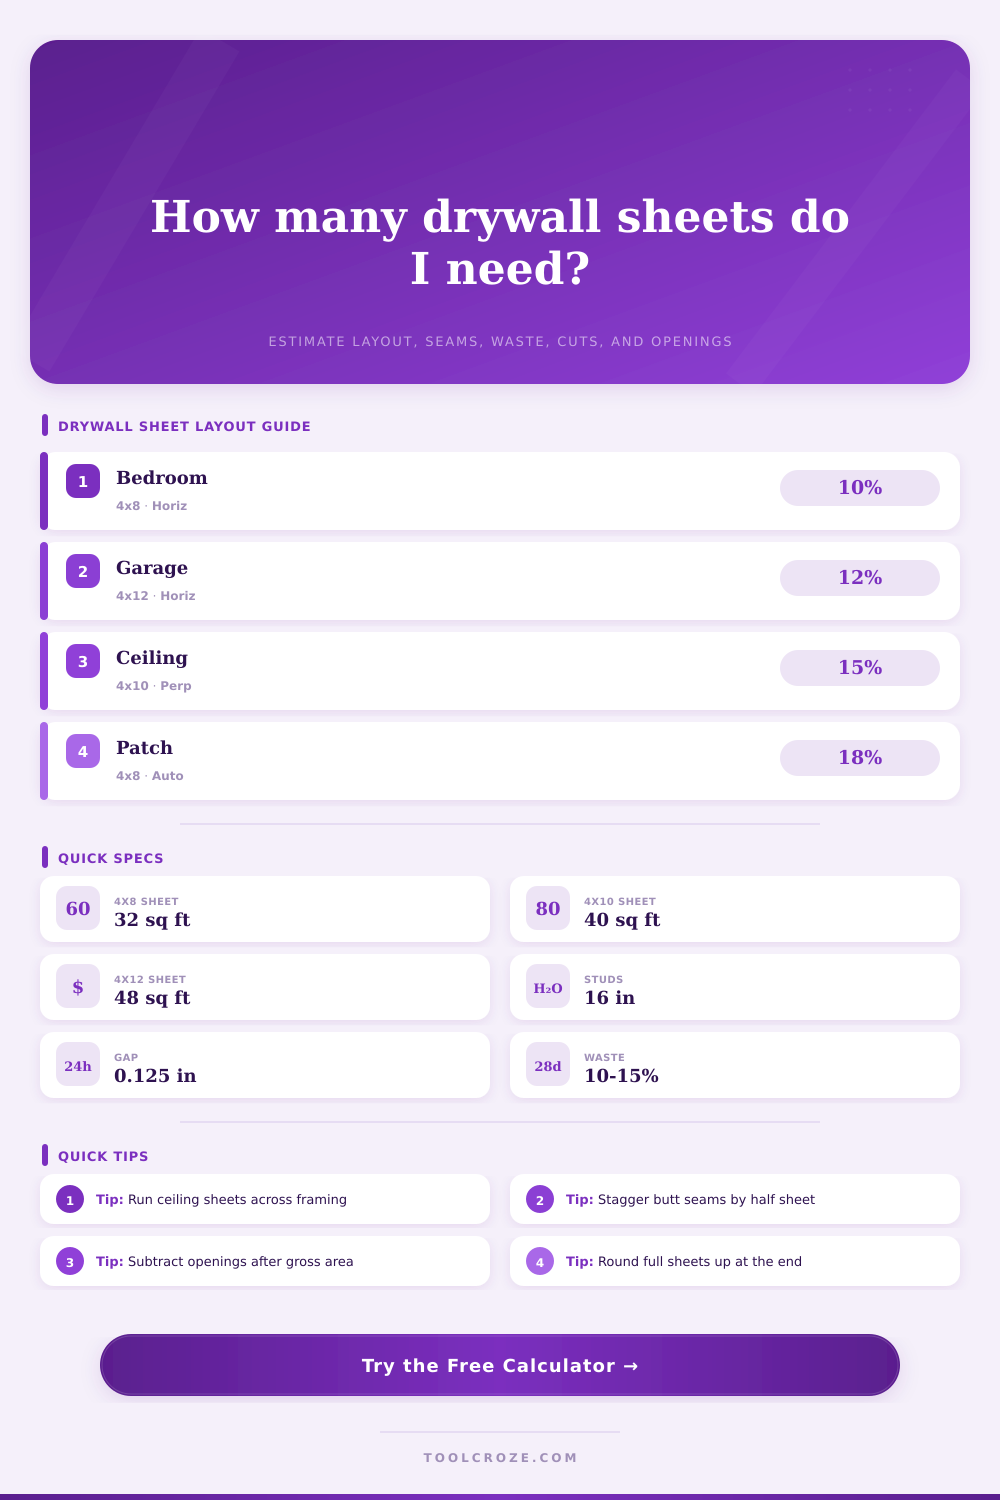
You’ll see it in the waste percentage selector which adjusts for complexity of the room. Five percent cut loss might apply if it’s a simple rectangle room. Twenty percent might apply if there are doors, windows, and closets.
It is a ceiling. When using ceilings, strategy is everything, and so is muscle power when it comes to hanging the board overhead. For ceilings, most pros use 5/8-inch board because it won’t sag, particularly if your climate is humid, or your joists are widely spaced. The calculator lets you switch to ceiling mode, which changes logic for orientation.
With ceilings, you typically install panel(s) perpendicular to the joists, so their edges falls onto framing members. That gives them support and also positions the seams outside of the middle of bays where they’re prone to sag. The calculator calculates the additional waste that will result from ceiling installations.
Big sheets are hard to lift and handle, which usually means more trimming around edges and damage at corners. Openings are silent budget killers because they increase your waste. Adding windows or doors adds cuts. This creates scrap pieces that might not work into other parts of job. With several irregularly spaced window, you end up with off-cuts that are too short to incorporate back in. That raises your waste factor.
Best to err on the side of buying an extra sheet rather than ending up needing more later. Here’s a reference table showing the average range of waste for various types of projects. The difference between a small bathroom with a shower niche and a garage wall containing big overhead doors. One-stop shopping is the rule. A single additional sheet is cheaper then the aggravation of another trip to the store.
Plan it out, visualize how everything fits together then you’ll be able to see the cut locations. Can that piece get reused as a return or closet wall? The tool figures out waste, seam length and sheet count. But more valuable is seeing why results are what they are. What framing alignment? How should it be oriented?
Knowing this ahead of time saves money because it makes you think through the process before picking up a screwdriver. Planning means staying within budget.