Drywall Bid Calculator
Create a drywall quantity takeoff for sheets, board area, finish level, crew hours, joint tape, compound, screws, corner bead, and layout waste.
⚡Drywall Presets
📐Takeoff Inputs
📊Drywall Takeoff Results
🧱Current Material Grid
📘Drywall Sheet Coverage
| Panel size | Face area | Typical use | Layout note |
|---|---|---|---|
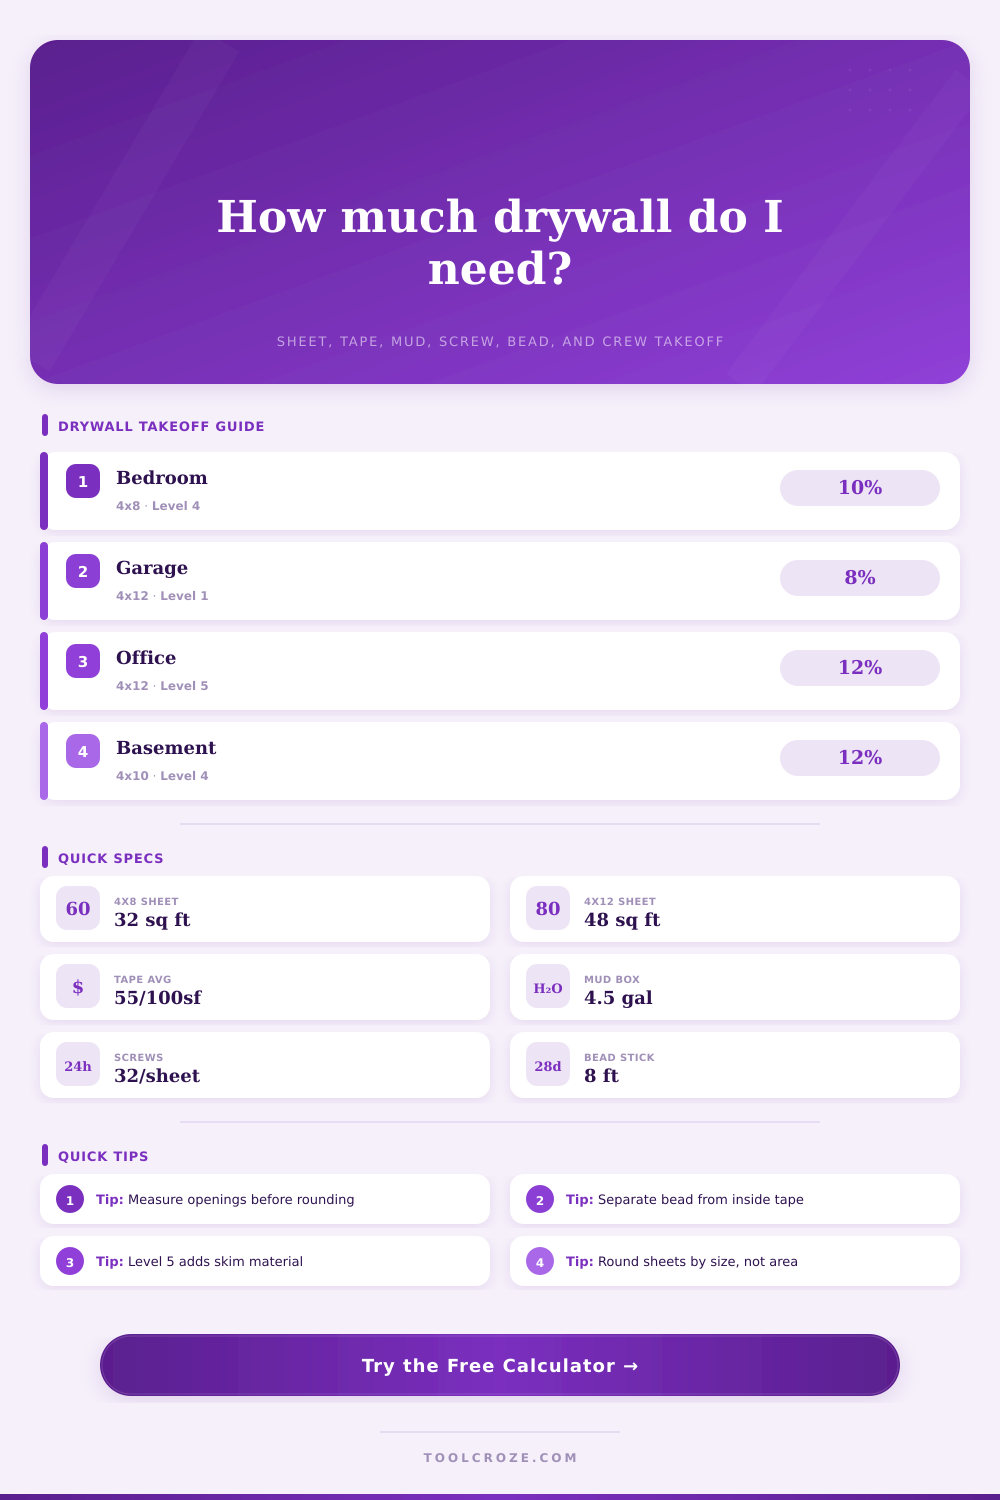
| 4 x 8 ft | 32 sq ft | Small rooms, patch work | More joints than long sheets |
| 4 x 10 ft | 40 sq ft | 9 ft walls or fewer seams | Useful for taller walls |
| 4 x 12 ft | 48 sq ft | Standard room runs | Reduces butt joints |
| 4 x 14 ft | 56 sq ft | Long open walls | Needs handling clearance |
| 4 x 16 ft | 64 sq ft | Large open layouts | Plan delivery path first |
🎯Finish Level Reference
| Level | Use case | Pass model | Material effect |
|---|---|---|---|
| Level 0 | Temporary or unfinished | Hang only | No tape model |
| Level 1 | Fire tape, plenum, garage | Tape set | Low compound |
| Level 2 | Utility rooms, tile backing | Tape plus coat | Light compound |
| Level 3 | Heavy texture finish | Tape plus two coats | Medium compound |
| Level 4 | Standard painted walls | Tape plus three coats | Standard compound |
| Level 5 | Critical light, smooth finish | Level 4 plus skim | Higher compound |
⚙Material Consumption Reference
| Item | Baseline | Calculator rule | Round rule |
|---|---|---|---|
| Joint tape | 45 to 70 ft per 100 sq ft | Area, level, inside corners | Roll up to 500 ft |
| Joint compound | 1.5 to 4.5 gal per 100 sq ft | Finish level and complexity | Boxes up to 4.5 gal |
| Drywall screws | 28 to 45 per sheet | Selected screw pattern | Add 5 percent |
| Corner bead | Outside corners only | Count x height | Round to stick length |
| Layout waste | 8 to 18 percent | Base waste plus complexity | Applied before sheets |
📋Complexity And Labor Factors
| Condition | Sheet factor | Labor factor | Typical signal |
|---|---|---|---|
| Simple rectangular rooms | 1.00 | 1.00 | Open walls, few cuts |
| Standard rooms and closets | 1.04 | 1.10 | Normal doors and closets |
| Many corners and returns | 1.08 | 1.25 | Soffits, returns, offsets |
| High walls or lid handling | 1.10 | 1.35 | Tall walls or large ceilings |
| Occupied cut-up work | 1.14 | 1.50 | Protection and small pieces |
💡Calculation Tips
Homeowners guess the square footage of their drywall and buy in sheets. That approach almost always end with leftover material or a frantic trip to the store in the middle of a hang. That approach almost always ends with leftover material or a frantic trip to the store in the middle of a hang.
Here’s what actualy happens: Drywall bids aren’t based solely on area; they are based on how fast you can work, the type of finish, and geometry. If you don’t think about the time it takes to tape all those seam, the additional compound needed to create a smooth surface, and the waste factor (cutting around windows), then you’re setting yourself up for a headache. The sooner you figure it out ahead of time, the more likely it is that your job will be profitable.
How to Plan Your Drywall Project
After entering dimensions of your room and its finish level (above), it do the calculations for you. You don’t have to convert to feet, or remember a coefficient; the calculator does that work for you. Then it breaks out all that information into labor hours, sheets, tape, mud and screws. But knowing what all these figures represent is as critical as knowing how many of each you’ll require.
Begin with figuring your wall height and length, minus the area of windows and doors. Why? Because they lower net board area. Forget to account for them, and you’ll buy too much, by at least ten percent. You can input this reduced area right into the tool so the number of sheets comes back based off the actual surface you must cover.
However, sheet sizes also completely alter layout. For example, standard 4×8 panels work better in small areas because they’re easier to manipulate. But those same 4×8’s produce more butt joints per sq ft different than longer lengths such as 4×12 or 14′. These are the most difficult joints to smooth out. Less joints = fewer times you have to tape it up & apply compound. So when I plug in your sheet size, the calculator includes that in calculation. Why? Because each seam requires both tape and several coats of mud before it vanishes from sight. So if you want a top-of-the-line finish, minimizing joints is a good idea.
Most people gets the finishing level wrong. Most of the time when we make our estimates we assume it’s going to be finished at level four, three coats of compound over the tape (and painted walls). If the lighting in your house is critical then they wants a skim coat or level five. This means exponentially more labor and lots more mud. That’s what the tool takes into account. Selecting your finish level calculates how many gallons of compound you will need. Even though the sheet count may be the same, a Level three job might require half the mud that a Level five job requires. That’s why people end up buying too few boards but running out of compound midway through.
Hidden costs include labor time. Drywall goes up quick. Finish goes slowly. You can set your rates per worker, along with their level of output. You can also adjust layout complexity, such as how many corners there are or if there are high ceilings that will slow them down. Simple rooms go fast. Rooms with many offsets, soffits, and small returns require more cuts and fittings. These rooms take more time. This adds a complexity multiplier to your labor time. It also prevents you from estimating that every square foot is equal in terms of time needed.
There’s always some waste. Some of your cuts won’t fit. Sometimes you’ll drop the sheet and it tear. The net area (what the calc outputs) has a waste percent in there. Typical waste is about 10%. However, more complicated layouts or leaving space for installation may increase that amount. Moving this slider ensures you don’t run short. Better to have too many vs out of stock waiting for the next one while the mud dries.
Little things can make a huge difference. Screws and corner bead are small items with big impacts. How many screws do you use? You can choose one of several patterns, and the tool will calculate how many screws you need. More screws goes into ceilings than walls. Vinyl or metal beads protect outside corners. The calculator figures out your total linear feet of outside corners and turns this into number of sticks of bead. Since you don’t buy ½ a stick, it rounds up.
Here’s how to make an accurate plan using it. Take measurements. Consider the actual level of finish you want. Let the computer do the math. And then when you go to the supply store, you’ll have a list in your hands… Not a hope. And it’s worth the little more time you spend making the estimate, because now you feel confident. Because the walls will be hung, the mud will go on, and the job will wrap up on schedule. You should of planned ahead to avoid the stress.