Shed Floor Joist Spacing Calculator
Estimate shed floor joist spacing, joist count, skid rows, blocking pieces, subfloor sheets, and layout limits from shed size, lumber, load use, and support spacing.
🏚Shed Presets
⚙Calculator Inputs
📊Results
Full breakdown
🧰Material and Spec Grid
📘Reference Tables
| Use case | Live load guide | Common joist | Usual spacing | Subfloor note |
|---|---|---|---|---|
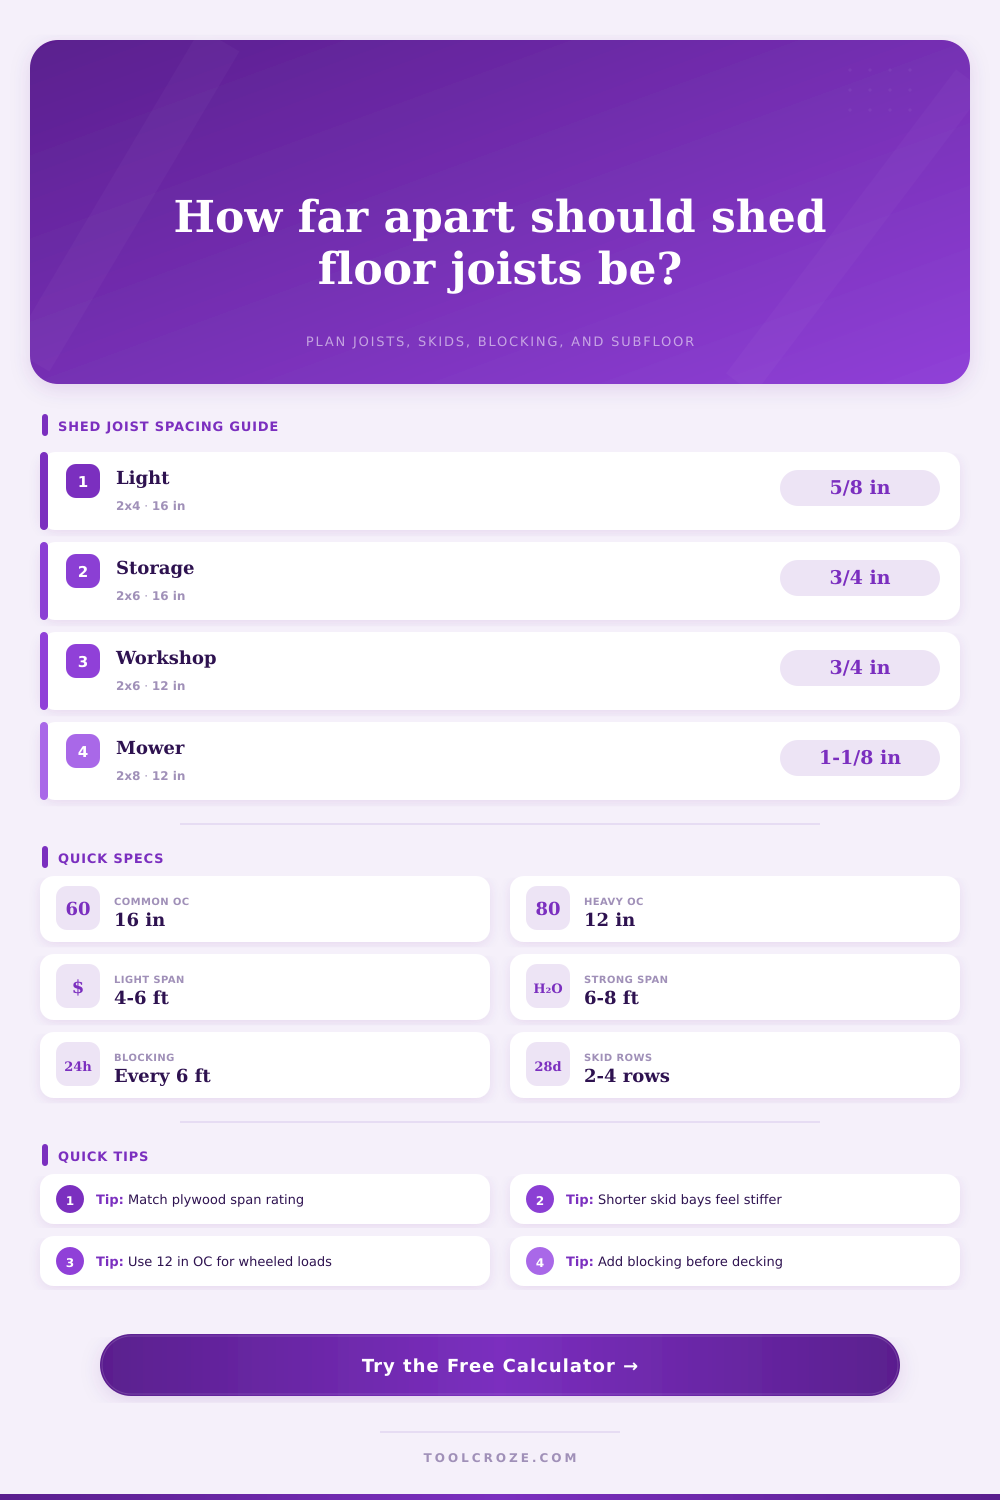
| Light garden tools | 30 psf planning load | 2x4 or 2x6 | 16 in OC | 5/8 in or thicker |
| General storage | 40 psf planning load | 2x6 | 16 in OC | 3/4 in preferred |
| Workshop benches | 60 psf planning load | 2x6 or 2x8 | 12 to 16 in OC | 3/4 in T and G |
| Mower parking | 75 psf planning load | 2x8 | 12 in OC | 1-1/8 in panel |
| Joist size | Actual depth | Light bay | Storage bay | Heavy bay |
|---|---|---|---|---|
| 2x4 | 3.5 in | 5.8 ft | 5.0 ft | 4.1 ft |
| 2x6 | 5.5 in | 9.2 ft | 8.0 ft | 6.5 ft |
| 2x8 | 7.25 in | 12.1 ft | 10.5 ft | 8.5 ft |
| 2x10 | 9.25 in | 15.0 ft | 13.0 ft | 10.5 ft |
| Subfloor | Typical panel span cap | Best shed use | Notes |
|---|---|---|---|
| 1/2 in plywood or OSB | 12 in OC | Light duty only | Can feel springy |
| 5/8 in plywood or OSB | 16 in OC | Garden storage | Good with close skids |
| 3/4 in tongue and groove | 24 in OC | Storage and shop | 16 in OC is stiffer |
| 1-1/8 in heavy floor panel | 24 in OC | Mowers and shelves | Use with stronger joists |
| Shed footprint | Practical layout | Typical joists | Skid rows | Blocking |
|---|---|---|---|---|
| 6 x 8 ft | Joists across width | 7 at 16 in OC | 2 rows | 0 to 6 pieces |
| 8 x 10 ft | Joists across width | 9 at 16 in OC | 3 rows | 8 pieces |
| 10 x 12 ft | Joists across width | 10 at 16 in OC | 3 rows | 9 pieces |
| 12 x 16 ft | Joists across width | 13 at 16 in OC | 4 rows | 24 pieces |
💡Layout Tips
⚠Safety Note
As you’re getting ready to screw down the first sheet of plywood, you notice the wobble and feel the floor flex under your boot heel. That’s typically because you didn’t plan well enough for rows of support (or joists). Chances are, most folks purchase their lumber by the foot and think any two-by-six is good enough to support shed. Guess what? They’re wrong. It’s not usually the wood that makes the difference between a bouncy and solid floor; it’s the geometry of how it’s arranged.
Simply enter your dimensions and desired usage, then let the calculator work out math: there’s no guessing about how far apart your support skids are or if the lumber you want to use spans that distance. The key data point? Load classification. A floor of garden hoses is very different than a floor of a riding mower; heavier loads requires deeper joists and tighter spacing to ensure they don’t deflect.
How to Build a Strong Shed Floor
For example, choosing the heavy duty load option will probably give you twelve inch spacing. More cutting, more boards, but it gives you a floor that doesn’t sag down over time. It is a small tradeoff that pays off each and every time you walk across it.
Another trap people fall into is picking the wrong depth of joists. Two-by-fours is inexpensive. It’s tempting to go with them since they’re so common. But two-by-fours are too flimsy unless you’re making a very small storage shed. Most residential sheds use two-by-sixes, which strike a good balance between availability and stiffness. If you are parking something in there or planning on building a workshop, check out the two-by-eights or bigger.
Keep in mind that the calculator use the true depth of the lumber you choose instead of its nominal size. Since a nominal two-by-six is only 5-1/2″ deep, that extra half-inch makes all the difference when it comes to code compliance versus bouncing your ass off the floor whenever you try to walk across it carrying a big tool.
The final result depends on subfloor thickness as well. Even if your joists are spaced exactly right, capping them with thin plywood mean the floor will still feel flimsy. There’s a reason three-quarter inch tongue and groove plywood is the gold standard. It spans gaps between joist better than standard OSB and adds a lot of shear strength to structure. The tool will check whether thickness of the panel you’ve chosen is compatible with your spacing. Putting thick panels on widely spaced joists may save you some wood, but your floor will sag or crack from concentrated loads. Not everything is just picking parts; it’s also about matching components.
The other part that is often overlooked is blocking. Using short lengths of lumber to span across joists at set intervals really stabilize the whole thing laterally. It keeps the joist from twisting and it provides solid edges to nail into when laying down subfloor. The Blocking Calculator will calculate how many blocks are required depending on your desired block spacing. You can save a few dozen minutes of work by skipping out on these, but it’s going to cost you in terms of structural integrity. If you’re pulling on a bench or dropping a heavy wrench, that added stability isn’t negotiable in a workshop. It bonds all the components together, allowing them to function as a single unit instead of a bunch of separate parts.
The variables of skid placement and soil conditions can’t be entirely accounted for in the calculator, but those also need some thought. Even the finest designed floor will feel wobbly if ground isn’t level. To keep things stable, you want to make sure that your skids is level and set to the length required by the maximum span the calculator gave. Keeping bays short (ie: the distance between supports) decreases how much each joist has to bend; it’s a simple benefit you’ll get for free with thoughtful pre-planning. Don’t skimp on laying out the foundation simply because the lumber costs money, you should of known that. Setting up a good base makes everything else a breeze and results in more durable finished product.
So what’s it all add up to? Building a shed floor is about balancing forces. You’re attempting to evenly spread out the load without putting too much force on any individual board. All of this can be seen before cutting a piece of lumber with tables and tools offered here. Run the numbers. Check the takeoff. Tweak your dimensions until it feels right. It isn’t about just making a place for your tools under a roof; it’s about making something that will stand the test of time. Don’t skimp on the spacing and don’t make it wobble the first time you walk on it. Respect the space and you’ll be walking confidently for years to follow.