Before I charge it, I check the battery life to know how long I have left in my day.
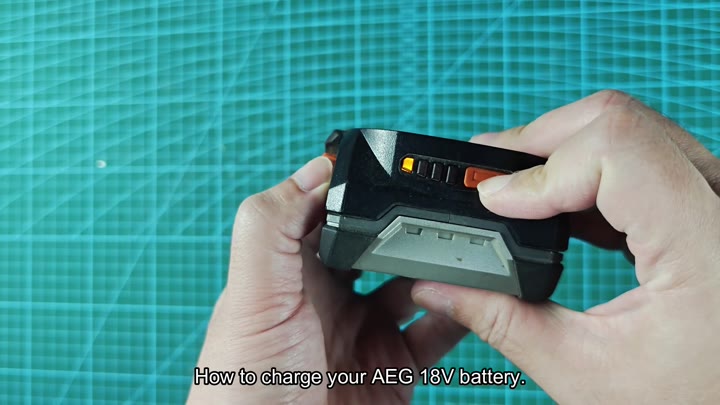
Detach the battery, and click confirms it’s loose! It’s loose. Push the indicator button on the side and there’s your charge remaining. A full reading. It shows a low reading. You know right away without having to guess what you should of do with it.
Understanding Charging Indicators and Times
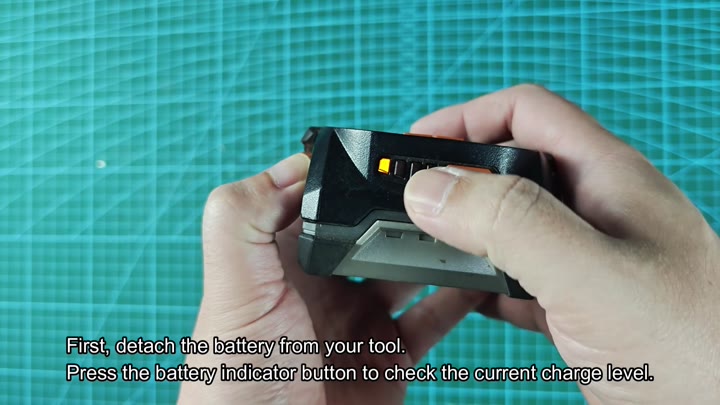
You detach the battery from tool, and a click sound confirm it is loose.
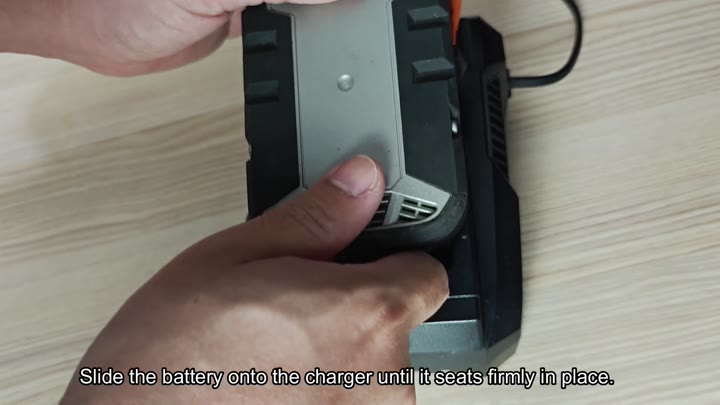
The battery pack slides onto charger and has to shares into place snugly or it won’t charge properly due to bad contact. After the pack are clicked home snugly, then plug the charger into power. Instantly the lights comes on and they are easy to interpret.
All of that will be displayed on the indicator lights. A solid red light paired with a blinking green means it’s charging, and two solid greens indicates the battery is charged and can be used once more.
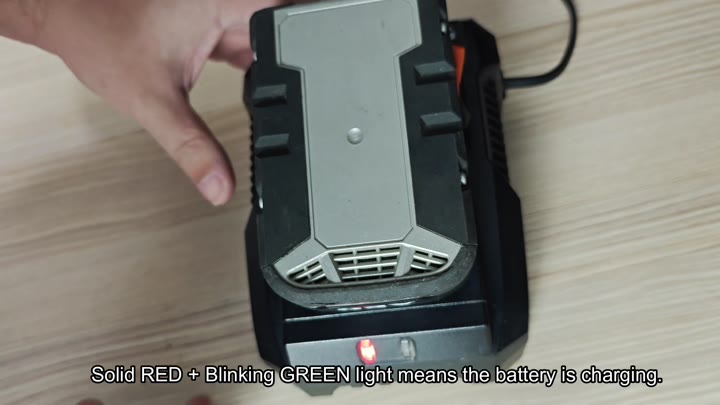
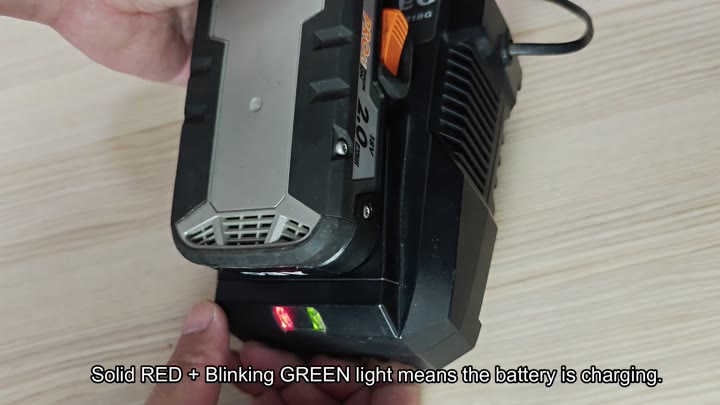
It’s an easy status update.
The battery’s charge time will vary based off its size. For example, if you’re using your 2.0 Ah pack, it charge in approximately half an hour (which is pretty speedy for quick chore). If you have the bigger 4.0 Ah battery, expect closer than one hour; plan your time to fit most lunch breaks.
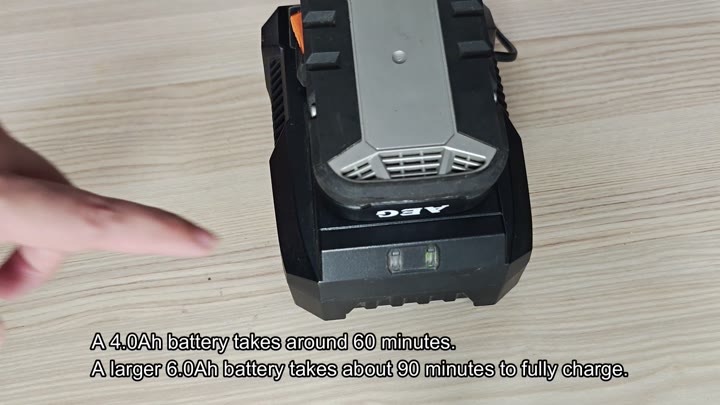
Then there’s the longest of all; the biggest 6.0 Ah pack. That will take an hour and a half to charge. You sit on your hands while you wait, as that’s just how long it takes to charge high capacity batteries. You don’t rush it but let it fully complete; patience do pay off in form of run time.
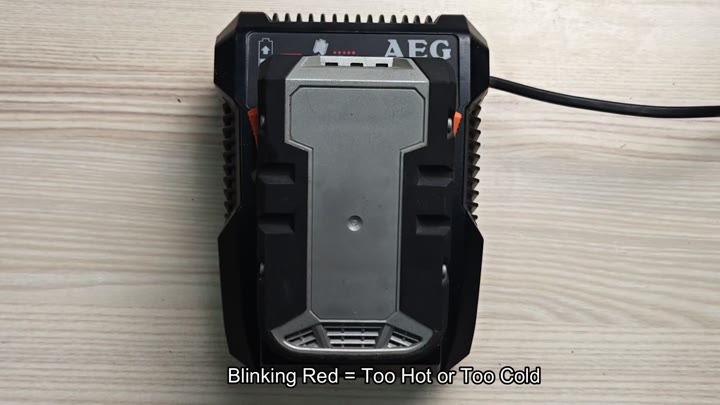
And yes, charging times is impacted by temperature. The lights can absorbs funny at times too. When things go wrong, a single blinking red light lets you know something ain’t right. It’ll be too cold or too warm to charge so the battery sits and waits until its good and ready again. It is a safety feature doing what it should do.
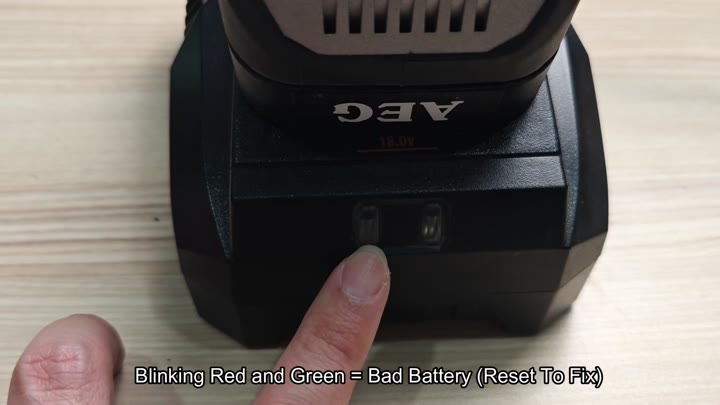
There are also times when both green and red lights will flash simultaneously. This means you have a bad battery connection. Typically, all that needs to be done is reset the battery, which means clearing the error so you can charge again. This is a pretty easy fix for most glitches.