
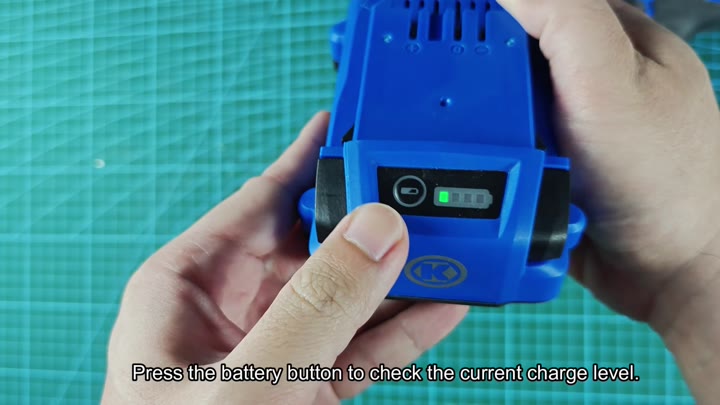
Before you start charging, check battery gauge. Tap side button to wake display and view remaining charge. You’ll see the charge remaining in battery. The LED bars shows exactly how charged the battery is.
That gives you a starting point and eliminates guessing at the battery’s original state. If you know how charged the battery is, you can plan your workflow accordingly. Align the battery with the slot on the base and place it onto charger.
Understanding Charging Timelines
Once seated, give good push on the pack and verify that it have clicked in place. It should click and lock into place immediately with a solid feel. Once it is in, you don’t have to fiddle with it or wiggle it to get it right because design is straightforward.
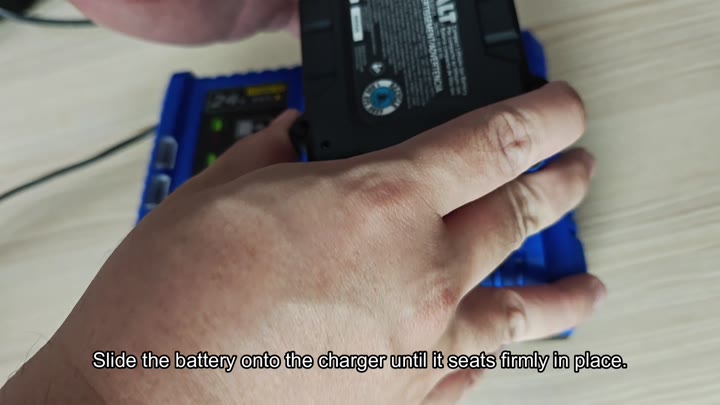
Once the battery locks in place charger turns on instantly. It’s important to monitor indicator lights to see what stage your charger is at.
If it starts working, the green LED will blink while the battery charges. When charge process begins you’ll see steady pattern of blinking. This tells you that everything are running smoothly. If there’s an issue it shows up on display. Typically, a good start signals that everything should of be just fine.
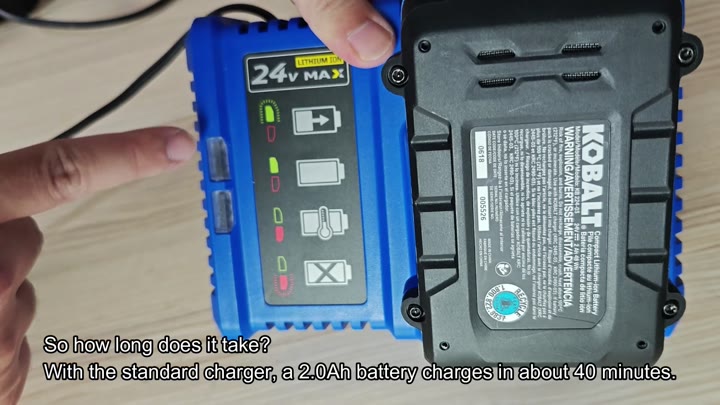
The size of the battery determines how long it will take to charge. Based off how much energy the battery holds, a small 2.0 Ah battery may only need about forty minutes to get fully charged. That’s quick but it’s due to its small size for storing energy.
Bigger batteries stores more and thus will take longer to charge. There is no hurrying this process; make sure you plan to match the battery pack capacity.
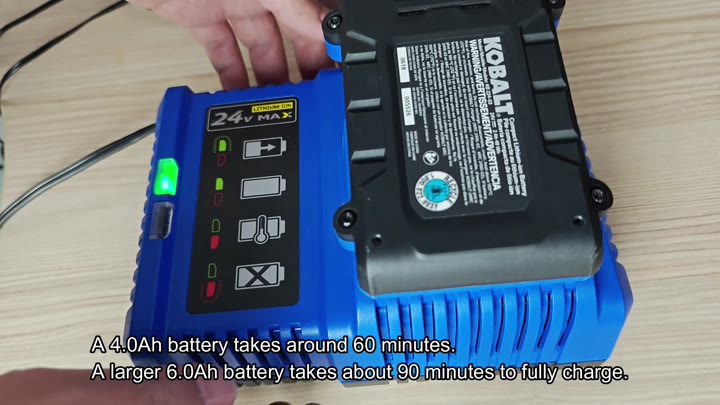
Charging a mid-sized 4.0 Ah battery will take roughly an hour to get back up to full power. This is roughly twenty minutes more then the small one. If you want to go big with a beefy 6.0 Ah pack, it will take about ninety minutes for a full recharge. It takes about an hour and a half to fully recharge this larger battery. All these varying load sizes does not give charger any problems at all.
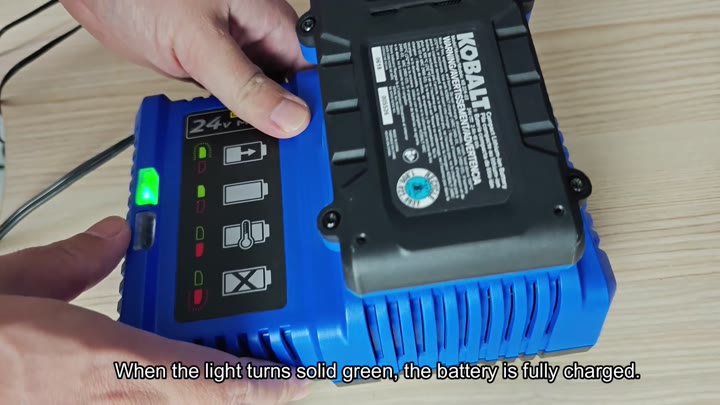
When your battery reaches full charge, the blinking green light will turn into steady green glow indicating that it’s done charging. At this point remove the battery from the charger.
Don’t let it sit plugged in indefinitely after reaching full charge as excess heat can accumulate on lithium-ion pack.
The sooner you remove it, the healthier the pack will remain.
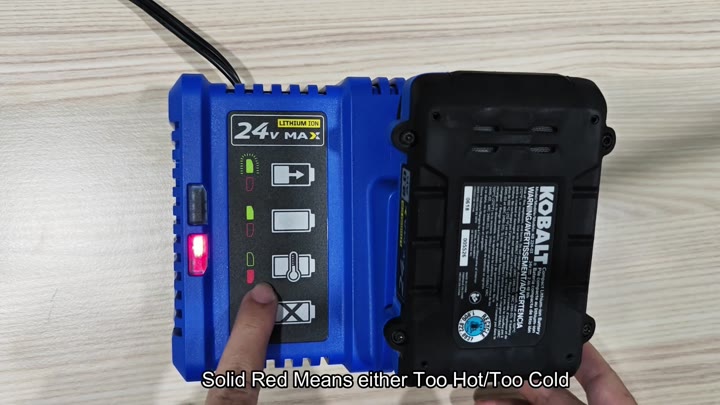
Charging will stop at temperature extremes. The charger watches the temperature and protects the battery from being stressed. If it’s either too cold or too hot, you’ll see a solid red light. This means you need to let temperature even out before attempting another charge.
Don’t charge beyond the safe limits of your environment.
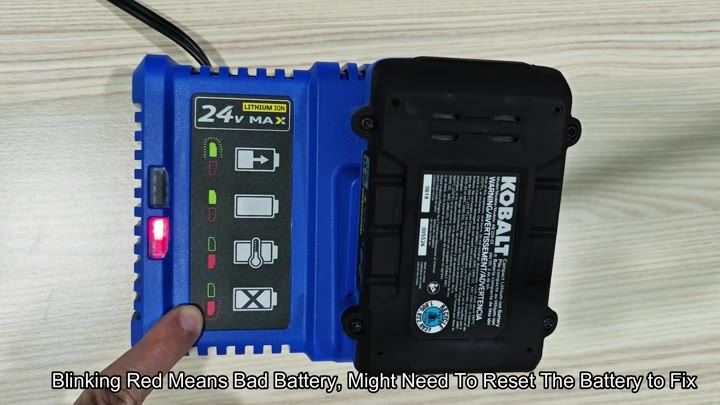
Unplanned shut downs can also result from electrical problems. If you have a blinking red light that means there’s something wrong with your batteries. That typically means you’ll just need to reboot, and it is not necessarily due to a physical problem. Instead, it’s an issue that can be cleared up by resetting the unit following instructions found in your manual.
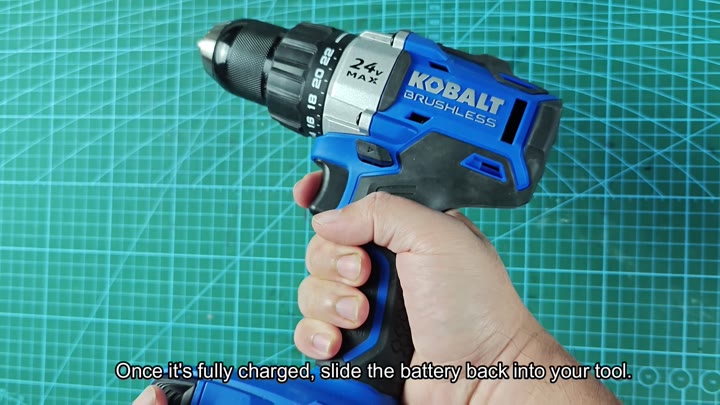
Don’t ignore these red flags and you won’t have any additional problems. When it’s time to get down to business, remove the completely charged pack from tool. Each time it clicks into place, it locks in firmly and you’re off and running. Now your battery is ready to go and you’ve got all the juice needed.
