
To start, you unplug battery pack from tool. The indicator lights shows how much battery life is left, so you know roughly how long it will need to charge.
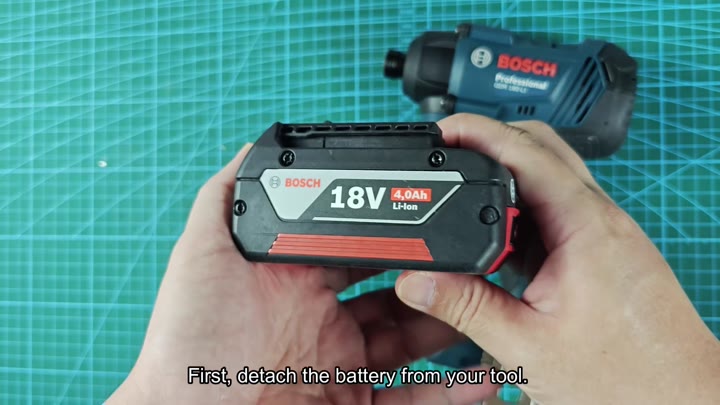
This is an easy process that shows how long it takes. Put the battery on charger and make sure it is locked down tight. It will slide on there and lock into place.
Understanding Charging Indicators and Safety
For example with the GAL 18V-40 it works well that way, but you need it solid to engage anything. Then just push it on and the lights comes right on without waiting.
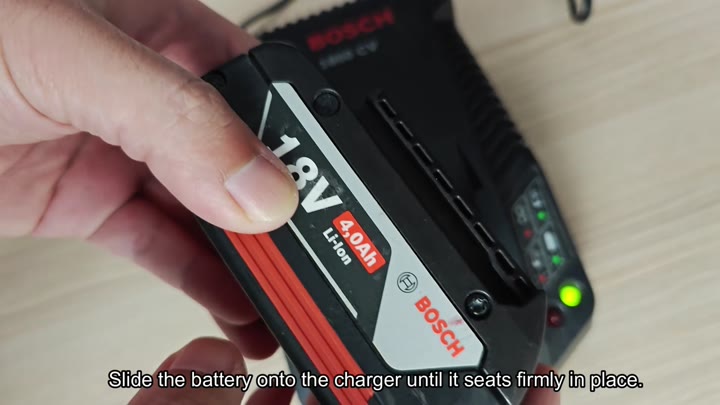
The green LED communicates status of charge. When you see the green LED blinking, it means that battery is taking in juice from wall outlet. On shorter jobs, you see this light flash on and off indicating that energy are being sent to pack.
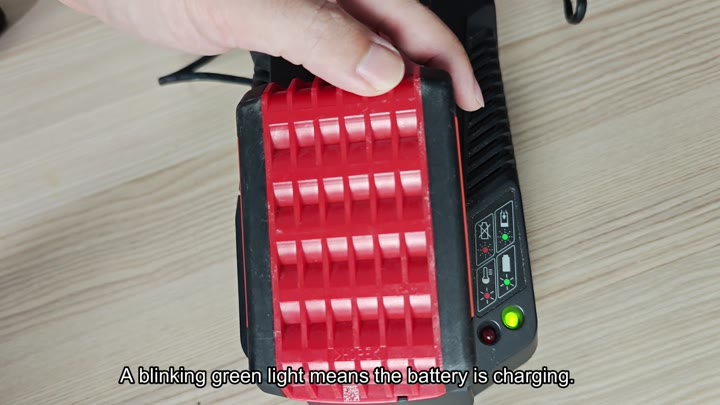
There’s no grey area here. It couldn’t be clearer.
Capacity makes all the difference when it comes to charging time. Swapping from a small 2.0 Ah battery only takes approximately half an hour (not bad at all for a lunch break) while switching to larger 4.0 Ah battery will take approximately fifty-five minutes; you’ll need to plan accordingly.
The bigger 6.0 Ah pack will still take approximately an hour and twenty minutes to fully recharge, which is roughly what you’d hope for with a battery of that size. It’s not rushed along by the charger; instead, it takes its sweet time charging to make sure they’re good to go when you need ‘em again.
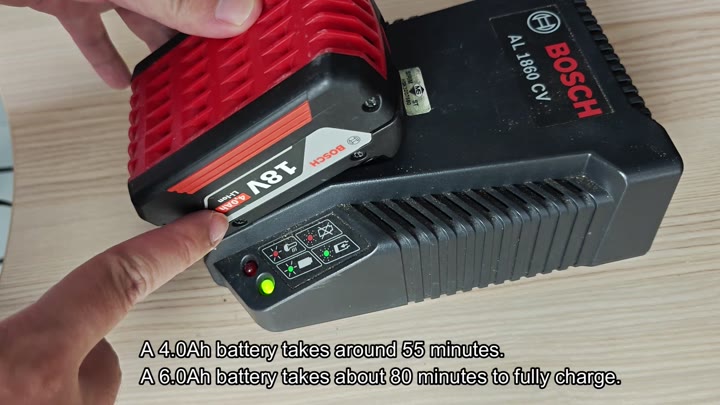
The battery charges quickly and there’s a green light that will turn solid indicating full charge. It’s an easy tell as to when to remove it from the charger. This way, you don’t leave it charging any longer than needed.
But there are signals for problems as well, displayed by the charger in certain light sequences. If your battery overheats, that sends up a specific light signal. Too cold to take a charge? You get another pattern for that. They’re alerts to prevent you from causing damage before it happens. You won’t have to guess each and every time.
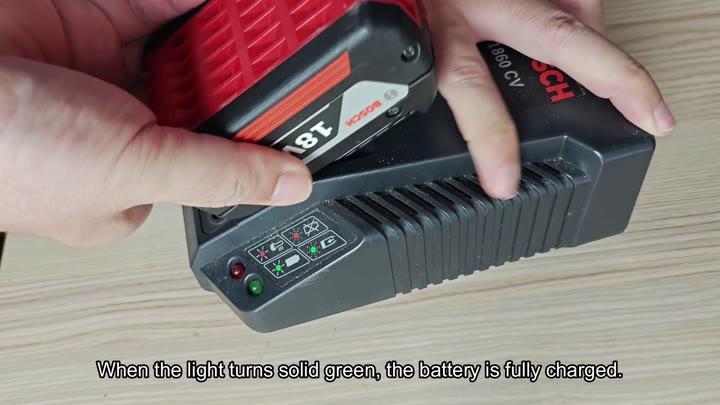
Charging rate is also dependent off temperature. Batteries that has been exposed to cold temperatures will likely not take a charge.
You’ll know if that’s the case because the charger will let you know through LEDs and will not force a charge on them. That’s important for those times when you’re working in unpredictable weather conditions.
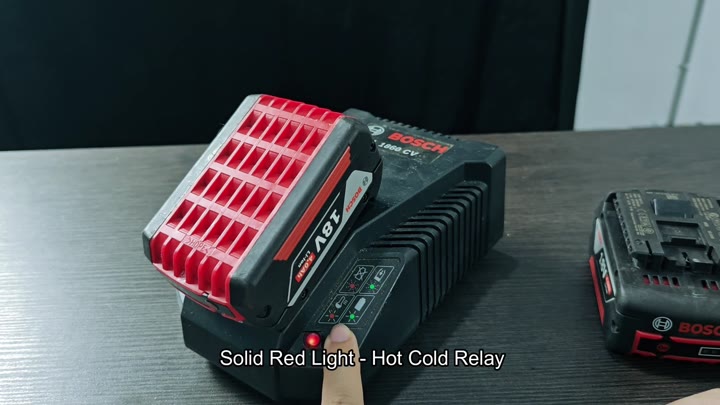
The lights are also important when handling them. No manual needed. Just follow their lights for all instructions. The light will show any problem immediately. Checking periodically during the process will prevent surprises later, once you identify the issue most can be easily resolved.
After a bit of use, it just feels intuitive. You can soon guess what the flashes are for. Now that you know how long things take to charge they’re always at your disposal when you want them. Not rocket science. Just good design and you pick it up in no time. It should of been easier too.
