
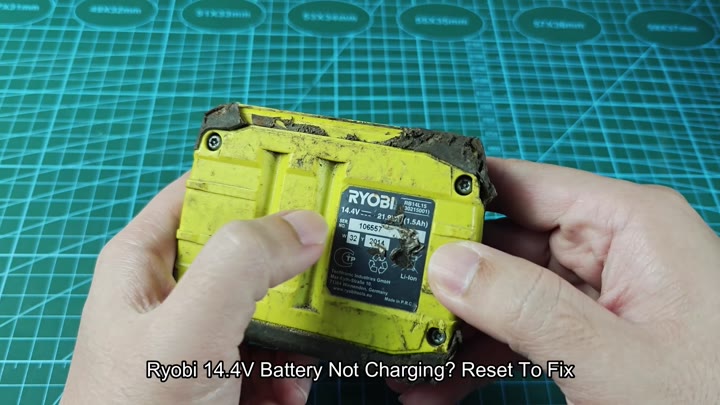
The Ryobi 14.4V battery pack would not hold a charge, and there were no light on the charger. You can try a jump start if the battery terminals is clean. Sometimes this will get it moving again if you have a stubborn battery that locks up.
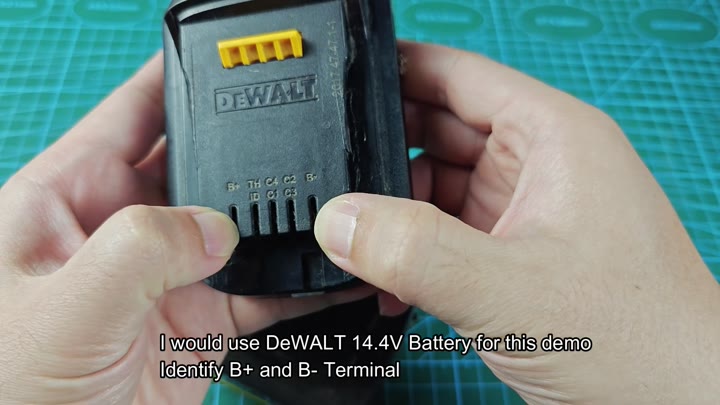
The donor source would be a spare DeWalt 14.4V battery that has sufficient charge to give. Locate main power terminals of the donor pack. The positive lead are labeled as B+ and the negative lead as B-. Knowing this allow for a proper and safe connection.
Alternative Power Supply Method
The labels for B+ and B- mark the positive and negative leads clearly.
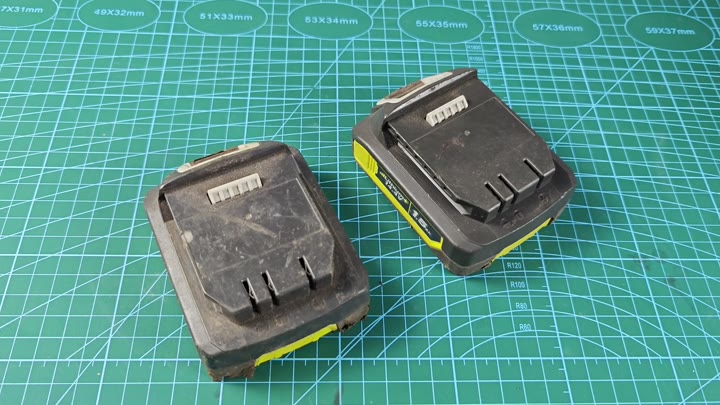
Connect one lead from the donor, the red or positive, to the Ryobi’s positive terminal. Connect the other lead, the black or negative, to the Ryobi’s negative terminal.
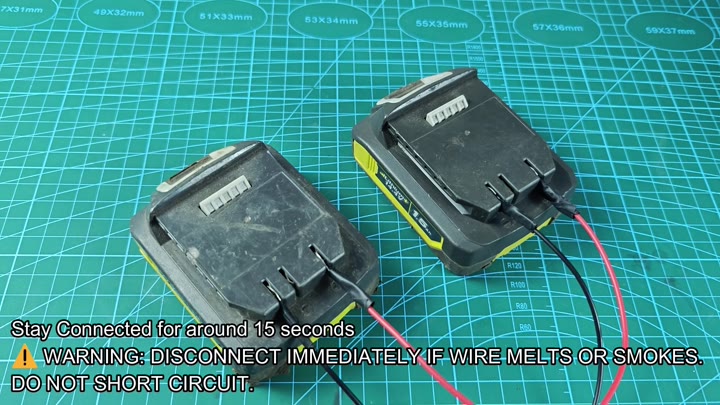
“Let the wires remain connected for about 15 seconds. This will be long enough to help turn on the internal protection circuit. Keep an eye out, though, for any kind of smoking or heat. If you see something off, unplug it immediately.”
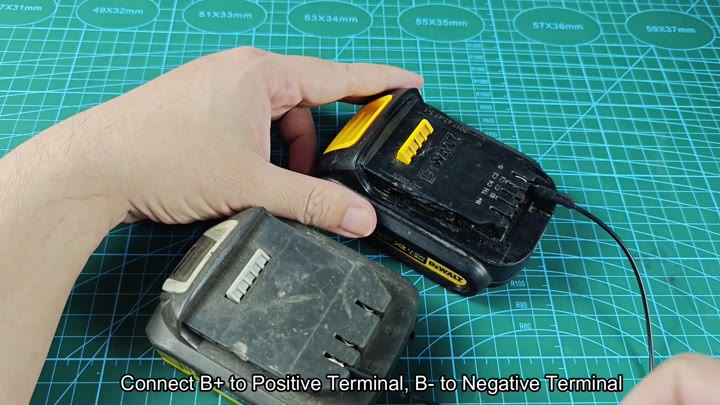
Wait 15 seconds carefully before removing those wire, then reconnect them and let the battery management system reboot.
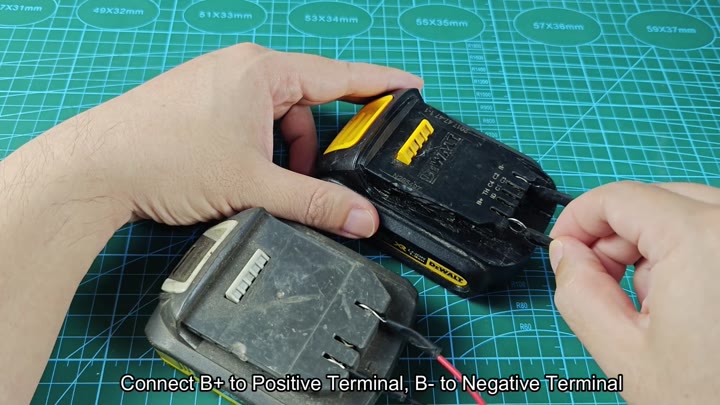
Sometimes a deep discharge trigger a lockout state. If you can briefly give the battery enough of a jolt to make it think it is charging, it will accept it.
There’s no fancy equipment necessary here. You simply need some wire leads connecting two like battery.
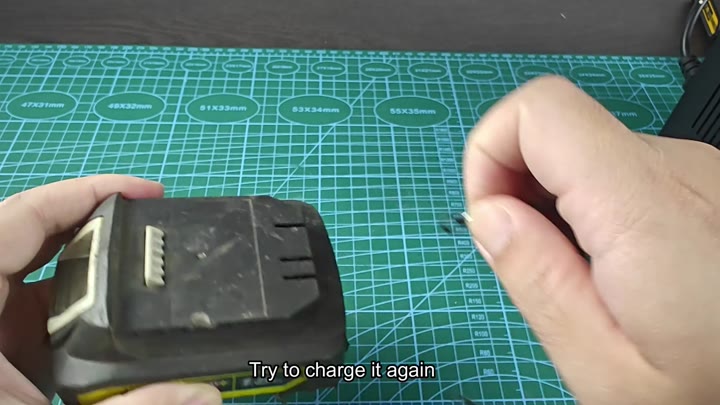
If you don’t own a second battery, then your other option is a DC power supply. It allows greater control based off what voltage is delivered. For this test, set the output to be exactly 14 volts. It’s important that you limit current so as not to harm the cells.
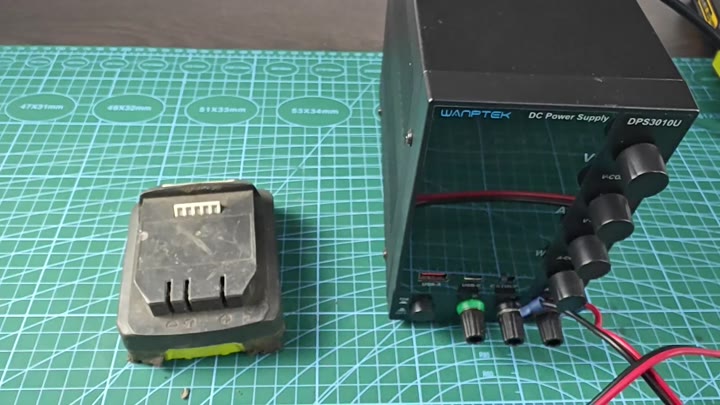
To make it all safe, we’re going with a 1-amp limit.
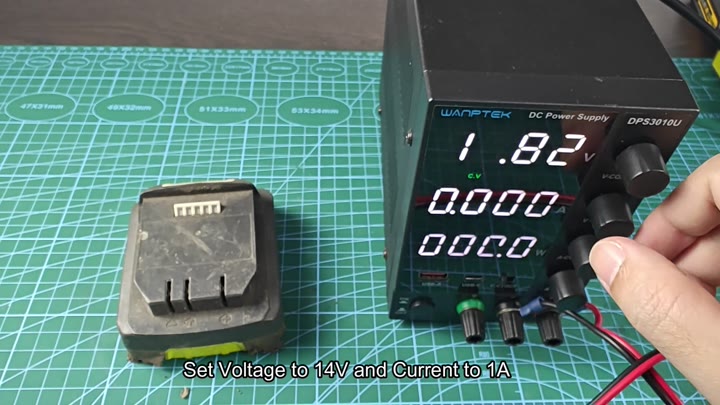
The same goes for connecting your supply. Connect it to B- and B+.
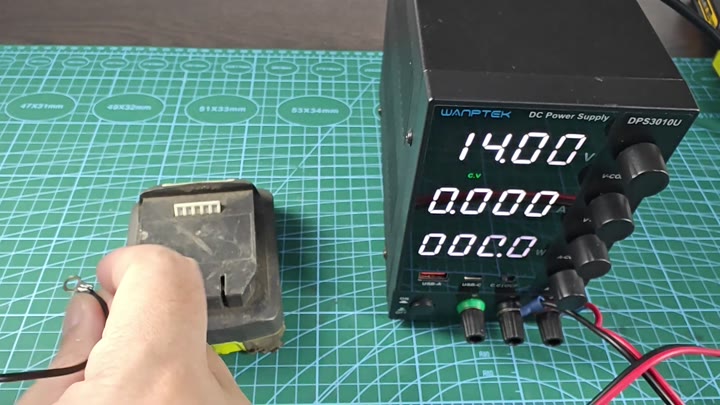
Next, connect the positive wire to the positive terminal. Finally, connect your negative lead to complete the circuit.
Remember that the power supply is a steady donor source. It gives a gentle push that revives the dead cell. Again, hold it for about 15 seconds.
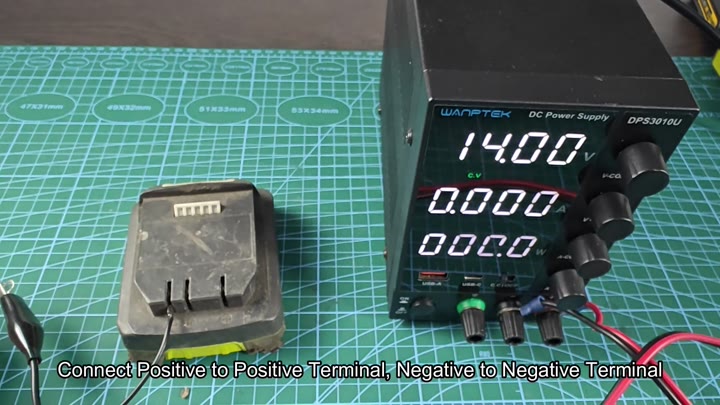
Avoid cutting the wires anywhere and do not short the terminals.
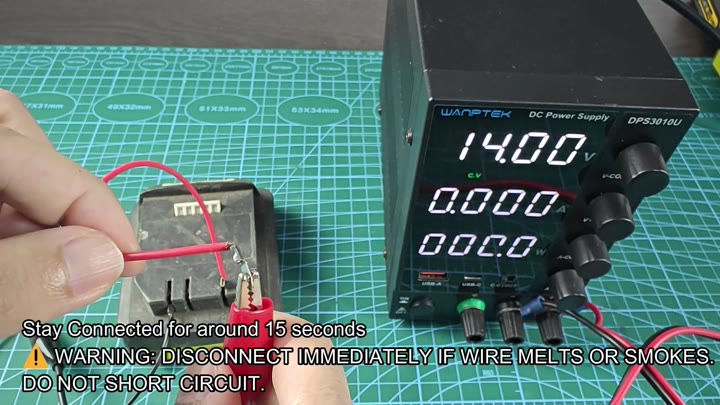
After the allotted amount of time passed, you unplug it all again, correctly. Then reinsert the Ryobi battery onto its original charger.
And finally, the lights begin blinking in that nice green color again. Now it will take a full charge cycle. That’s a quick and effective fix for this very popular issue.
