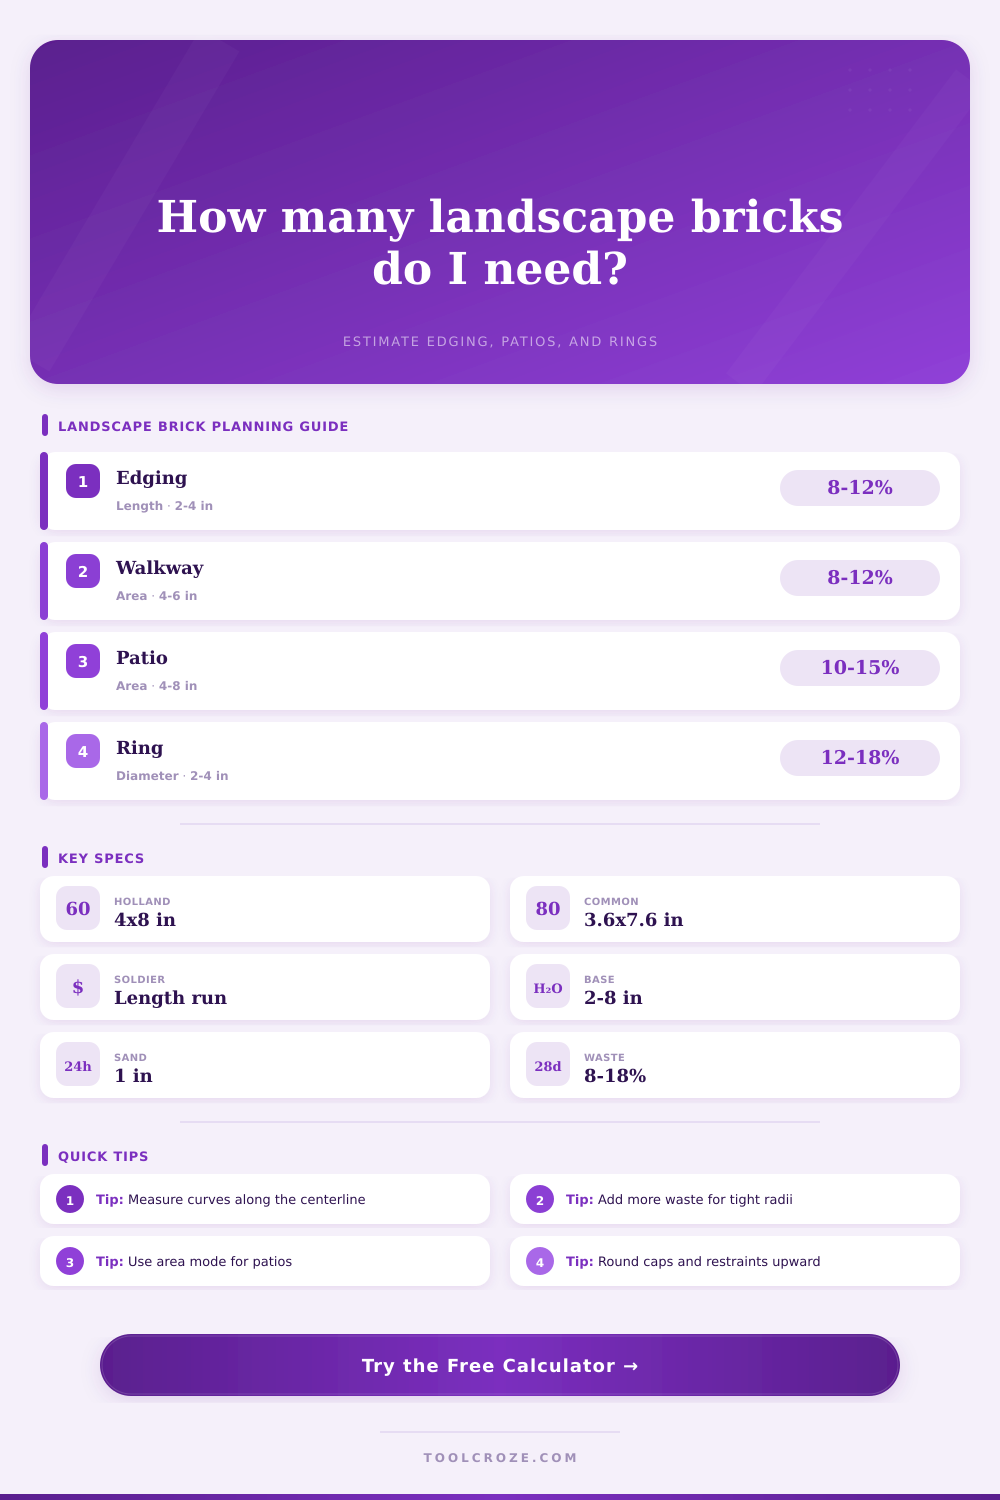
Landscape Brick Calculator
Estimate landscape bricks for edging runs, patios, walkways, tree rings, fire pit borders, curved layouts, cap rows, base gravel, sand, restraints, cuts, and waste.
⚙Unit System
📌Landscape Brick Presets
📐Brick Layout Inputs
Landscape Brick Estimate
🧱Material and Spec Grid
📏Landscape Brick Size Reference
| Brick or Paver Type | Nominal Face Size | Approx. Coverage | Common Landscape Use |
|---|---|---|---|
| Holland concrete paver | 4 x 8 in | 4.5 pavers per sq ft | Walkways, patios, soldier borders |
| Modular clay brick | 3 5/8 x 7 5/8 in | 5.2 bricks per sq ft | Garden edging and reclaimed paving |
| Common brick | 3 5/8 x 7 3/4 in | 5.1 bricks per sq ft | Low border courses and accents |
| Jumbo concrete paver | 6 x 9 in | 2.7 pavers per sq ft | Patio fields and wider walkways |
| Tumbled cobble paver | 6 x 6 in | 4.0 pavers per sq ft | Small aprons, circles, curved borders |
| Scalloped edging brick | 2 x 12 in | 1 unit per linear ft | Single-course garden bed edging |
📘Layout Method Reference
| Layout Method | Best Measurement | Brick Count Logic | Waste Guidance |
|---|---|---|---|
| Straight edging | Centerline length | Length divided by brick module | 5% to 8% for breakage |
| Curved edging | Curve centerline length | Add curve cut factor to run count | 10% to 15% for wedges |
| Patio or walkway field | Finished paved area | Area divided by face module | 10% to 15% for cut edges |
| Tree or fire pit ring | Outer and inner diameter | Annulus area or mean circumference | 12% to 18% for radius cuts |
| Cap row on low wall | Top run length or circumference | Top run divided by cap module | 8% to 12% for corners |
⚖Base and Bedding Reference
| Landscape Use | Compacted Base | Bedding Sand | Restraint Note |
|---|---|---|---|
| Decorative bed edging | 2 to 4 in gravel or firm trench | 0.5 to 1 in leveling sand | Soil backfill may be enough |
| Pedestrian walkway | 4 to 6 in compacted aggregate | 1 in screeded sand | Use two sides where traffic turns |
| Patio field | 4 to 8 in compacted aggregate | 1 in screeded sand | Full perimeter restraint is typical |
| Tree ring or circular apron | 2 to 4 in compacted aggregate | 0.5 to 1 in leveling sand | Curved restraint or haunching helps |
| Driveway edge strip | 6 to 10 in compacted aggregate | 1 in bedding sand | Use restraint against tire pressure |
🔧Pattern and Cut Allowance Reference
| Pattern | Planning Factor | Curve Behavior | Best Fit |
|---|---|---|---|
| Running bond | 1.00 x field count | Few cuts on straight rectangles | Long walkways and edging strips |
| Soldier course | Use brick length along run | Curves open wedge joints | Borders and patio outlines |
| Basket weave | 1.03 x field count | Moderate cuts at edges | Small patios and courtyards |
| 45 degree herringbone | 1.07 x field count | More edge cuts and halves | High-lock paver fields |
| Random or reclaimed mix | 1.05 x field count | Sort sizes before counting | Rustic landscape borders |
💡Calculator Tips
The most common reason for a failed landscape project is lack of good planning, not bad brickwork. “I’m gonna build a curving edge to that bed in my garden,” you think, and head off to hardware store to lay down some pavers. It’s all going well, the first 10 feet look terrific, until you reach an impossible-to-manage twisty bit, or suddenly realize you’re a few bricks short. Or the lines don’t match where bulbs want to go.
Math can be cruel… And it’s best to get it right before you break ground. After you’ve defined your space, the calculator does all the math. It adds up the base gravel, the bedding sand, and bricks (including extra for cuts). Waste is often underestimated, which I know is because most of us think in straight lines, but then curves throws a kink into things.
Why Planning Is Important for Your Garden Project
If your brick lays out in a gentle radius, you’ll have fewer bricks in that inner row compared to the outer row. And if there’s some kind of cut, the tool will adjust accordingly based off your selected curve complexity factor. All you do is tell it how sharp the turn are. Four percent may be added to your count for a soft sweep. A tight fire pit ring might double the cut allowance.
It sounds like a small percentage. But on larger projects, this is the difference between ordering more in the middle of installation or finishing by Saturday morning. Amateurs start cutting corners when prepping base, and they pay dearly for it. Sand and gravel has separate roles in the process; the former makes the top surface even (to ensure bricks are level), while the latter adds structure and also drains. Shortchange the base, and your patio will either sink, or move out of place, in just one freeze-thaw cycle. Unless you give clay soil something permeable to stand on, there’s no escape route for all that water!
The calculator advises deeper bases for patios different than for casual edging, since people (and their furnitures) really put some weight down. A fancy edge along a grassy lawn doesn’t require the kind of footing that a dining area with hefty stone table would get. Brick size matter. In appearance and in time spent laying them. Tumbled cobble, small brick, has an appealing charm, but there are more joints to set, so it takes longer. Bigger pavers go down quicker, but there’s not as much wiggle room for curving things. Coverage rate per square foot is clearly illustrated in the reference table on the page. Use that to compare cost against various manufacturers.
One brand may seem like a better deal per piece. Until you find out their bricks only cover half the space of another style. Avoid this trap: always calculate by total area required, not by individual units. And then there’s the matter of patterns. Straightforward running bond is easy and doesn’t waste much brick. Fancy herringbone features strong interlocking joints, but requires that all edges is cut precisely. How much additional material will those fancy designs consume? The calculator accounts for these pattern coefficients, sparing you from guessing.
It even calculates edge restraint requirements, which are vital to a paved surface’s integrity when subjected to weight. Failure to provide adequate perimeter support cause edges to splay out over time, forming an eyesore of ugly gaps and tripping hazards. Walk it off first: If possible, measure it out with a tape before purchase. Do this along its centerline (that’s where the bricks will go), not from end to end of the property. Include some wiggle room for any cuts required around utility and tree lines.
Round up when totaling the final amount since bags are sold by the full bag only. Better to have too much material than run out mid-project and wait for more. You should of planned, because planning brings satisfaction, while not planning can lead to frustation.