Block Wall Grout Calculator
Estimate CMU grout for vertical cells, bond beams, reinforcing displacement, lift height, slump allowance, waste, bags, and cubic yards from one wall layout.
⚙Unit System
📌Grout Presets
Choose a typical CMU layout, then adjust the numbers to match your plans or engineer notes.
🧱Wall, CMU, and Grout Inputs
CMU Grout Estimate
📊Current Material and Spec Comparison
📐CMU Core Volume Reference
| CMU Thickness | Typical Cell Area | Full Grout per 8x16 Block | Blocks per Cubic Yard |
|---|---|---|---|
| 6 in CMU | 26 in² per cell | 0.24 ft³ | About 113 blocks |
| 8 in CMU | 38 in² per cell | 0.34 ft³ | About 80 blocks |
| 10 in CMU | 52 in² per cell | 0.46 ft³ | About 59 blocks |
| 12 in CMU | 65 in² per cell | 0.57 ft³ | About 47 blocks |
🔗Bond Beam and Rebar Reference
| Member | Typical Grout Area | One 20 ft Course | Common Steel |
|---|---|---|---|
| 6 in bond beam | 30 in² | 0.15 yd³ | One #4 or #5 |
| 8 in bond beam | 45 in² | 0.23 yd³ | Two #4 bars |
| 10 in bond beam | 58 in² | 0.30 yd³ | Two #5 bars |
| 12 in bond beam | 72 in² | 0.37 yd³ | Two #5 or #6 |
🛠Grout Type Comparison Grid
| Grout Type | Aggregate Size | Typical Slump | Best Fit |
|---|---|---|---|
| Fine masonry grout | Sand only | 8 to 11 in | Tight cells, close rebar |
| Coarse masonry grout | Pea gravel | 8 to 11 in | Open cells, standard walls |
| High slump grout | Fine or coarse | 10 to 11 in | Tall lifts and pumps |
| Self-consolidating grout | Designed mix | Flow spread | Dense rebar, low vibration |
⏱Lift Height and Spacing Reference
| Grout Layout | Cells in 20 ft Wall | 8 ft Wall, 8 in CMU | Planning Note |
|---|---|---|---|
| 48 in spacing | 6 cell columns | 0.34 yd³ cells only | Light reinforcement |
| 32 in spacing | 9 cell columns | 0.51 yd³ cells only | Common garage walls |
| 16 in spacing | 16 cell columns | 0.90 yd³ cells only | Retaining wall cells |
| All cells | 30 cell columns | 1.26 yd³ cells only | Shear wall core fill |
💡Practical Grout Tips
Masonry walls consist of concrete masonry units (CMUs), which appear sturdy from the outside, but in fact aren’t until their hollow cores is filled with grout. Until then they’re just a bunch of bricks stacked one on top of each other, which isn’t exactly rigid. Once the cavities are filled the wall function as a unified structure, not as wobbly pile of separate bricks.
Infilling too much or too little affects your thermal performance and reduces shear strength, making the exact amount important. Too little and you’ll end up wasting material and having to increase weight of the whole thing; too much and there will be gaps which compromise both thermal performance and shear strength. The calculator above do the math for you, leaving you free to focus on real-world nature of the wall itself.
Why You Need to Calculate Grout Amount
The most common mistake in grout estimation is forgetting that rebar take up room, and thus, it’s important to account for what is filling up cells. Many guys use half-inch bar. Each bar take up quite a bit of concrete. This is especially true if there are multiple bars within the cell, or if they is very closely spaced around corners and door jambs. So the tool do the math for you: It subtracts the volume of the steel from capacity of the entire core. This may sound trivial, but it adds up to several bags of mix on big jobs. Simply input the size of your bar and how far apart they sits from each other, and the tool will adjust the net volume to match so you don’t order concrete where the steel is already sitting.
The addition of bond beams also add to the complexity. Because they serve as horizontal ties throughout the length of the wall, these courses must be fully grouted rather than having only certain cells filled during a story. Any heavy lintels or multiple bond beam course will add a lot to the amount needed. The calculator subtracts bond beam volume from vertical cell fill. This lets you see progress at a glance and plan for pouring logistics to match. Oftentimes bond beams needs special handling compared too tall, skinny cell fills.
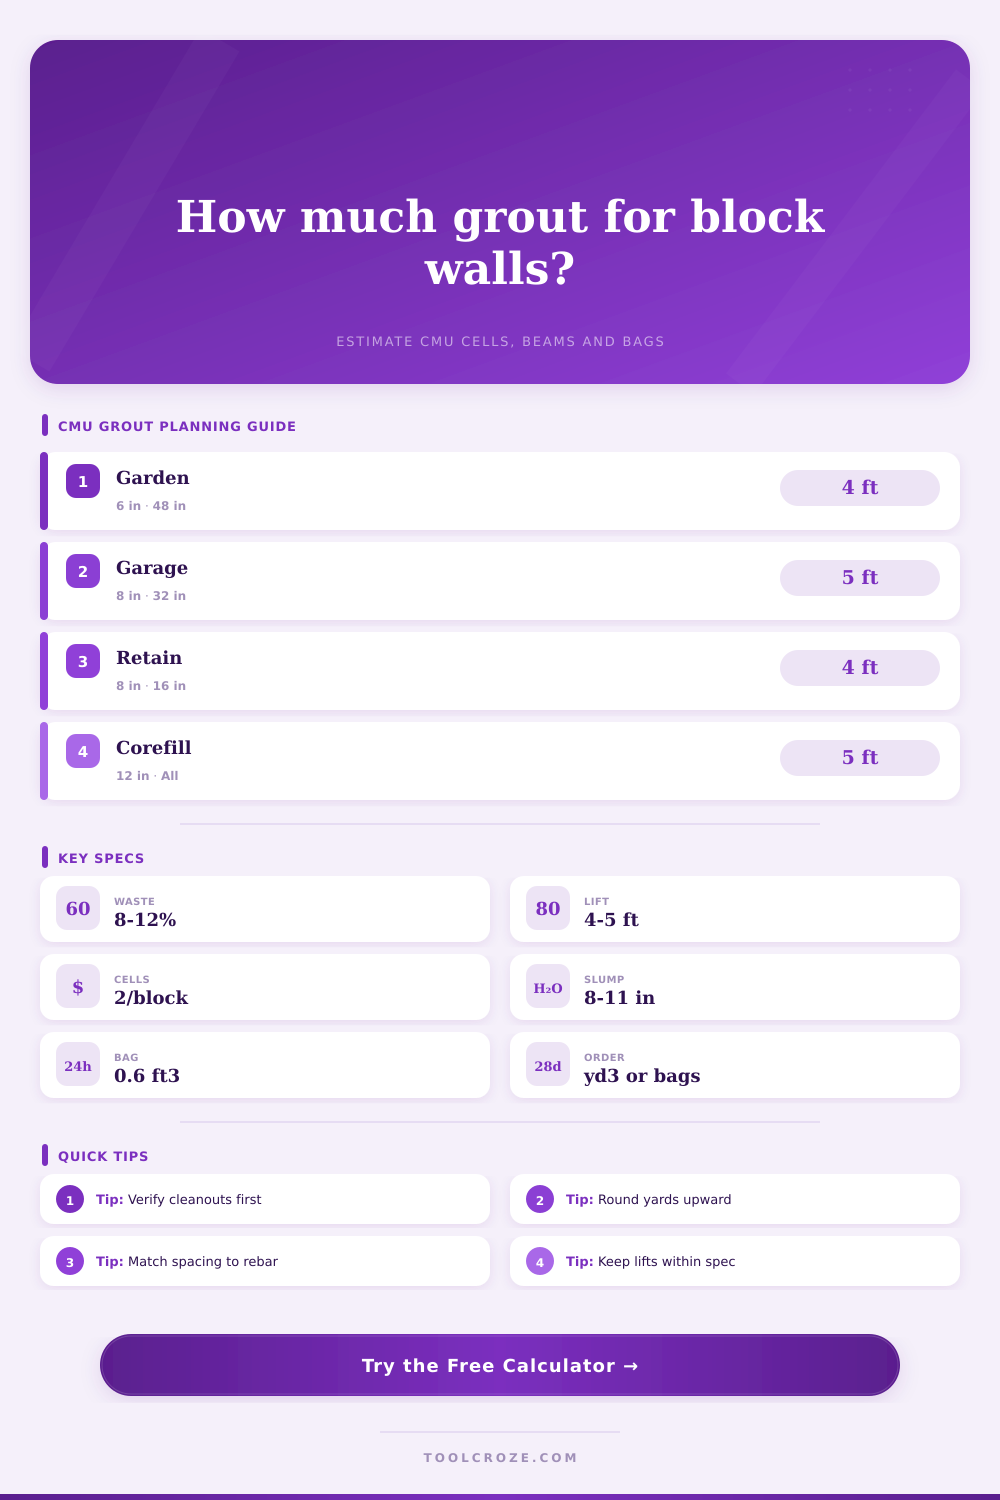
The next thing most estimators don’t think about till the day of the pour is the practical limit of how high grout will flow before it separates, picks up air or otherwise fails to reach its potential. For best strength gain and consolidation, standard practice dictates a maximum lift height of four or five feet. By breaking down your overall volume into planned lifts, the tool enables you to plan logistics… How much do I need to pump or mix at each stage? In doing so, you avoid the chaos of waiting for another batch of grout when the current one start setting up too fast higher in the pour.
Every good estimate has a built-in safety net: waste and slump allowance. When using dry material like grout, there is always some amount of washout (when being placed), hose retention and spillage, these are real world issues that lose volume from original material, and high slump mixes is easier to work with but tend to bleed water as well, which effects the ultimate density. To compensate for this, the calculator includes a waste percentage that typically runs between eight and twelve percent to cover all of these real world losses. Then it tapers for the type of mix design you order. It takes into consideration that self-consolidating mixes may take less vibrational effort, but must be ordered precisely because they won’t stand up if delayed too much in place. The profile of slump is chosen based off crew and equipment experience, and the math accommodates that selection.
The volume itself is largely determined by choosing an appropriate cell-spacing strategy: it’s great if each individual cell is filled (giving you max-strength), but that’s also going to cost you. Most of the time, many walls only need reinforcement at 16-inch or 32-inch intervals with solid blocks elsewhere; the tool presets includes typical building code scenarios for garden structures, retaining walls and garages. With just a couple of clicks, you can swap between lightweight partition walls and heavy structural layouts. You will immediately see your updated material order to understand where you are trading performance for cost, with no recalculation required.
Those are some of the reasons those choices were made. The page includes a series of reference tables showing what typical block counts and core areas look like in terms of cubic yards. It helps translate an abstract number into something more concrete. If I know that about 80 standard size (8 inch) blocks fit into a cubic yard, then I can get my head around how big a cubic yard is. This begins to make the numbers in the spreadsheet feel real instead of just being a bunch of inputs for a wall.
The thing to keep in mind when estimating grout amounts is that the visible masonry only tells one side of the story; the grouted interior tell another. Grout gives a sense of true load-bearing capacity and longevity of the masonry. If you match the order amount of materials with what’s needed for geometry and reinforcement, then you’re not just wasting money on extra material, you also aren’t creating weak spots. The pour follows the numbers, but the fill quality maintains the life of the wall. Know the amount of voids under the surface, that’s where it begins.