Drywall Repair Estimate Calculator
Estimate drywall patch area, board pieces, joint compound, tape, screws, corner bead, texture coverage, sanding supplies, dry-time visits, and active work hours.
Drywall Repair Estimate
| Repair condition | Typical method | Material notes | Estimate adjustment |
|---|---|---|---|
| Nail pops and dents | Spot fill only | Setting compound or lightweight mud | Low board use, higher spot count labor |
| Small hole under 6 in | Mesh patch or butterfly patch | Mesh patch, compound, light sanding | Add wider feather area than the opening |
| Doorknob or impact hole | Backer strip patch | Drywall piece, backers, screws, tape | Perimeter tape equals patch outline plus waste |
| Water-damaged cutout | Stud-to-stud panel patch | Board replacement, tape, stain-blocking primer | Increase cleanup and finish allowances |
| Failed tape seam | Retape existing seam | Paper tape or mesh tape, 3 finish coats | Area follows final feather width times length |
| Cracked outside corner | Corner bead replacement | Vinyl or metal bead, compound, fasteners | Bead length drives trim quantity |
| Material | Coverage basis | Common allowance | Calculator use |
|---|---|---|---|
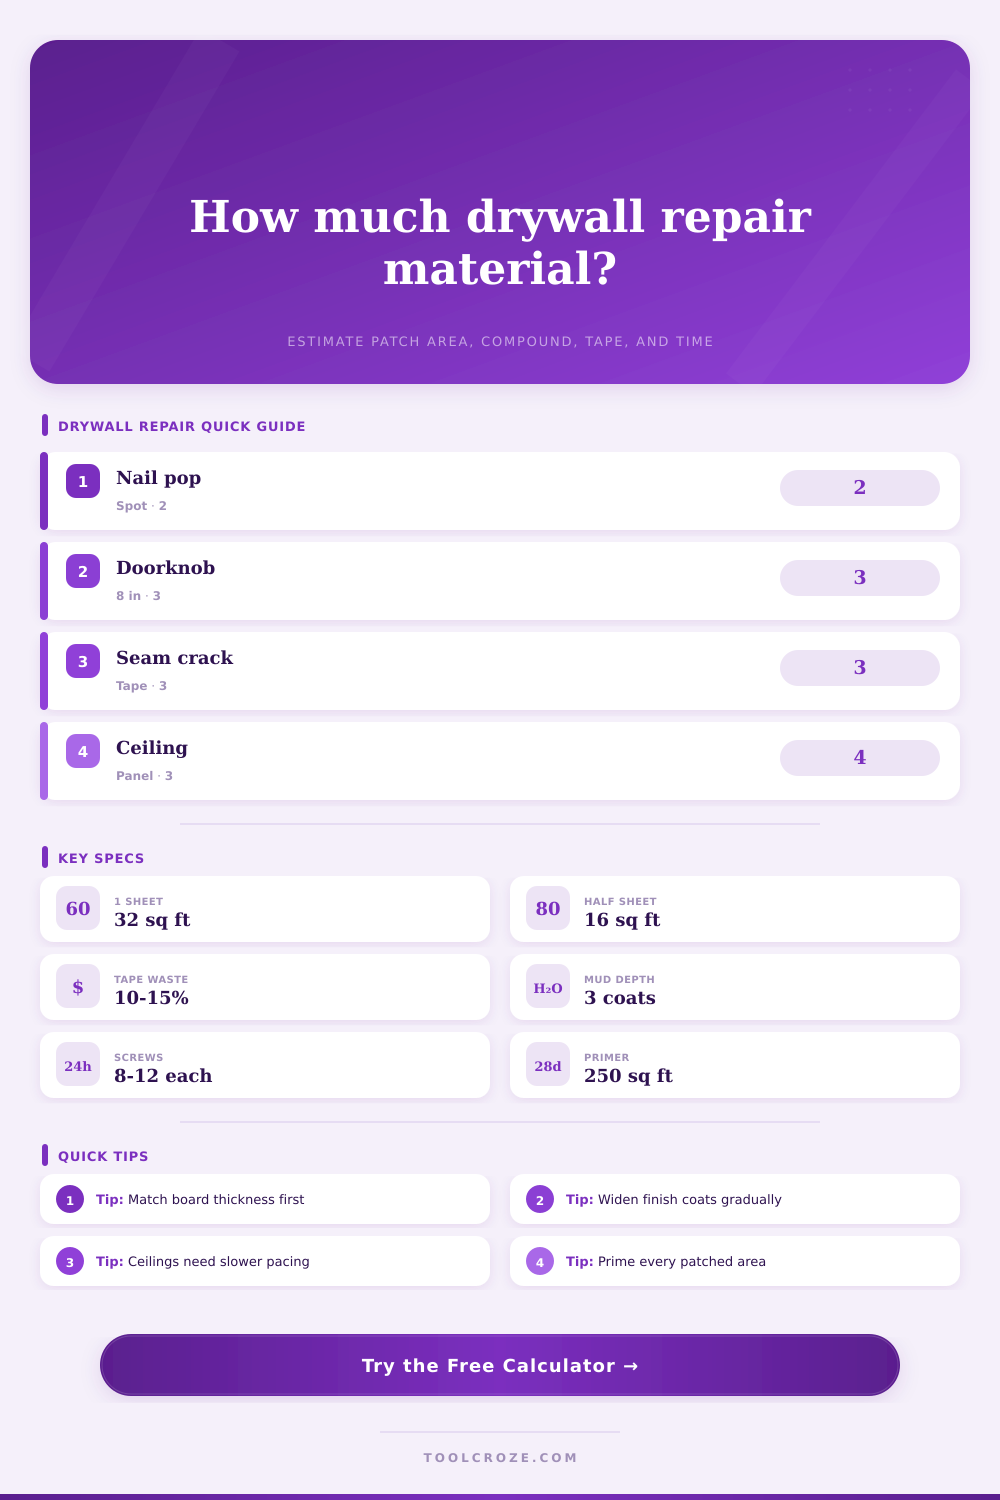
| Drywall sheet | 4x8 ft sheet = 32 sq ft | Buy larger than cutout plus trimming | Compares needed patch area to planned piece |
| Ready-mix compound | About 0.20 to 0.55 lb per sq ft by finish | More coats and texture blend increase use | Uses feather area, coats, and finish level |
| Joint tape | Patch perimeter or seam length | Add 10% to 15% for laps and recuts | Calculates tape length from repair type |
| Drywall screws | 8 to 12 screws for many small backer patches | Ceilings and stud patches use more | Scales by perimeter, backing, and surface |
| Sanding sheets | One sheet per 18 to 30 sq ft of finish area | Higher finish levels need finer passes | Rounds up from finish area and coats |
| Primer | About 250 sq ft per gallon on repairs | Seal all compound before finish paint | Reports patched primer area only |
| Finish target | Best fit | Coats | Feather width guidance |
|---|---|---|---|
| Level 2 | Utility rooms, garages, hidden areas | 2 coats | 6 to 8 in around patch edges |
| Level 3 | Heavy orange peel or knockdown texture | 3 coats | 8 to 10 in around patch edges |
| Level 4 | Standard painted wall repair | 3 coats | 10 to 14 in around patch edges |
| Level 5 | Smooth walls, raking light, glossy paint | 4 to 5 coats | 16 to 24 in skim blend zone |
| Spec | Typical use | Thickness or size | Repair note |
|---|---|---|---|
| Regular drywall | Most interior walls | 1/2 in | Match nearby wall thickness before cutting |
| Fire-rated board | Garages, ceilings, rated walls | 5/8 in | Heavier patch, more fastener support |
| Moisture-resistant board | Bath and laundry walls | 1/2 in | Use where damp-room board already exists |
| Metal corner bead | Outside corners with crisp edge | 8 to 10 ft sticks | Needs straight fastening and wide mud blend |
| Vinyl corner bead | Damp or impact-prone corners | 8 to 10 ft sticks | Often easier to trim for short repairs |
| Paper tape | Flat seams and inside corners | 2 in wide roll | Strong crease, needs bedding coat |
| Mesh tape | Small patches with setting compound | 2 in wide roll | Fast placement, avoid excessive buildup |
Drywall repair is one of those jobs most folks try to do as if it were a plastering job (i.e., fill the hole and be done). But that’s what generally results in cracking tape and shrinkage you can see, so you’re left with a finish that are worse than the original ding. Here’s the real secret: A drywall patch is only half of equation. The other half is that feathered-out area surrounding the patch, known as the feathering zone or tapered transition zone. Without taking this taper into account when estimating materials, you’ll find yourself running short on mud halfway through and having a prominent ridgeline.
Once you know how big your damage is, this thing does the rest. You don’t have to remember any conversions or coefficients, just enter your dimensions into the calculator on this page and it figure out the rest. In fact, it makes you consider what kind of repair you’re going to do before you purchase a bag of compound. Will you use a self adhesive mesh patch for that hole in your doorknob? If so, that’s quicker than cutting a piece of wood to act as a backer strip, but now how much primer and tape will you actualy need? And what about the mesh patch itself? Since it holds its form without a structural backing, you won’t be using screws; instead, you will probably use a little more compound to press those fibers down correct. This tool will then adjust amount of materials listed based off your selection. It ensures you have enough supply for the technique you’ve chosen.
How to Fix Drywall Like a Pro
Another trip-up: Because new construction typically doesn’t use the same material as old houses, the thickness of the boards varies. Interior walls generally consist of a half-inch board while ceilings typically use five-eighth-inch panels to avoid sagging over time. Replacing a section of ceiling with thinner wall board isn’t going to make your house look pretty; it’s going to droop under weight of itself (or after several layers of mud). The estimator allows you to match the replacement piece to what already exists, avoiding structural failures acting as cosmetic ones. You may be tempted to think all drywall is good enough for a little patch job. But you’re fighting gravity on something overhead and density makes a difference here.
The biggest reason DIY efforts fail to meet standards is in texture matching… Knockdown, orange peel, and smooth compound simply do not mix without intentional effort. But even when you get the patched spot right, the drastic change from one bumpiness level (matte smooth) to another will form a visual hotspot that catches attention. By default, the calculator assumes you’ll want to blend texture of the repaired section. It therefore adds quite a bit more material to its estimate, along with additional time. And then there’s the fact that you’re not really filling a hole; you’re re-creating an overall surface pattern across a greater span different than what was damaged. That’s why the tool prompts for feathering width at the end. On paper a dozen inches sounds like no big deal, but when your texture is heavy, you may need to feather out two or three feet to go unnoticed under raking light.
The most under-rated part of any patch job is primer. Joint compound soaks up paint unlike finished factory drywall; it’s porous. If you don’t prime the patch, you’ll notice a halo effect once you apply the first coat of paint. The color will look darker and duller around the edges of the patch. Remember: Primer estimates are based on the entire blended area, not simply size of the hole. That way there is enough to soak up the moisture so that when you add the pretty stuff, it all looks like one piece. This is an easy fix that saves you from the most common post-paint letdowns.
Secondly: be sure to schedule your project around the drying times of these products, which are essential but not all that fast. Joint compound will shrink as the water evaporates. Sanding before it is thoroughly dry will cause cracks and painting it while moisture is still trapped inside will do the same. Therefore, the hours don’t add up linearly. Instead, the calculator estimates the number of visits required because drywall repair usually involve short periods of work followed by long delays. You’ll apply some tape and a thin “bedding” coat, wait for them to dry, then apply one or two finish coats…sand them…and then prime. And each must be given enough time to cure completely. Anything faster means you end up with a patch job that won’t last more than a few weeks.
In the end, the point isn’t to cover up the wall so much as to overwrite its history, to wipe clean any memory of the damage. That’s where this tool comes in. It factors in the way your tape overlaps, the amount of waste, and how each layer expand when dry. This helps you get the sizing right for that erasure. With a plan built around sensible amounts of materials and a respect for how long things take to dry, what you’re left with is a wall like it was never touched. You see the room instead of the repair.