Stabilized Sand Calculator
Estimate compacted stabilized sand, loose sand allowance, cement or lime binder, moisture correction, bag count, lift plan, and waste for bedding, backfill, and haunching work.
Stabilized Sand Estimate
Full calculation breakdown
| Application | Typical binder | Target moisture | Compacted lift | Field note |
|---|---|---|---|---|
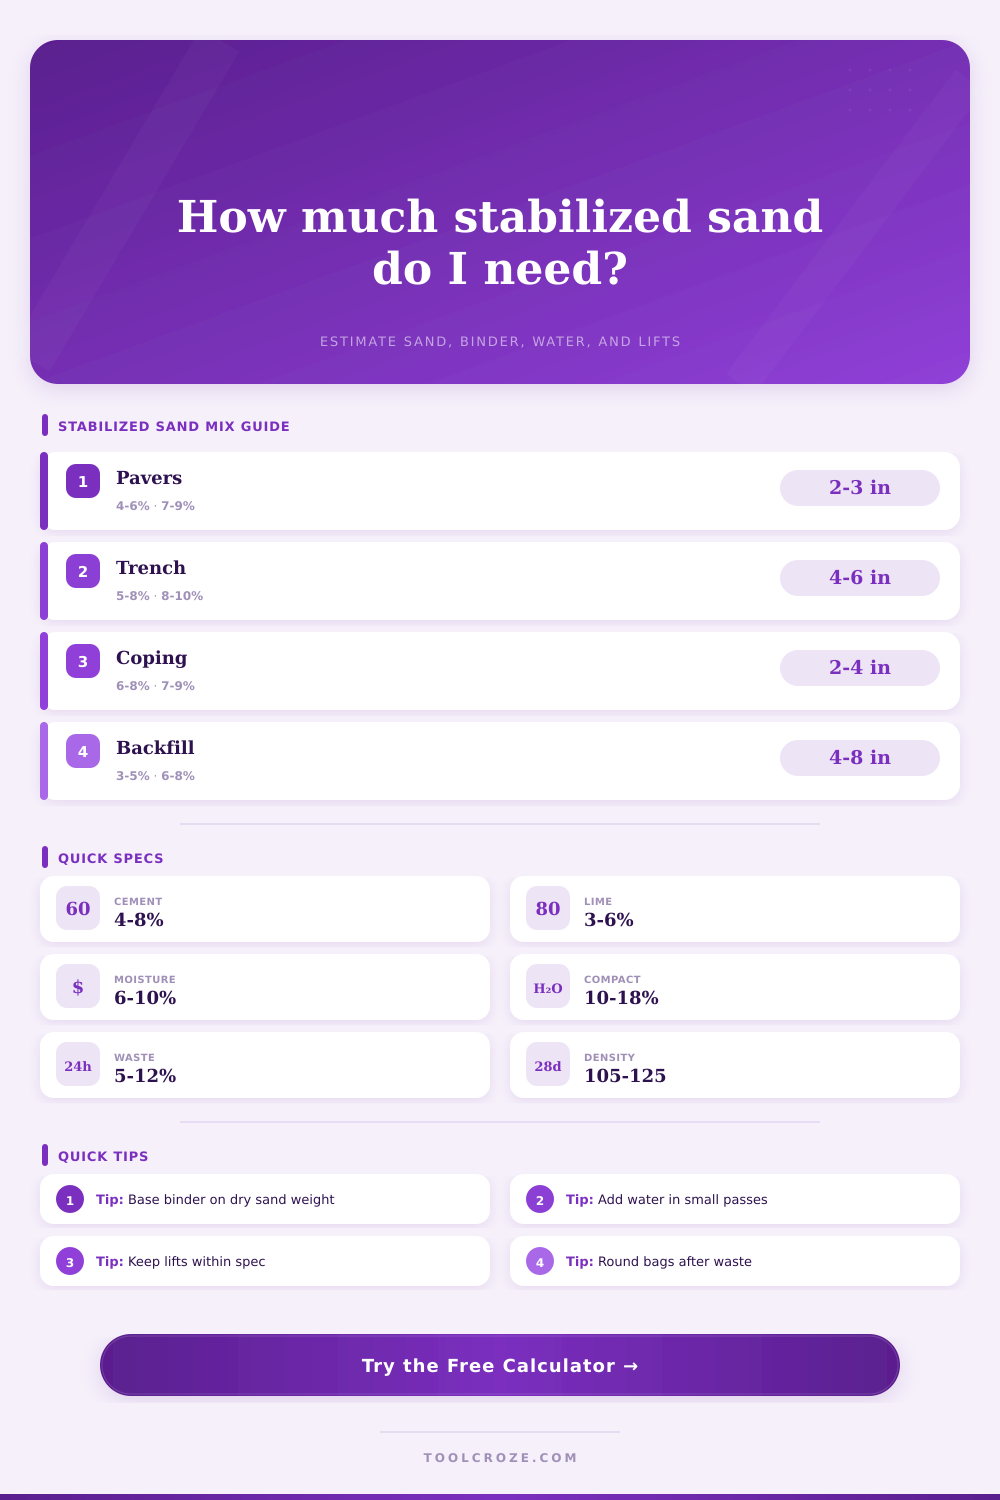
| Paver bedding over prepared base | 4% to 6% cement | 7% to 9% | 2 to 3 in | Screed quickly before initial set. |
| Utility trench haunching | 5% to 8% cement | 8% to 10% | 4 to 6 in | Place evenly along both pipe sides. |
| Retaining wall leveling pad | 5% to 7% blend | 7% to 9% | 3 to 4 in | Keep the pad flat and fully compacted. |
| Pool coping or curb bed | 6% to 8% cement | 7% to 9% | 2 to 4 in | Control moisture to avoid edge slump. |
| Low-shrink stabilized backfill | 3% to 5% cement | 6% to 8% | 4 to 8 in | Use lower binder where removability matters. |
| Sand condition | Dry density | Loose allowance | Moisture behavior | Best calculator use |
|---|---|---|---|---|
| Clean concrete sand | 105 to 115 lb/ft³ | 10% to 14% | Drains and mixes predictably | Pavers, slabs, walls |
| Coarse bedding sand | 110 to 120 lb/ft³ | 12% to 16% | Needs careful moisture blending | Pipe bedding, haunching |
| Fine mason sand | 100 to 110 lb/ft³ | 8% to 12% | Bulks more when damp | Thin beds and small work |
| Sand with fines | 115 to 125 lb/ft³ | 14% to 18% | May hold water unevenly | Backfill where approved |
| Binder type | Common dosage | Handling profile | Strength tendency | Use when |
|---|---|---|---|---|
| Portland cement Type I/II | 4% to 8% | Short working time | High early stiffness | The layer must lock quickly. |
| Slag cement blend | 5% to 9% | Smoother finish window | Moderate early gain | Heat or long placements slow cement. |
| Hydrated lime | 3% to 6% | Workable and forgiving | Slower strength gain | Plasticity and workability matter. |
| Lime-cement blend | 5% to 7% | Balanced field behavior | Medium early stiffness | You need both workability and lockup. |
| Dry polymer additive | 1% to 3% | Very dosage-sensitive | Surface lock, not soil-cement | Specs call for polymer-stabilized sand. |
| Placement method | Practical lift | Compaction allowance | Moisture target | Field check |
|---|---|---|---|---|
| Hand tamped strip | 1.5 to 3 in | 8% to 12% | 6% to 8% | Firm footprint, no pumping. |
| Plate compacted bedding | 2 to 4 in | 10% to 15% | 7% to 9% | Uniform surface after two passes. |
| Trench haunch placement | 4 to 6 in | 12% to 16% | 8% to 10% | Even support under springline. |
| Low-strength backfill | 4 to 8 in | 14% to 18% | 6% to 9% | No voids around penetrations. |
Sand becomes stabilized and transforms loose, grainy material to a solid base. It is similar to concrete but has none of it’s shrinking or cracking issues. If done improper it can turn out messy (too much liquid) or brittle (not enough).
With this calculator, you enter your measurements, and they is converted exactly into weights so you can focus on actual task at hand. That way you’re not purchasing insufficient amounts of cement.
How to Stabilize Sand
The calculation is based off sand’s dry weight, and not volume. Water has weight, so wet sand are heavier than dry sand. Adding cement by volume alone create an uneven mix (in places). The calculation adjusts itself based on the current moisture level. So it calculate a percentage that corresponds with solid mass. This maintains accuracy for material you are trying to stabilize.
How much water to add? Don’t guess; measure it carefully. Contrary to popular belief, there isn’t a certain amount of water per bag of cement. Rather, you’re trying to reach your desired level of wetness where the mixture can be worked. Based on initial moisture, the calculator calculate the additional amount of water required.
Mix and add small increments of water. That avoids dry patch and slushy areas. Dumping everything in at once won’t allow for even compaction.
Sand also loses a lot of volume when compacted. When sand is loose, it’s got a bunch of air in there. The tool handles this reduction by including a factor. Typicaly this is ten or fifteen percent. That means they knows how many cubic feet of sand to buy before they vibrate it all down.
If you don’t account for this, you’ll be out of sand. Maybe you thought you had three inches of sand, but now you’ve only got one and a half inches because it was compact. People sometimes forget this too. They fail to account for it when workers are compacting.
Practical constraints on thickness include stability of the lift. No, you can’t put down six inches all at once. There’s not enough time for the binder to set up. The compactor will never make it to the bottom of that lift. Uniform density depends on following recommended lift depth. A single thick lift takes less time than two thin lifts, but it also prevent future weak spots from forming.
Correctly layered pavers won’t sink into ground.
Which binder should you use? Use lime if you have more time: It’s more workable, though slower to harden than cement. For example, lime might suit a trench backfilled around a pipe; it would be easier to work with, though it would take some time to get strong. Use cement if you want faster setting, higher stiffness in the early going. Paver beds requires quick stiffening so traffic can drive on them soon after. You can switch between binders to compare number of bags needed using the calculator.
Field work means wasting some material, it’s just part of the job. Something will be missed at the corner or edge, some gets caught up in the mixer. Having five to ten percent waste allowance covers your butt if something does happen that requires additional materials. Better to have a bit more on hand than have to make a mad dash to pick up more material. That way there is no disruption to the crew’s work. You should of planned for it.
A loose variable can be controlled by stabilized sand. With proper timing and careful measuring, you turn sand into solid foundation. When it’s time for mixing, the math instills confidence in your ability to get started. Eyes and hands will tell you when to stop. Lifts should remain thin. Get the ratios right. What’s left will hold its shape long after the work day is done.