Roof Truss Spacing Calculator
Estimate truss count, actual on-center spacing, tributary roof load, layout remainder, bracing footage, and practical framing checks from span, length, spacing, and roof load inputs.
Calculation Breakdown
| Building use | Common spacing | Typical span range | Notes |
|---|---|---|---|
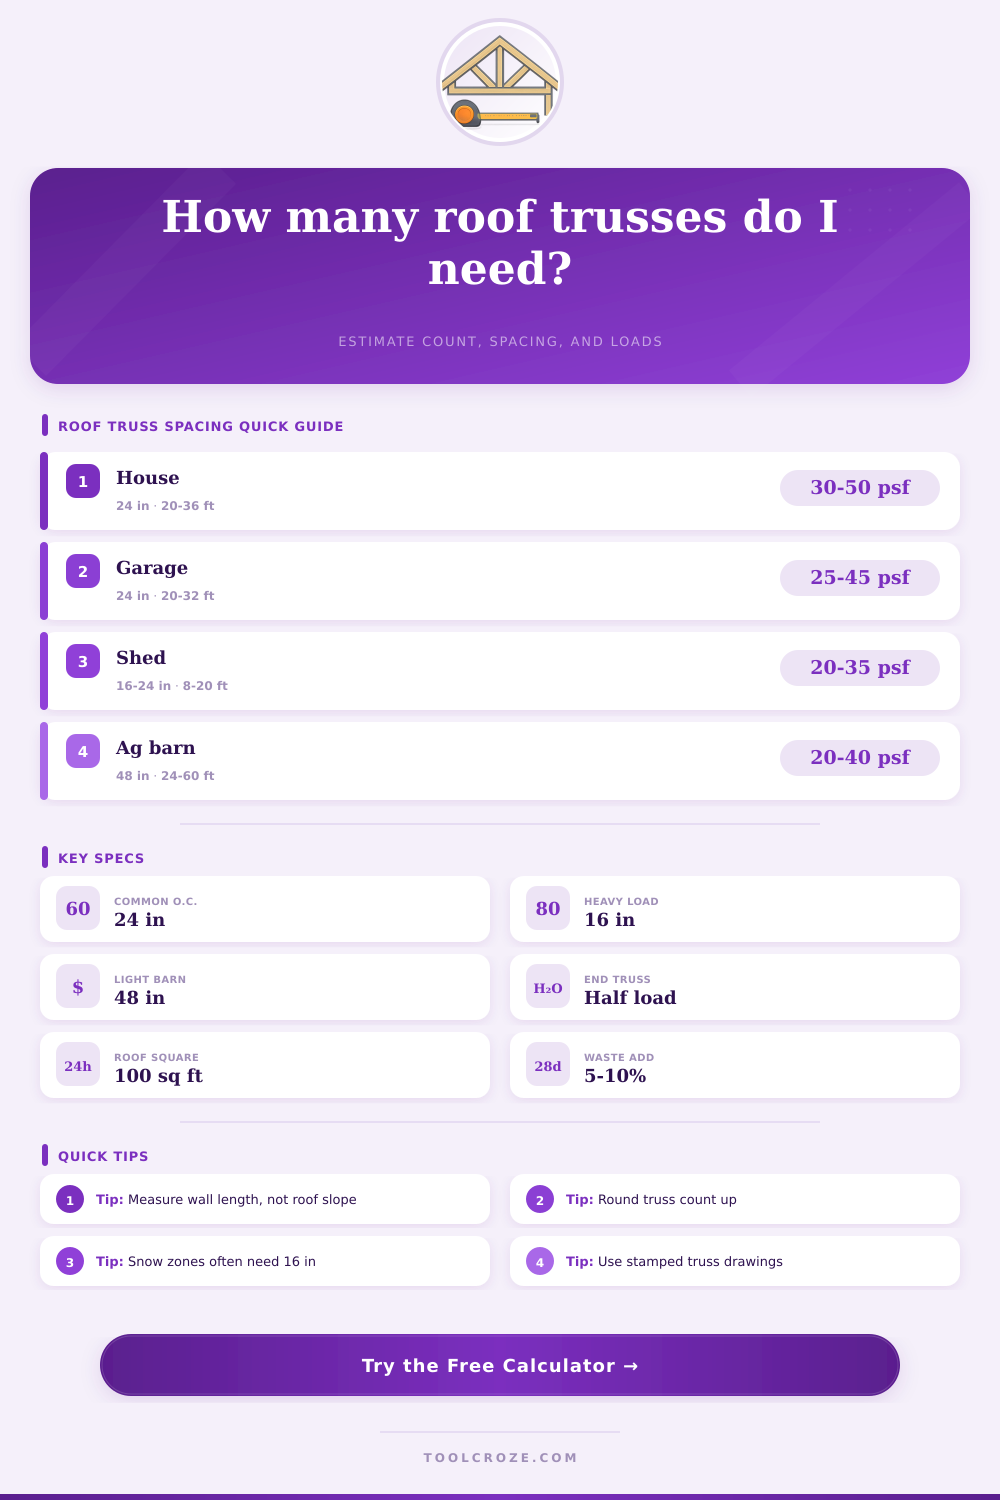
| Residential house | 16 to 24 in o.c. | 20 to 40 ft | 24 in is common when drawings and sheathing allow it. |
| Attached garage | 24 in o.c. | 20 to 32 ft | Use tighter spacing for storage loads or high snow. |
| Small shed | 16 to 24 in o.c. | 8 to 20 ft | Short spans may still need 16 in for thin sheathing. |
| Pole barn | 48 to 96 in o.c. | 24 to 80 ft | Only use wide spacing with engineered purlins and trusses. |
| Porch or patio roof | 16 to 24 in o.c. | 8 to 24 ft | Check uplift, ledger attachment, and end bearings. |
| Total roof load | Suggested spacing | Design pressure | Typical action |
|---|---|---|---|
| 20 to 30 psf | 24 in o.c. | Light roof areas | Confirm wind uplift and sheathing span rating. |
| 31 to 45 psf | 16 or 24 in o.c. | Moderate snow | Use drawings to choose final truss spacing. |
| 46 to 70 psf | 16 in o.c. | Heavy snow | Reduce spacing or increase engineered truss capacity. |
| Over 70 psf | Engineer only | Severe snow or special loads | Do not use rule-of-thumb spacing. |
| Truss type | Good for | Bracing rows used here | Spacing caution |
|---|---|---|---|
| Fink common | Standard gable roofs | 2 to 4 rows | Most flexible for 16 and 24 in layouts. |
| Howe | Longer spans and heavier webs | 3 to 5 rows | Check web bracing notes on the shop drawing. |
| Attic storage | Room-in-attic layouts | 4 to 6 rows | Use exact live load and storage load criteria. |
| Scissor | Vaulted ceilings | 3 to 5 rows | Spacing may be limited by ceiling finish deflection. |
| Agricultural | Post-frame buildings | 4 to 8 rows | Wide spacing needs engineered purlins and diaphragm design. |
| Project | Length and span | Truss count | Actual spacing |
|---|---|---|---|
| 24 x 36 garage | 36 ft long, 24 ft span | 19 common trusses | 24.0 in o.c. |
| 28 x 48 house | 48 ft long, 28 ft span | 37 common trusses | 16.0 in o.c. |
| 12 x 16 shed | 16 ft long, 12 ft span | 9 common trusses | 24.0 in o.c. |
| 40 x 60 pole barn | 60 ft long, 40 ft span | 16 engineered trusses | 48.0 in o.c. |
| 32 x 44 snow roof | 44 ft long, 32 ft span | 34 common trusses | 16.0 in o.c. |
When the sheathing panels sag between trusses, that’s usually when you realize you spaced the roof wrong. It’s an expensive lesson, one easily prevented with a little planning and some division for load capacity. Most people think it’s sufficient to space the trusses evenly across the wall, but every inch make a difference in how much weight each wooden frame has to bear. Once you input your roof dimensions and local snow conditions, the calculator will do all the math to determine which layout your roof can support.
The other reason why people mess up estimates is confusion about building length versus clear span. Clear span refers to the width across the building, horizontally, from one bearing wall to another, not diagonally up slope of the rafters. Measuring along that slope instead of horizontal means you will probably order too many trusses or space them incorrectly. This wastes material and creates an inefficiently engineered structure.
How to Space Roof Trusses Correctly
That’s why the tool requests this dimension: Engineering calculations are based off load distribution at horizontal projections. This may seem like a trivial point, but it defines the entire geometry of how you frame your roof. The other thing about spacing: It’s a balance between capacity and cost. Using fewer pieces of bracing and fewer trusses look good on the bottom line UNTIL you need each individual truss to hold more weight because they are spaced farther apart. Going from 16 inch on center to 24 inch increases your tributary load on all the interior frame by fifty percent. That’s a big increase in stress, requiring either bigger lumber or heavier gauge steel connectors unless you adjust your design to compensate.
Look at the reference table in the tool to see typical range for various types of buildings. It will explain why residential homes typically stick with sixteen or twenty-four inches, while agricultural barn can get away with forty-eight-inch spacing. You also have the variables of snow loads to consider. For example, where snow accumulates heavily in winter months, it’s frequently necessary to tighten the spacing between rafters to avoid failing the roof as a result of being bent.
You’ll enter both live load (from the weather) and dead load (from the weight of the roofing materials) into the calculator. This is important since snow doesn’t accumulate evenly, meaning there may be spots where it’s piled on very high. In contrast, asphalt shingles represent an even load that remains permanent. So if you’re in an area that experiences severe storms, it’s likely the calculator will recommend either decreasing the spacing or swapping out for stronger truss designs in order to avoid having the roof buckle beneath the load.
Another thing to consider for the total count is the end conditions. You will find most plans has standard end trusses on each side of the house while others may be gables and have more framing in them or they may even be open to air which means less end support. Using the right one prevents you from ordering too few key elements that contribute to structural integrity. As a visual aid, the rest of the layout shows what your last bay will look like if it does not fit perfectly into a full bay. More often than not, this leaves you with a short bay at the end. You don’t want to leave a huge hole in your roof at the end.
First of all, keep in mind these numbers are planning only; they are NOT a replacement for a pro’s work. Because truss systems is manufactured per blueprint plans, any changes made onsite will impact warranty status and even safety. Order your lumber based off these calculations and plan out your job accordingly. However, when it comes time to build, stick with the marked-up drawing provided by your licensed engineer.
You also need to place the braces correct during installation, because the structure won’t be stable until the roof sheathing secures it. Early on in the planning process you save yourself headaches by getting the spacing correct. When it’s time for drywall and insulation work in the attic, having the walls spaced evenly and parallel will make finishing out the inside spaces much easier. Don’t be afraid to take some time and check your input numbers against your local building code before locking into a plan. That first set of measurements and load assumptions can make all the difference between a quick build and a remediation nightmare. You should of checked everything twice. Follow the math and let the numbers lead you with your framing decisions from day one: trust the numbers; respect the loads.