🧱 Thinset Mortar Calculator
Estimate thinset bags, adjusted coverage, mix water, mortar bed volume, batch count, and trowel suitability for tile floors, walls, showers, membranes, and exterior work.
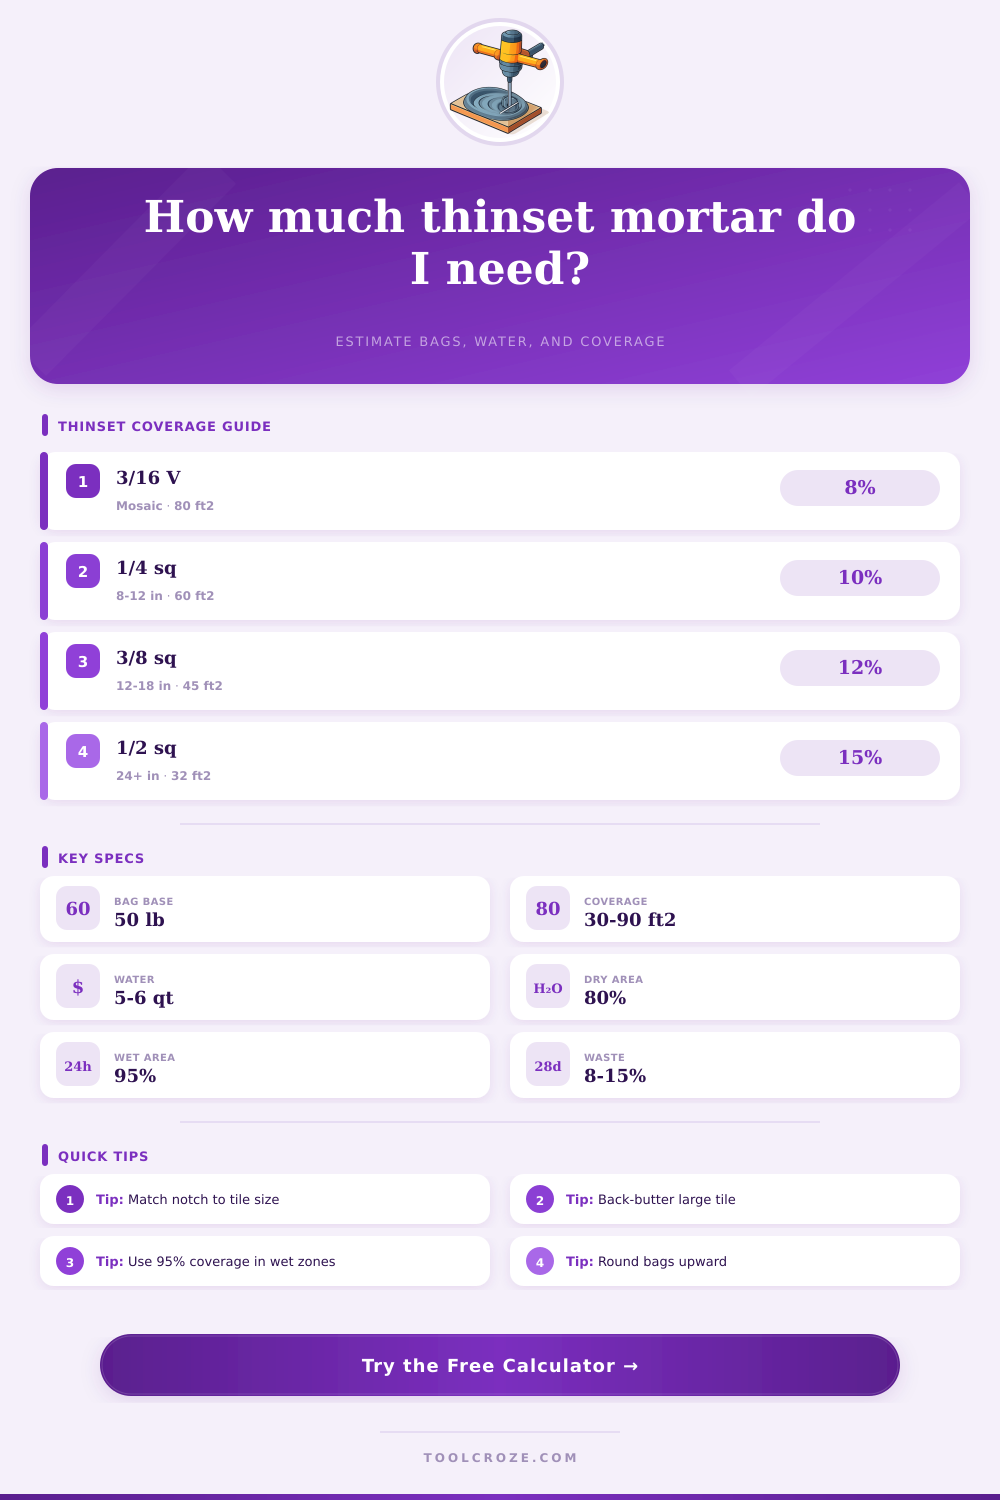
| Trowel notch | Common tile size | Base coverage per 50 lb | Estimated wet bed | Best use |
|---|---|---|---|---|
| 3/16 in V-notch | Mosaic to 4 in | 80 to 95 sq ft | 0.06 to 0.09 in | Mesh mosaics, backsplash sheets |
| 1/4 in square notch | 6 to 12 in | 55 to 70 sq ft | 0.09 to 0.12 in | Small floor and wall tile |
| 1/4 x 3/8 in square | 12 to 18 in | 40 to 52 sq ft | 0.13 to 0.17 in | Porcelain floor tile |
| 1/2 in square notch | 18 to 24 in | 28 to 38 sq ft | 0.18 to 0.24 in | Large tile, uneven backs |
| Slant or Euro notch | 24 in and larger | 24 to 42 sq ft | 0.18 to 0.28 in | Large format and panels |
| Mortar type | Coverage effect | Typical water per 50 lb | Tile or substrate use | Planning note |
|---|---|---|---|---|
| Unmodified dry-set | Slightly higher | 5.7 qt | Some membranes and dry-set specs | Follow membrane manufacturer limits |
| Modified thinset | Baseline | 5.5 qt | General ceramic and porcelain | Good default for many interiors |
| Porcelain mortar | Moderate reduction | 5.4 qt | Dense porcelain tile | Plan for stronger transfer |
| Large and heavy tile | Lower coverage | 5.2 qt | Large format or stone | Designed for thicker bedding |
| Non-sag wall mortar | Lower coverage | 5.1 qt | Vertical tile courses | Mix in smaller batches |
| Condition | Coverage target | Mortar demand | Applies to | Field check |
|---|---|---|---|---|
| Dry interior floor | 80% minimum | Baseline | Bedrooms, halls, kitchens | Lift a tile to confirm transfer |
| Wet area | 95% minimum | Higher | Showers, tubs, steam zones | No voids at corners or edges |
| Exterior tile | 95% minimum | Highest | Patios, balconies, freeze exposure | Full support under every tile |
| Uncoupling membrane | Per membrane | Moderate | Ditra-style mats, waterproof sheets | Key mortar into fleece or cavities |
| Heated mat | Full embedment | Higher | Electric mat or cable floor heat | Cover cable without trowel damage |
| Project | Typical area | Likely notch | Coverage planning | Batch rhythm |
|---|---|---|---|---|
| Backsplash subway tile | 25 to 40 sq ft | 3/16 V or 1/4 sq | Usually one small bag or part bag | Small batches reduce skinning |
| Bathroom floor porcelain | 45 to 90 sq ft | 1/4 x 3/8 sq | Often 2 bags with waste | Mix half bags for cuts |
| Shower wall | 80 to 140 sq ft | 1/4 sq to 3/8 sq | Use 95% transfer target | Work one wall section at a time |
| Large format floor | 120 to 250 sq ft | 1/2 sq or slant | Lower coverage per bag | Back-butter each tile |
| Exterior patio tile | 150 to 400 sq ft | 1/2 sq or Euro | Plan high mortar demand | Mix only within open time |
One of the biggest errors people make when laying out a tile job is reading the front of the package and believing the box contains what the label says it does. Yes, in a perfect world it would. You’d have a perfectly flat sub-floor, you’d be able to maintain your trowel ridges, and every piece would get used except those that you cut off and throw away. But we don’t live in that world.
This calculator takes the guesswork out of figuring if your diagonal layout will require additional bags. As soon as you input your tile size and room dimensions, it runs the math so you know how much you’ll need without wondering how mortar behaves under actual conditions. It makes coverage rates clear by calculating how mortar will act with real-world pressure.
Why You Need a Tile Mortar Calculator
You are not simply hitting the calculate button. You have to understand what your inputs mean. If you choose the trowel notch, then you has decided how wide of a strip of adhesive gets put down before contact with the tile. For mosaic sheets that lay flat and cover area quickly, a small V-notch does the trick. However if you switch to large format porcelain on an uneven floor, that same notch will now result in air pockets underneath the heavy slab. These voids will be weak spots where water can seep in or where the tile might crack under load. The tool accounts for this choice by adjusting the estimate yield to match since a deeper bed results in using more material per square foot. It is not just about sticking the tile down but also creating structural support that lasts.
And then there’s the waste factor, an ugly line item until you think about what it pays for. It accounts for all the cut-up scrap around the toilet flange. It covers the tricky angle where the door meets the floor. It also pays for the stuff that dries out in the bucket or gets glued to the trowel before you can even pick it up. If the room is a perfect square with nothing but straight lines, maybe it’ll require five percent wastage above what you plan for. But if it has several fixtures and a bit of a herringbone layout, expect to spend ten or fifteen percent of your total on materials. People forget to account for that variable and suddenly they’re halfway through the job, staring at an empty bucket while the rest of the material skins over in the corner. With the calculator, this buffer is already baked into the final bag count; no need to scramble for half-bag returns at the checkout counter.
That changes the equation quite a bit, as does the kind of mortar used. For most indoor installations, polymer-modified thinset (which bonds strongly yet flexes) is the go-to material. Unmodified dry-set mortar may be necessary if you’re installing in a steam shower or over an uncoupling membrane to let water vapor pass through. Applying the incorrect mortar will void manufacturer warranties and can weaken the waterproofing material. The tool ensures that the adhesive’s physical properties match the needs of the installation location. This helps you understand how the mortar chemistry relates to the substrate conditions, preventing costly mistakes. These mistakes might not show up until months later when your grout lines begins to crumble.
Another less publicized idea that does affect rate of use, even if indirectly, is that of back-buttering. This means applying a thin layer of mortar to the back of the tiles before they are installed. This ensures they make full contact, regardless of any slight warp in the tile’s surface or how deep its pattern might be. Don’t skip this with heavy porcelain or very large stone slabs, it’s simply begging for trouble. The calculator accounts for this additional, labor-intense step by bumping up the projected mortar requirement. Because, hey: if you’re going to achieve ninety-five percent coverage in a wet environment, it won’t be due to wishing and hoping and a strong thumb. It’ll be because there’s some body involved. There is some volume.
Last but not least, how much to mix is also about when to mix it. Thinset also has what’s called an open time, which is the amount of time you have to work with it before it starts to set up. If you make too big a batch, you’re essentially wasting good money because now you’ll have to haul this chunk of hard plastic to the dump. The amount this tool thinks you should mix depends on how big a batch you plan to do. It then tells you approximately how many smaller batches you should expect to make. That pace is important so that all your tiles goes down in fresh adhesive, rather than a partially-cured paste in the bucket.
But now that I’m thinking about this, there are some variables to plan for. When doing a project like this, all those variables become the key to turning a messy DIY afternoon into a planned installation. You enter the store knowing how much money to spend. You know how much tile to get, which size trowel to rent, and if you should even bother getting a second box just in case. It’s not only filling the space, but filling it properly the first time around. And that’s why all that careful thought will keep your tile straight, tight and luxurius long after the last bucket is empty.