Wood Screw Length Calculator
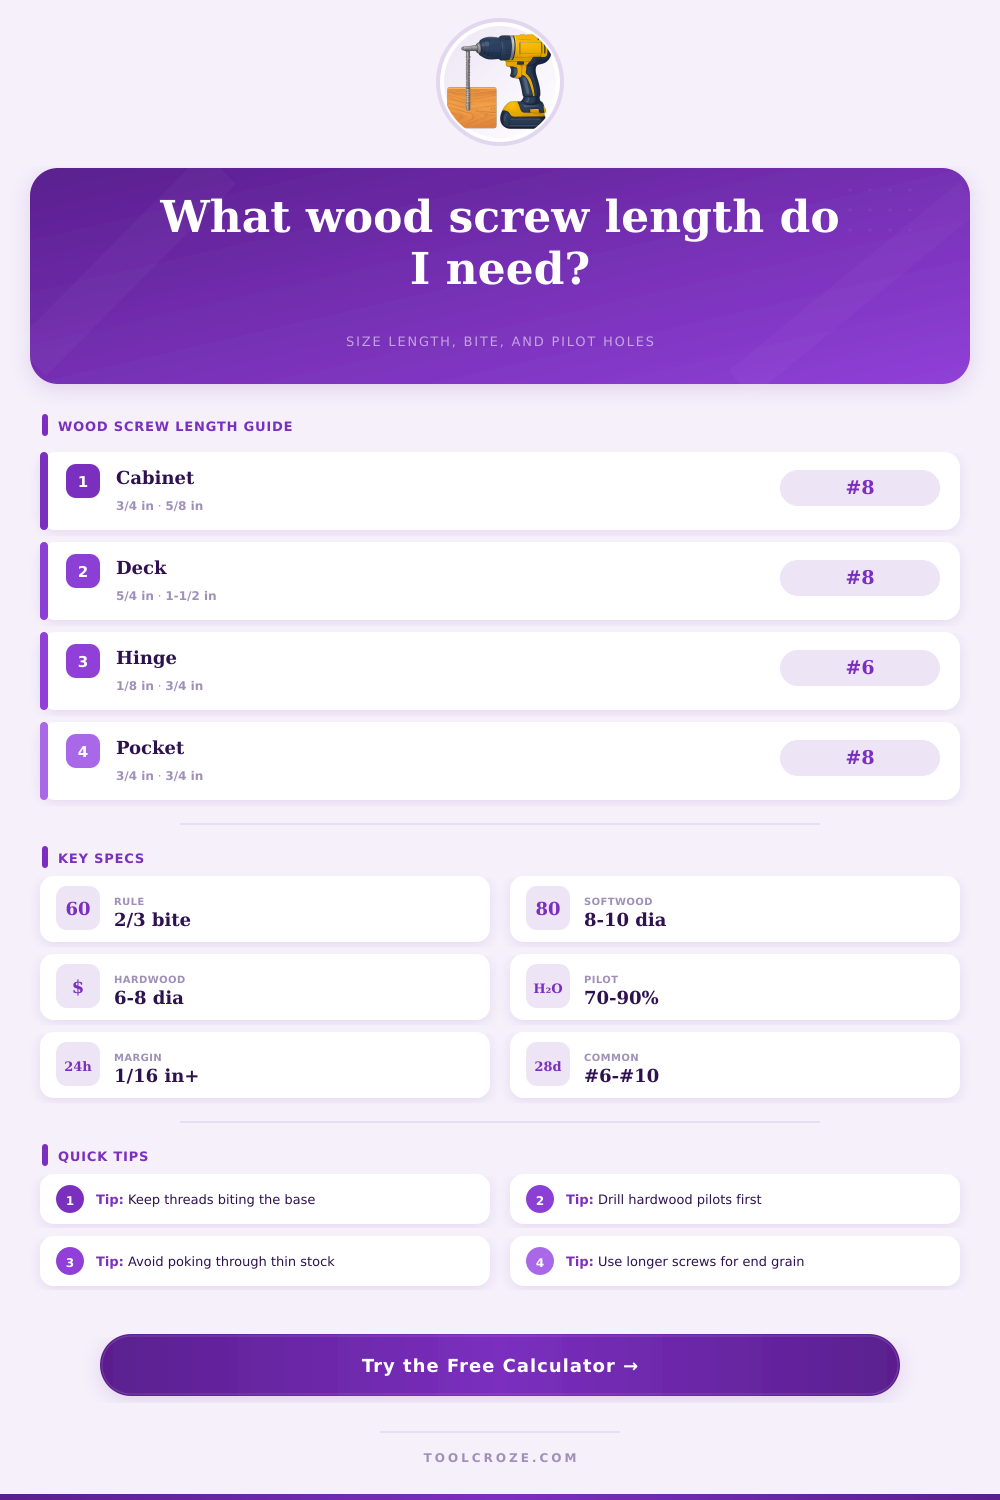
Choose the joint, stock thickness, screw gauge, head style, material, and load level to size a wood screw with useful thread bite and safe point clearance.
The board, trim, bracket, or hardware-side stock being clamped.
The base wood that receives the threaded portion of the screw.
Recommended Screw Setup
Full Calculation Breakdown
| Gauge | Major diameter | Softwood pilot | Hardwood pilot | Clearance hole | Common use |
|---|---|---|---|---|---|
| #4 | 0.112 in / 2.8 mm | 1/16 in | 5/64 in | 1/8 in | Small trim, jewelry boxes |
| #6 | 0.138 in / 3.5 mm | 3/32 in | 7/64 in | 9/64 in | Hinges, cabinet backs, hardware |
| #8 | 0.164 in / 4.2 mm | 7/64 in | 1/8 in | 11/64 in | General woodworking and cabinets |
| #10 | 0.190 in / 4.8 mm | 1/8 in | 9/64 in | 13/64 in | Heavy furniture and blocking |
| #12 | 0.216 in / 5.5 mm | 9/64 in | 5/32 in | 7/32 in | Heavy rails and framing hardware |
| #14 | 0.242 in / 6.1 mm | 5/32 in | 3/16 in | 1/4 in | Large brackets and outdoor blocking |
| Receiving material | Target bite rule | Pilot factor | Split risk | Adjustment note |
|---|---|---|---|---|
| Softwood framing or pine | 8 to 10 screw diameters | 70% of major diameter | Medium near edges | Good bite, but avoid overdriving |
| Hardwood | 6 to 8 screw diameters | 85% of major diameter | High without pilot | Use pilot and wax for dense stock |
| Plywood | 8 to 10 screw diameters | 80% of major diameter | Medium at edges | Keep screws away from veneer edges |
| MDF or particleboard | 10 to 12 screw diameters | 88% of major diameter | High near edges | Use coarse threads and longer bite |
| End grain | 12 to 15 screw diameters | 80% of major diameter | High pull-out risk | Prefer cross grain, dowels, or inserts |
| Pressure-treated lumber | 9 to 12 screw diameters | 75% of major diameter | Medium when wet | Use exterior-rated compatible screws |
| Project joint | Top stack | Receiving stock | Typical screw | Usual caution |
|---|---|---|---|---|
| 3/4 in cabinet face frame | 3/4 in rail | 3/4 in stile | #8 x 1-1/4 in to 1-1/2 in | Check back side before using 1-1/2 in |
| 1/2 in plywood to 3/4 in side | 1/2 in panel | 3/4 in side | #6 or #8 x 1 in | Drill straight to avoid side breakout |
| 5/4 deck board to joist | 1 in board | 1-1/2 in joist face | #8 or #9 x 2-1/2 in | Use corrosion-compatible exterior screws |
| Hinge leaf to solid door | 1/16 to 1/8 in leaf | 1-3/8 in door edge | #6 x 3/4 in or 1 in | Do not pierce the opposite face |
| Pocket screw in 3/4 in stock | Angled pocket shoulder | 3/4 in mating piece | #7 or #8 x 1-1/4 in | Use pocket jig setting for thickness |
| MDF shelf cleat | 3/4 in cleat | 3/4 in side | #8 x 1-1/4 in coarse | Pre-drill and stay away from edges |
| Nominal length group | Common stocked sizes | Best for top thickness | Head measurement | Practical note |
|---|---|---|---|---|
| Short hardware | 3/8, 1/2, 5/8, 3/4 in | Thin plates and hinges | Flat overall, pan under head | Check point clearance carefully |
| Cabinet length | 1, 1-1/4, 1-1/2 in | 1/2 to 3/4 in stock | Depends on head style | Most common furniture range |
| Deck and blocking | 2, 2-1/2, 3 in | 3/4 to 5/4 boards | Bugle heads sit near flush | Match coating to lumber exposure |
| Heavy structure | 3-1/2, 4, 5, 6 in | Thick blocking and posts | Often washer or structural head | Follow engineered fastener specs |
It’s gratifying to make sure the screw head sits snug against wood without tearing up the wood in the process. Getting that right involves more than just choosing a screw that looks long. If it is too long, it will punch out the back or ruin a finished shelf. If it is not long enough, it won’t have enough strength to keep the joint together. The trick is knowing what those numbers represent and understanding what they mean.
The calculator above do all the complicated math for you, leaving you to the enjoyable part: building. Now it’s true that mechanically fastening things can be tricky but the principle is simple: you want the screw to clamp two pieces of wood together and for its threads to bite down into receiving material enough that it doesn’t pull them apart. That means that effective length of the screw isn’t simply based off its total thickness; it’s based on amount of thread that engages with the base member.
How to Choose the Right Screw Length
With a fully threaded screw, neither side is clamped tight because threads pulls the parts together instead of holding them tightly against each other. It makes pilot holes so important; they provide the threads something to grab onto. The receiving wood has a hole drilled in it that’s slightly smaller than core diameter. The top one should of have a clearance hole equal to shank size. This allows screw head to draw down snugly without pulling threads into first board, where they would immediately lose their grip.
When it comes to bite depth, the formula is different than story, as material density plays a big role in how deep a screw will penetrate. Shorter screws engages quickly in soft woods such as pine; fibers readily conform to the thread’s surface, gripping tightly through friction. On the other hand, hardwoods (e.g., maple or oak) resist threads biting into them without precise pilot hole drilling, but hold securely once engaged correctly.
So, the tool factors in this disparity, recommending differing engagement ratios depending upon if you’re screwing together furnitures stock made from hard wood versus framing lumber. Regardless of what type of screw you select, however, you should expect that driving into the end grain offers much less holding power than face grain.
Countersinking often gets overlooked in simple length calculations, but it also affects final placement. The deeper the counter sink, the less actual height left in the stack, which means you must use a longer screw to achieve equal thread engagement into bottom piece of wood. Shallow recesses leave more wood for screw head to sit on, which means a shorter total length are needed. This countersink-recess-head interplay explains why most projects go south; they figure if one type of screw works then all screw styles is interchangeable with standard lengths. Round and pan-head screws has a shallower recess than flat-heads, and even though this alters the math only slightly, it’s enough to lead to poke-through problems when working with thin stock.
When I say common mistakes, it’s typically because people forgot about this safety margin at the tip of the screw. This is your insurance policy if your drill angle isn’t perfect, or if one board was a bit thicker than another. If you leave yourself a little wiggle room, the sharp part of the screw won’t poke through to the other side, so it protects any finished surfaces and avoids ripping into any hidden wiring/plumbing/etc. This happens underneath wall if you renovate later. Also, it keeps you safe when handling hot screws driven with high-torque tools.
These screws comes in a wide range of gauges. Larger numbers mean more shear strength, but they also require a wider pilot hole. If you don’t drill a wide enough hole, you will split the wood before you get the screw started. On the other end of the spectrum, small gauges works well on more delicate trim applications where you don’t want any visible damage. The tool comes with a chart that helps you quickly compare common gauges so you know what you’re getting. You won’t have to guess which one you need based off your building needs.
In the end, you have to balance looks, safety, and holding power. While you don’t have to be perfectly precise each time, a solid understanding of the mechanics of how threads interact with various materials helps you go from a loose shelf to a rock-solid cabinet that’ll last for decades. Take some good measurements, pay attention to what kind of wood species you’re using, and trust the math over blind guessing or habit, then let the numbers tell you what size screw to use. It should always feel like a nice, tight fit, no part sticking out, nothing moving around, and everything staying put.