Roof Rafter Spacing Calculator
Estimate rafter count, actual on-center layout, rafter length, roof area, decking sheets, blocking rows, and tributary load from real roof framing inputs.
⚒Project Presets
📐Rafter Layout Inputs
Calculation Breakdown
📋Material / Spec Grid
📚Rafter Spacing Reference Tables
| On-Center Spacing | Typical Use | Layout Mark | Decking Support Note |
|---|---|---|---|
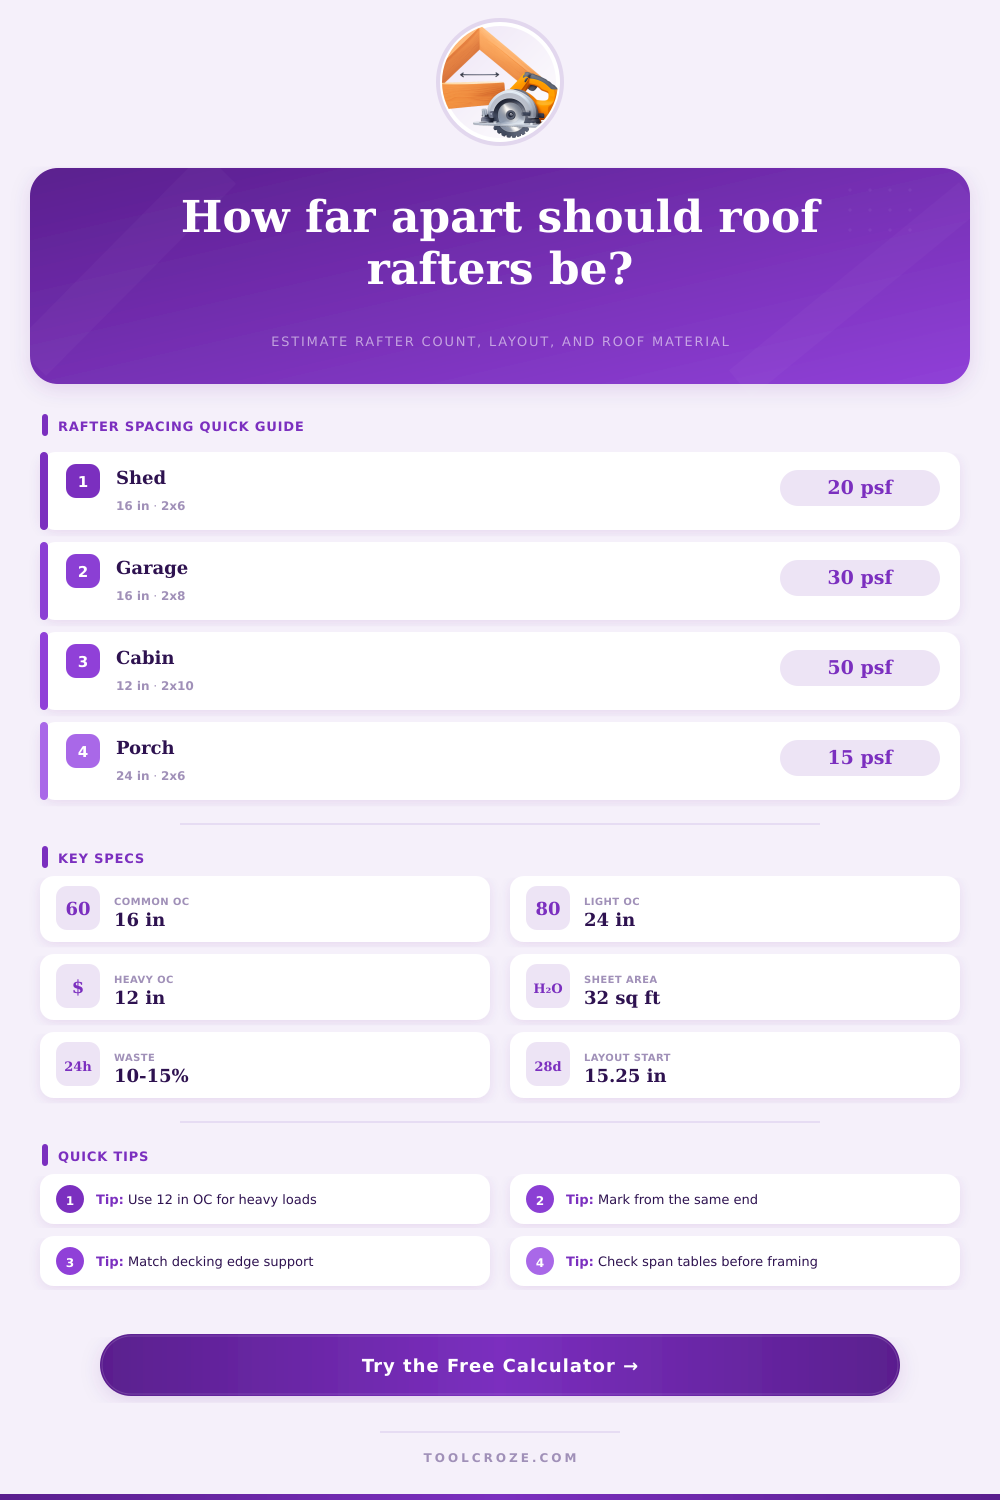
| 12 in OC | Heavy snow, tile, long spans | First mark at 11.25 in | Strong support for 4 ft sheets |
| 16 in OC | Most framed roofs | First mark at 15.25 in | Common sheathing layout |
| 19.2 in OC | Engineered layouts | First mark at 18.45 in | Five spaces per 8 ft panel |
| 24 in OC | Short, light roof runs | First mark at 23.25 in | Check panel span rating |
| Nominal Rafter | Actual Width | Common Spacing | Approx. Light Roof Span |
|---|---|---|---|
| 2x4 | 1.5 x 3.5 in | 12 to 16 in OC | Short sheds only |
| 2x6 | 1.5 x 5.5 in | 16 to 24 in OC | About 10 to 14 ft |
| 2x8 | 1.5 x 7.25 in | 16 to 24 in OC | About 13 to 18 ft |
| 2x10 | 1.5 x 9.25 in | 12 to 24 in OC | About 16 to 22 ft |
| 2x12 | 1.5 x 11.25 in | 12 to 24 in OC | About 18 to 26 ft |
| Roof Covering | Typical Dead Load | Spacing Caution | Common Decking |
|---|---|---|---|
| Metal panels | 3 to 6 psf | Purlin design may control | 5/8 in or purlins |
| Asphalt shingles | 10 to 15 psf | 16 or 24 in OC common | 7/16 to 5/8 in |
| Wood shakes | 8 to 14 psf | Check fastening and exposure | Spaced or solid deck |
| Clay or concrete tile | 18 to 25 psf | Often needs closer spacing | Engineer check |
| Project Type | Usual Pitch | Common Spacing | Planning Note |
|---|---|---|---|
| Garden shed | 4:12 to 6:12 | 16 in OC | Short spans, light load |
| Garage | 5:12 to 8:12 | 16 in OC | Count both roof planes |
| Porch cover | 2:12 to 4:12 | 16 to 24 in OC | Watch low-slope roofing rules |
| Snow cabin | 8:12 to 12:12 | 12 to 16 in OC | Snow load usually controls |
🛡Layout Tips & Safety Note
The average do-it-yourselfer grabs some lumber, sketches out the wall, then assumes the roof pieces will simply fall in place. Sorry, doesn’t always work that way. Those gaps in wood are not for looks; they connects the shingles up top to the framing down below. Get it wrong, and the rest is all guesswork: how long should each rafter be? How many sheet of plywood will I need at the home center?
The reason for this spacing is that it matches up convenienty to the four-foot dimension of typical building materials such as plywood and drywall, which means less cutting waste (and therefore cost savings). However, roofs aren’t typically simple rectangles living in isolation. They has to bear both live loads, such as from maintenance foot traffic or snow buildup; and dead weight (from shingles or metal paneling).
Why Planning Is Important for Building a Roof
Once you enter your roof pitch and size, the above calculator do all the math for you. It converts your exact building dimensions into a concrete number of rafters and eliminates the guesswork regarding conversion factors and coefficients. What you’re left with is a revised spacing amount that truly fits your wall plate length.
So why would the tool ask about dead load different than live load? The dead load is anything that remains permanently installed, like the wood framing, its underlayment, and the roofing material itself. A tile roof weigh a lot and puts extra long-term force on all those beams. An asphalt shingle roof is less heavy but still add to the total stress.
But then live load is momentary, yet frequently heavier, like a guy walking across it installing siding, or in February when an unexpected blizzard dumps several inches of snow. If you’re in an area with high snowfall you will probably gravitate toward the dozen-inch spacing because this extra temporary weight require closer support so the beams don’t sag under it.
Most projects get sideways on the pitch factor. For example, a six-on-twelve slope is six inches rise for every twelve horizontal feet. That’s an angle and it makes the rafter longer than simple half width of your house. Without remembering the geometry, you’ll order two or three feet too short boards.
The tool figures out true hypotenuse for you so you know exactly how long each should be before you make your plumb cuts at the end. It factors in overhangs, which is the length added beyond the wall line. People tend to under-estimate how much extra material is consumed by those six-to-twelve inch eaves across dozens of beam.
Rough math bites you later with decking estimation. In a perfect world, a regular old four-by-eight spans thirty-two square feet. Real roofs has valleys and hips and require edge waste for trimming. Ten to fifteen percent added for waste isn’t being pessimistic, it’s being realistic. When you inevitably end up making a bad cut or encounter a warped panel, having ordered thirteen sheets (instead of twelve) keeps the project on schedule.
How do different spacing choices impact span limits and material needs? A two-by-ten at sixteen-inch spacing can handles a much longer run than a two-by-eight at twenty-four-inch spacing. Using the correct size member will prevent deflection…which will reveal itself years down the line as a bouncy attic floor.
Novices get tripped up by layout lines that begin not at zero, but half an inch in front of the end of the plate. This allow for the thickness of the first and last rafter. It ensures that the last beam drops onto the edge of the wall without hanging out dangerously or creating a gap. It is a subtle tweak, but it is essential both for nice-looking results and for solid structure.
Snap your chalk line every time from the same end to prevent the compounding error of gradually veering off course from true. When working high up with large pieces of wood, safety is a must. Check the snow load in your area, don’t rely on default numbers, and use blocking that aligns with the orientation of the rafters to resist side motion.
It could of substituted for calling a pro on tricky hip roofs, or double-checking span tables based off lumber grades, but it does provide you with a good starting drawing for layout and quantities. There is no substitute for planning. Visualize what each piece does before you step onto the roof platform. Then, you will know exactly how many materials are in your truck bed and precisely where all the beams needs to be placed. It turns a haphazard wrestling match into an orderly sequence of puzzle-piece installation.