Winder Stair Calculator
Size a 45, 90, or 180 degree winder turn from finished floor rise, stair width, inside radius, walking line, and tread rules.
⚙Real Winder Presets
📐Winder Stair Inputs
📊Winder Stair Results
🧱Material and Spec Grid
📋Reference Tables
| Winder layout | Typical tread count | Angle per tread | What to watch |
|---|---|---|---|
| 45 degree softened corner | 1 to 2 winders | 22.5 to 45 deg | Works only when the straight run is already comfortable. |
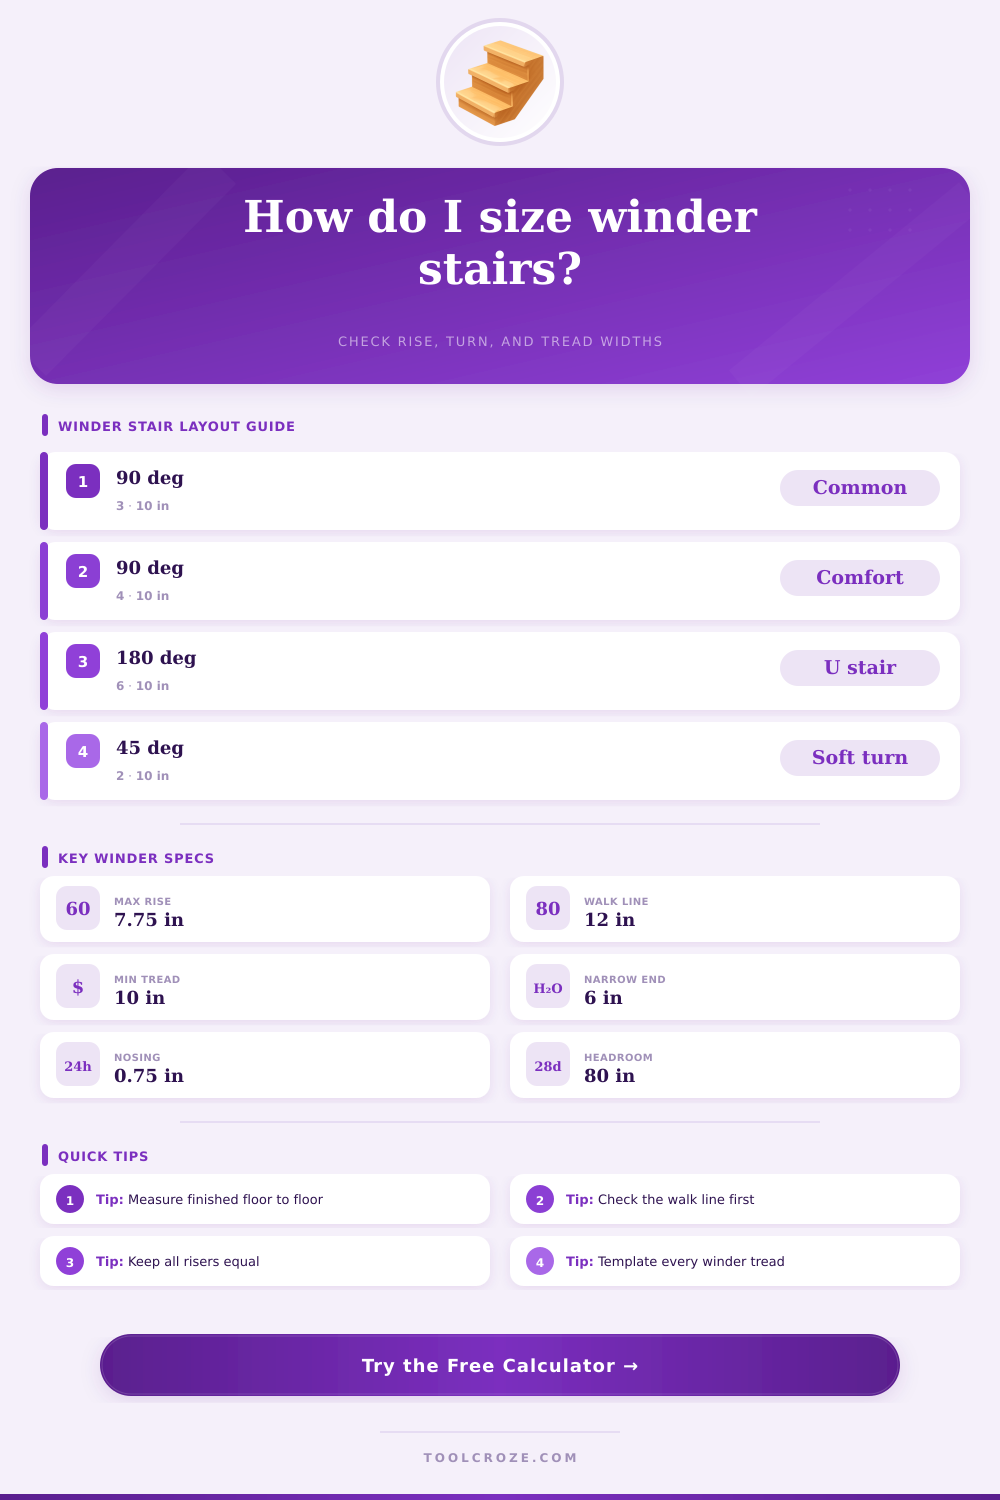
| 90 degree quarter turn | 3 to 4 winders | 22.5 to 30 deg | Three winders are common, but four can improve the walking line. |
| 180 degree U-turn | 5 to 8 winders | 22.5 to 36 deg | Check handrail continuity and headroom near the inside turn. |
| Alternating tight retrofit | 2 to 3 winders | 30 to 45 deg | Often fails tread width checks unless inside radius is generous. |
| Check point | Residential target | Stricter target | Calculator use |
|---|---|---|---|
| Riser height | 7.75 in max | 7.0 in preferred | Compares equalized riser height to the selected maximum. |
| Walking-line tread | 10 in min | 11 in preferred | Uses arc length at the walking line radius. |
| Narrow end width | 6 in common min | 7 in preferred | Uses arc length at the inside radius or newel clearance. |
| Riser consistency | 3/8 in max spread | 1/4 in preferred | All risers are held equal in the calculation. |
| Inside radius | Walk offset | 90 deg, 3 winders | 90 deg, 4 winders |
|---|---|---|---|
| 0 in sharp corner | 12 in | 6.3 in walk tread | 4.7 in walk tread |
| 6 in newel | 12 in | 9.4 in walk tread | 7.1 in walk tread |
| 10 in radius | 12 in | 11.5 in walk tread | 8.6 in walk tread |
| 12 in radius | 12 in | 12.6 in walk tread | 9.4 in walk tread |
| Part or layout item | Measure along | Useful allowance | Workshop note |
|---|---|---|---|
| Winder tread blank | Outer arc and back bevel | Add 10 percent | Template every unique tread before final cutting. |
| Wall skirt or stringer | Developed run | Add 6 to 12 in | Mark risers from the equalized riser result. |
| Handrail over turn | Outside travel path | Add fitting length | Check the rail does not pinch the walking line. |
| Landing trim at turn | Face of riser line | Add scribe margin | Use the angle per winder to rough-cut templates. |
💡Layout Tips
The problem is that stairs is geometrically confusing. It’s why most people abandon their plans before they pick up a saw.
What typically happens are you begin with a stairwell in a small corner. How does that affect the geometry of the tread? That changes everything. The tread no longer look like rectangle. Now it’s a wedge. The outside grows larger and the inside smaller. It is a shape that is hard to draw on paper let alone cut out. So many give up before they even get started cutting lumber.
Why Stairs Are Hard to Build
They will measure width at the wall, then compare it with what is allowed by code. Then they realize the tread they walk on are half as large than they thought. That’s where the calculator comes in. It provides precise numbers based off your radius, turn angle and rise. No more guesswork translating angles to feet.
How does one account for the walking line? In most cases, you will measure twelve inches from handrail or inside edge. A common mistake is that many people thinks about what is seen (the nosing). The toe extends outward, while the heel stay closer to the inside. Most critical part is the width of tread within the middle band. When arc length at this line reaches less than ten inches, users are forced to take a half step. It is fine for accessing storage, but it is not so much if you are bringing home groceries.
How many winders should each turn include? For example: In residential renovation work, there’s commonly a 90 degree corner separating two straight runs of stairs. How many winders would be required? Most jurisdictions has a bare minimum of three. Four winders make a gentler arc and feel more naturaly. Toggle this count in the tool to see its impact on tread width. You gain some flow along the horizontal but lose a bit of compactness along the vertical. More winders = bigger angle per step. They are also more comfortabley all around.
On balance. Three might work if your inside radius is large. Fewer winders would of been needed if you’re up against a zero-clearance newel post.)
Looking at the reference table, you can see what range of radii affect walking line width. Very narrow treads are produced with a sharp corner; much more usable tread depth is obtained by using a six-inch radius. For most builders, this is counter-intuitive. Typically we consider a radius as “space lost” from the turn. Actualy, expanding that inner clearance provide valuable walking area.
It’s important to accurately measure your finished floor-to-floor rise as well. Many folks forget to include subfloor adjustments, or the thickness of carpet, which result in uneven risers at the top landing. All risers should be the same height. An unevenness of just three-eighths of an inch break the flow and leads to a stumble.
Once you know your numbers, template them all. Don’t expect one good cut to be accurate. A tread’s outside edge is much longer than its inside edge. Every time you are off an angle, you multiply that mistake going out away from center. Before you do anything with your finish lumber, make a blank of some cheap plywood and cut it out first. Adjust it in place and then test it before you touch your finish lumber.
Add 10 percent waste to any material list. A template will always gets damaged during the process. Seems like overkill until you figure how much money there is in the difference. A bad cut costs you triple because you must fix it when it doesn’t cut it right the first time.
If you honor the walking line, the math is simple. The geometry isn’t forgiving.