16 On Center Joist Calculator
Estimate joist count, 16 inch layout, load per joist, bending stress, shear, deflection, lumber footage, and practical span margin for floor, ceiling, attic, and deck framing.
🏗Real 16 Inch On Center Presets
⚙Joist Layout And Span Inputs
Full Calculation Breakdown
🧱Current Material / Spec Grid
📊16 On Center Spacing Reference
| Bay Width | 16 OC Layout Count | First / Last Position | Typical Use |
|---|---|---|---|
| 8 ft 0 in | 7 joists | 0 in to 96 in | Small deck, landing, shed bay |
| 10 ft 0 in | 9 joists | 0 in to 120 in | Bedroom bay or porch strip |
| 12 ft 0 in | 10 joists | 0 in to 144 in | Common room module |
| 16 ft 0 in | 13 joists | 0 in to 192 in | Full subfloor sheet rhythm |
| 20 ft 0 in | 16 joists | 0 in to 240 in | Wide floor or deck frame |
📏Joist Size Structural Properties
| Nominal Size | Actual Size | Section Modulus | Moment Of Inertia |
|---|---|---|---|
| 2x6 | 1.5 in x 5.5 in | 7.6 in³ | 20.8 in⁴ |
| 2x8 | 1.5 in x 7.25 in | 13.1 in³ | 47.6 in⁴ |
| 2x10 | 1.5 in x 9.25 in | 21.4 in³ | 98.9 in⁴ |
| 2x12 | 1.5 in x 11.25 in | 31.6 in³ | 177.9 in⁴ |
| 3x10 | 2.5 in x 9.25 in | 35.6 in³ | 164.9 in⁴ |
🌲Lumber Species Screening Values
| Species / Grade | Fb Bending | Fv Shear | E Modulus |
|---|---|---|---|
| SPF No. 2 | 875 psi | 135 psi | 1.4 million psi |
| Douglas Fir-Larch No. 2 | 900 psi | 180 psi | 1.6 million psi |
| Southern Pine No. 2 | 1000 psi | 175 psi | 1.6 million psi |
| Hem-Fir No. 2 | 850 psi | 150 psi | 1.3 million psi |
| Generic I-Joist Screening | Use manufacturer | Use manufacturer | Approximate only |
📝Common Load And Deflection Targets
| Framing Use | Typical Live Load | Typical Dead Load | Common Limit |
|---|---|---|---|
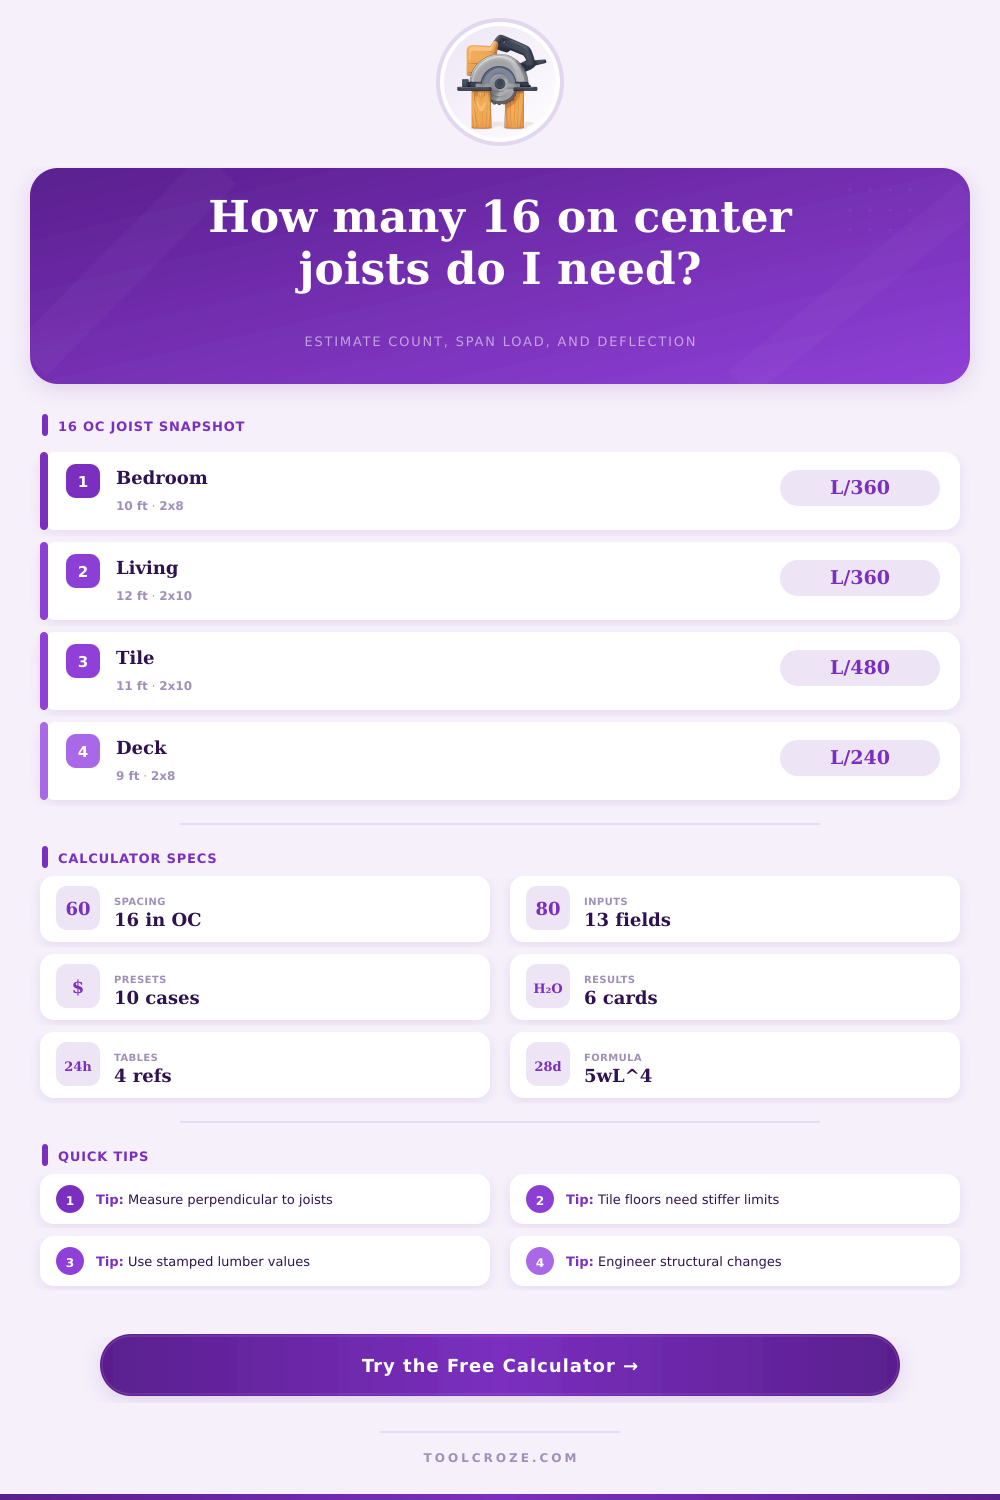
| Bedroom floor | 30 psf | 10 psf | L/360 |
| Living room floor | 40 psf | 10 psf | L/360 |
| Tile floor screening | 40 psf | 15 to 20 psf | L/480 |
| Deck joists | 40 psf | 10 psf | L/240 to L/360 |
| Attic storage | 20 psf | 10 psf | L/240 or L/360 |
💡Calculation Tips
The two of you are standing in a bare room, staring at parallel boards on the ground. If you don’t have much construction experience, what you see might be seen as nothing but straight lines and right angles on simple grid of lumber. What you don’t see is a complicated connection between geometry and gravity. This is where the 16 on center joist calculator enters. It turns physical space into structural information. Given the material properties, the span, and the load, it will determine whether those beams can bear your weight or sag beneath it.
Because floor bounce isn’t just irritating; it rattle pictures from the wall and cracks tile. Why is it 16 inches on center? It’s actualy a historical accident that eventually turned into standard practice. That’s how four foot sheets of plywood line up. By aligning on the 16 inch increment, it reduce waste and makes installing the subfloor easier. The industry built their system around those sheet goods decades ago, so you don’t have any say in the matter. What you get is what you got… You work within this rhythm.
Why This Calculator Helps Your Floor Stay Strong
That’s why the calculator anchors all its estimates at the 16 inch increment. As soon as you input your bay width, it break that down into specific joist positions. Even though the first and last boards might not land on exact multiples of 16, it takes that into account. That’s where it spares you the heartache of having to order too much or too little lumber when you walk out of the yard.
The material makes all the difference. A Douglas Fir joist carries load different than a Spruce Pine one. Not all wood is the same when it comes to resistance. You can select species and grade of lumber using the calculator. Grades with more defects and knots is less strong. Before you buy lumber, you should of understand the difference between grades. Using the wrong grade for your span may cause deflection that exceeds code. This tool will screen those values to alert you if the lumber you selected will hold up to the demand. It’ll compare the true amount of stress to the adjusted allowable limit. When the utilization ratio rise too high, you’ll know you require tighter spans or a deeper beam.
Where do DIYers get tripped up? Deflection limits. What’s the difference between live load and deflection? Load capacity tells you what weight the floor can hold. Deflection indicates how far the floor will sag supporting that weight. Because tile doesn’t flex well (it cracks), it requires stiffer support. So we need a tighter limit such as L/480. Carpet is softer and accepts some wiggle room; therefore, L/360 is common. Your chosen use case determines which of those limits apply, and the calc uses them accordingly.
The calc then estimates the deflection from just the live load. That takes out the dead load and isolates movement due only to people and their chair moving around. Furniture shifts and people walk but don’t cause dynamic bounce from dead load. Knowing that allow you to gauge whether a span seems solid or springy.
Beyond math, there’s also the matter of how things are framed in the real world. When you sit on a couch that’s sitting on a floor joist, the load has to be carried down to the beam or wall under the joist… And an unsupported end of a joist won’t do that well. So the tool wants to know your bearing allowance so it can calculate the final lumber length with some precision. These is called waste factor or trim factor. There’s no such thing as cutting all the boards straight. Allow another few percent for waste and you avoid expensive return visits to the lumber yard. All these real-world factors turn theory (strength) into practice (building something).
To help get started, there are some reference tables on the page that let you check quickly how many spans they expect from each size. So you can start with a preset for a typical bedroom floor and then tweak the load if you need to, before getting too far into customizing for your own specific input. Or maybe you want to add a bunch of shelves in the future? Well, you could increase the live load then (and you can repeat this process). It’s pretty flexible so you don’t have to buy something that isn’t quite right.
But really, at the end of all this, it’s just about confidence. No longer do I have to worry about whether my joists is big enough. It transforms guesswork into verified engineering. Instead of hoping, you can put down those beams knowing they’ll work. Your grid is something you now trust as a foundation. And when you’re done laying out your floors, there won’t be any creaks beneath your feet when you walk on them. That’s the only thing you’ll need for feedback and it’s the best.