Monolithic Concrete Slab Calculator
Estimate concrete for the slab and thickened perimeter, plus rebar, gravel base, vapor barrier, form length, control joints, and practical ready-mix truck planning.
⚒Project Presets
📏Slab Dimensions And Specification
Use the finished slab thickness, not the footing depth.
Depth is measured from slab top to bottom of thickened edge.
Total Concrete
0.00
yd³ including overage
Truck Planning
0
loads at selected truck size
Rebar Required
0
linear ft, grid plus edge bars
Base And Vapor Barrier
0
tons gravel, plus membrane area
Calculation Breakdown
🧱Material And Spec Grid
576
Square feet
96
Form feet
10.0
Joint ft
1.25
Sawcut in
3
Edge bars
3500
Concrete psi
1
Mesh rolls
144
Chairs approx
📚Slab Thickness And Edge Reference
| Slab Use | Typical Thickness | Common Edge Depth | Reinforcement | Notes |
|---|---|---|---|---|
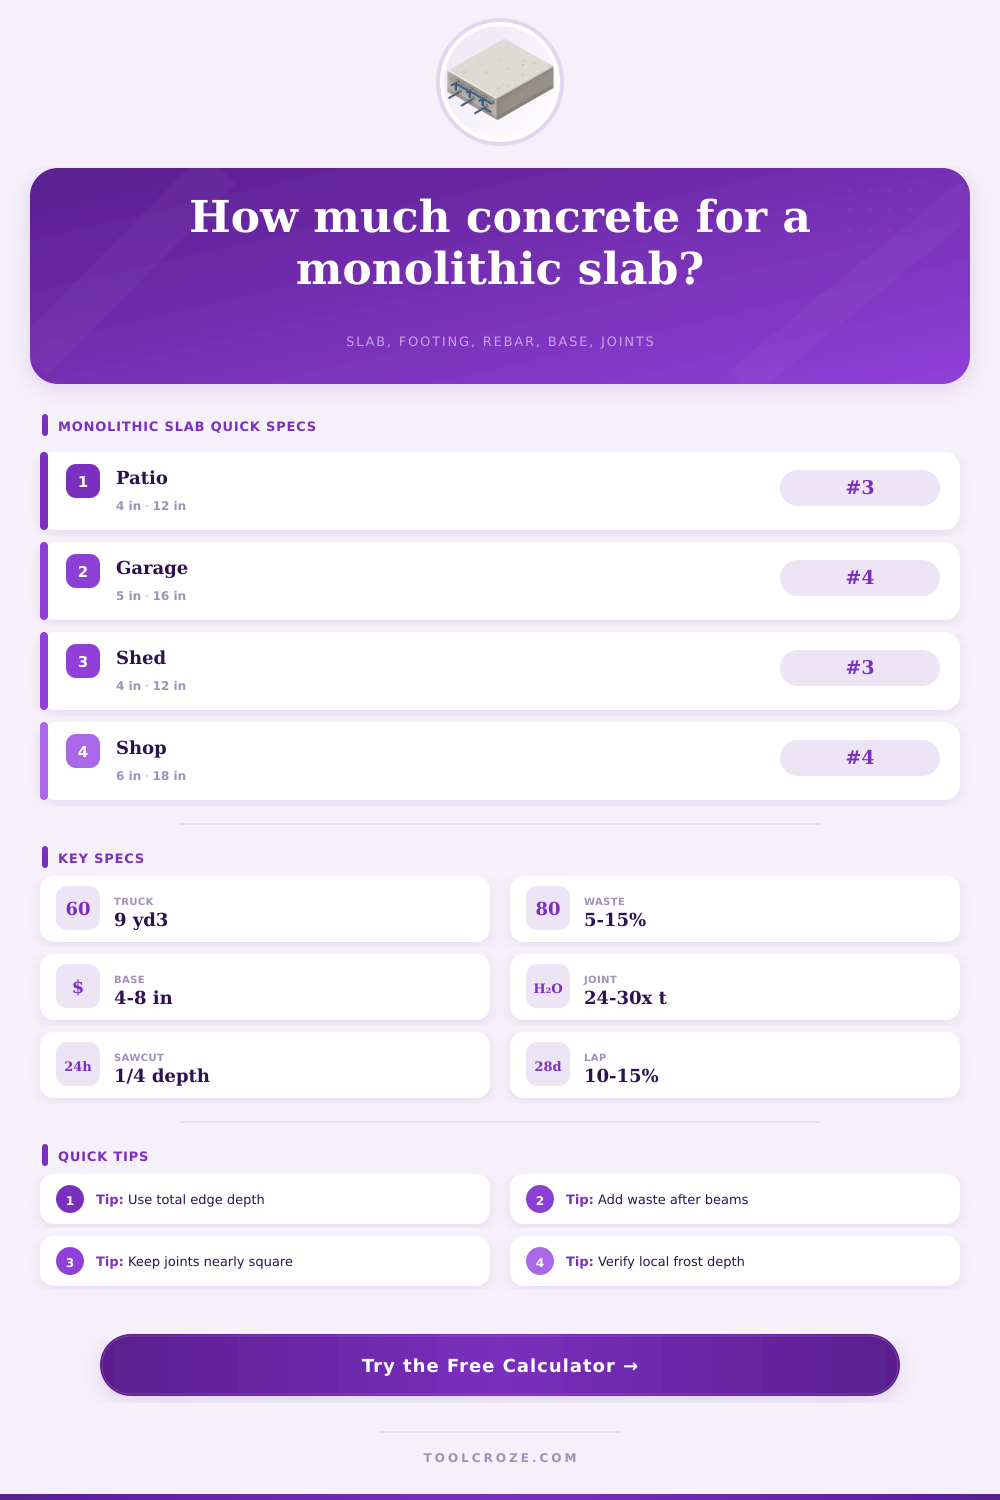
| Patio or walkway | 4 in / 100 mm | 8 to 12 in | #3 at 18 to 24 in | Good subgrade control matters most |
| Small shed | 4 in / 100 mm | 12 in typical | #3 or #4 grid | Thicken edges below bearing walls |
| Garage slab | 5 in / 125 mm | 12 to 18 in | #4 at 16 to 18 in | Use air entrainment for freeze exposure |
| Workshop slab | 5 to 6 in | 16 to 24 in | #4 or #5 grid | Engineer for lifts or point loads |
🔧Concrete Volume Conversion Table
| Measure | Equivalent | Use In Calculator | Field Check |
|---|---|---|---|
| 1 cubic yard | 27 ft³ | Ready-mix ordering volume | Divide cubic feet by 27 |
| 1 cubic meter | 35.315 ft³ | Metric volume summary | Multiply ft³ by 0.0283 |
| 4 in slab | 0.333 ft deep | Light slab volume | About 1 yd³ per 81 ft² |
| 6 in slab | 0.500 ft deep | Vehicle or shop slab | About 1 yd³ per 54 ft² |
📝Rebar And Joint Reference
| Item | Typical Setting | Calculator Method | Practical Check |
|---|---|---|---|
| Grid spacing | 16 to 24 in | Bars each direction by spacing | Tighter spacing increases linear footage |
| Edge bars | 2 to 4 continuous | Perimeter multiplied by bar count | Lap splices per local code |
| Control joints | 24 to 30 times slab thickness | Interior sawcut lines by spacing | Panels should stay close to square |
| Sawcut depth | One-quarter slab depth | Thickness divided by 4 | Cut timing depends on concrete set |
🚚Common Monolithic Slab Preset Data
| Preset | Dimensions | Thickened Edge | Base | Typical Reinforcement |
|---|---|---|---|---|
| Patio slab | 12 ft × 16 ft × 4 in | 10 in wide, 12 in deep | 4 in compacted gravel | #3 at 24 in, 2 edge bars |
| Two-car garage | 24 ft × 24 ft × 5 in | 12 in wide, 16 in deep | 4 in compacted gravel | #4 at 18 in, 3 edge bars |
| Workshop bay | 30 ft × 40 ft × 6 in | 16 in wide, 18 in deep | 6 in compacted gravel | #4 at 12 in, 4 edge bars |
| RV parking pad | 14 ft × 36 ft × 6 in | 12 in wide, 18 in deep | 6 in compacted gravel | #4 at 12 in, 3 edge bars |
💡Calculation Tips
Concreting is always something you forget about until it’s too late. And when it is, you don’t know how much to get, and you don’t get enough. Before you know it, the window of opportunity for pouring has closed, and you’ve got a bunch of forms all set up with a crew just standing around watching.
A single slab calculator will do away with that sort of panic. Plug some numbers into geometry and watch it turn into a solid number. Now you can place an order confidantly.
How to Plan Your Concrete Slab
The basic idea is straightforward, though doing it right can be tricky. You’re casting a single slab, but there’s a place where it’s thicker then elsewhere. The perimeter is deep and thick, while the field is thin and flat. A nice feature: instead of just a slab on top of dirt, that perimeter beam ties everything together into one single unit. No isolated footings required; this is how it holds up and resists heave from freezing/thawing.
The software splits apart these two volumes when you type in your specs. First, it figures the main slab volume, then adds the additional volume of that thick edge. That’s important because folks tend to count that overlapping area twice, or ignore it altogether. The calculator accounts for that overlap, so you don’t come away under-ordering.
The thickness required depends on what will sit above it. Four inches is enough for a patio with chairs and a grill. Add a car? Five or six inches is the minimum. Need heavy equipment on it? Make sure the sections gets thick enough so they won’t fail in punching shear. These standard depths are laid out in the reference guide, because they’re requirements of structure due to how the load spreads.
You may need just four for a shed. However, you’ll want an inch more and a wider edge all around for a two-car garage, where temperatures can fluctuate and axle loads requires deeper sections.
How does reinforcement work? Most beginners think rebar strengthens concrete against tensile forces (it doesn’t), but rather supports the cracks as the concrete shifts/contracts/expands. For typical residential applications, you want a grid about every eighteen inches. The calculator will estimate how many linear feet you’ll need depending on your selection. Closer spacing results in more bar but improved crack resistance. Spacing wider than this gets less expensive, but also poses greater risks to long spans.
Remember: edges are important; they bear the brunt of any movement from the soil and thermal changes. Bars that run continuously along the exterior will support the thickened edge as one continuous unit instead of being a weak point at each corner.
The concrete quantity is only one piece of the puzzle. Don’t neglect prep. Four to six inches of compacted gravel make for a solid footing and help water drain away. Without it, your slab will sink into the mud after a year. You also want a vapor barrier. This prevents moisture from soaking up from underneath, which ruins flooring adhesives and causes mold.
None of this shows up in the concrete volume, but it does show up on the timeline and price tag of the job. If you know you’re going to need a certain roll of membrane or a ton of gravel, you can plan out how to get that stuff on-site before the trucks arrive.
Control joints are the other side of crack control. Because concrete shrinks while curing, if you don’t provide it with a weak plane to follow when it breaks up, it will just make random cracks right in the middle of your floor. As for how often to cut? The general rule is about twenty-four to thirty times the thickness of the slab. If your floor is five inches thick, you’d want to make the cuts every ten feet or so. It is best to make sawcuts one-quarter deep, giving it the ideal failure point. Too early and you groove soft concrete; too late and it’s already made some random cracks. So time it!
The math meets the real world in the form of waste factors. Forms don’t leak exactly zero. Mix isn’t perfect. Subgrades aren’t completely flat. It’s normal to order an extra ten to fifteen percent because it’s preferable to finish with half a yard leftover for touch-ups than to run dry mid-corner.
Depending on your subgrade condition, that safety margin is built-in to the calculator. Treat it as a starting point rather than a final number. Always err on ordering more since running out is much worse then having a bit too much.
The part that takes time is planning. After getting yardage, know your local truck capacity. Many places use a nine-yard truck, so don’t order two full trucks if your volume is eight and a half yards and you can’t pour it fast enough to avoid cold joints or paying for unused delivery. That means paying for unused delivery or cold joints. Chunk up big pours into something doable.
The best slabs result from realistic assessments of the conditions where you’re working and good math. Do that first on paper and your problems on the ground are much simpler. You should of checked all furnitures before starting.