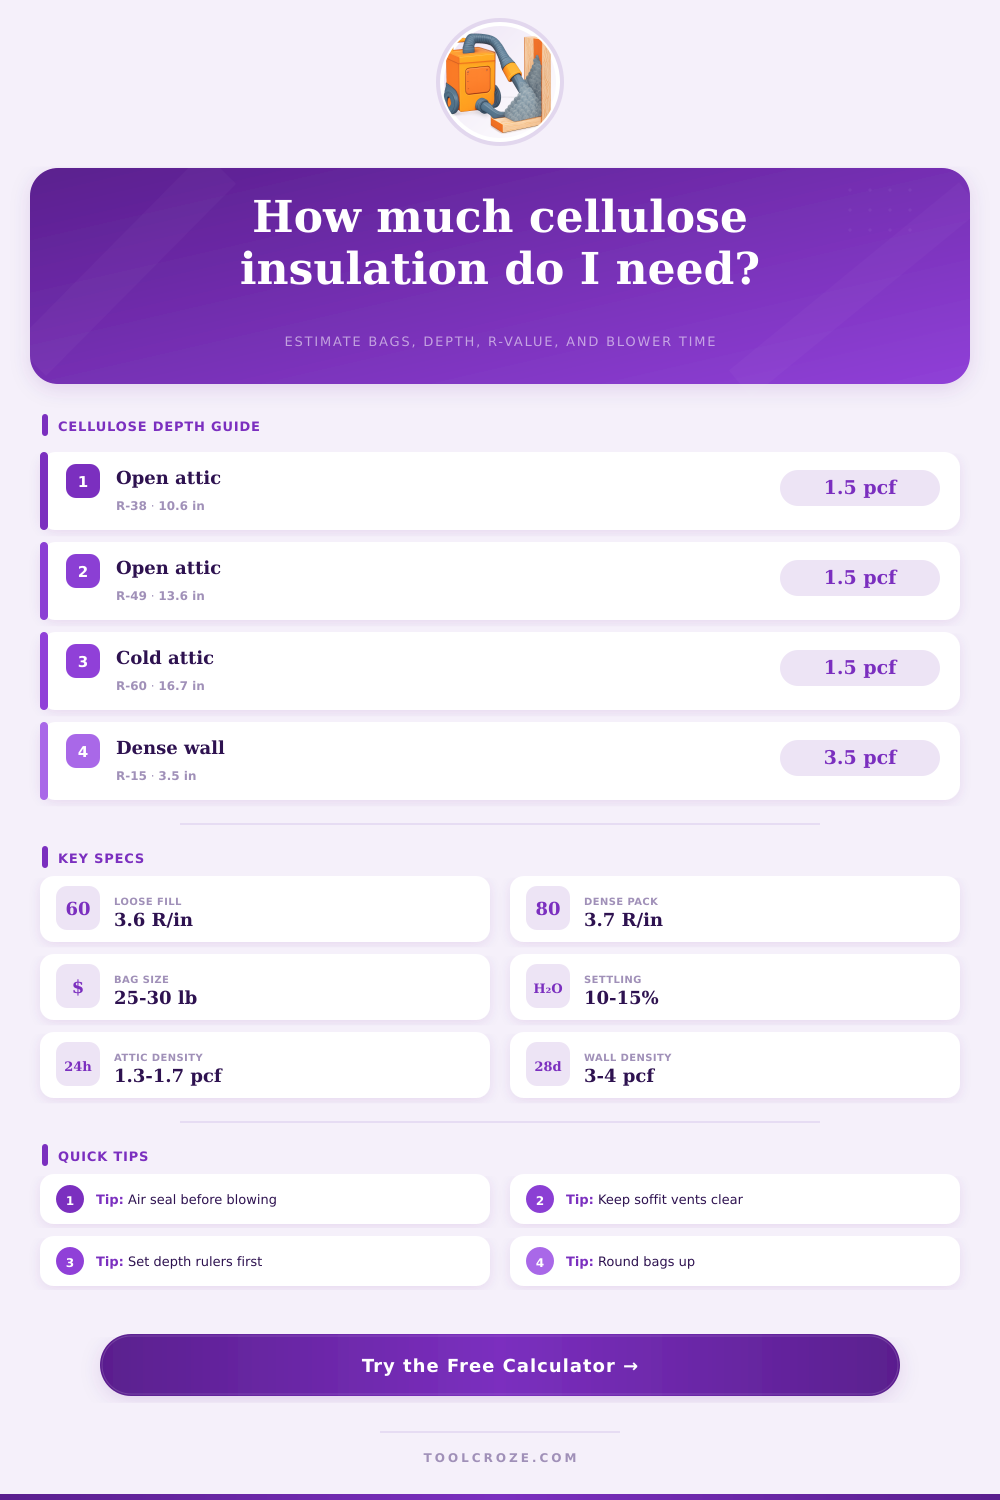
Cellulose Blown-In Insulation Calculator
Estimate loose-fill or dense-pack cellulose depth, settled R-value, bag count, total pounds, coverage, and blower time from the room or attic dimensions.
Full Breakdown
| Application | Typical density | R per inch | Settling input |
|---|---|---|---|
| Open attic loose-fill | 1.3 to 1.7 pcf | R-3.4 to R-3.7 | 8% to 15% |
| Attic top-up over existing fill | 1.4 to 1.6 pcf | R-3.5 to R-3.7 | 10% to 15% |
| Dense-pack 2x4 wall | 3.2 to 3.8 pcf | R-3.6 to R-3.8 | 0% |
| Netted ceiling cavity | 2.2 to 3.0 pcf | R-3.5 to R-3.7 | 0% to 5% |
| Target | Settled cellulose depth | Blow depth at 12% | Common use |
|---|---|---|---|
| R-30 | 8.3 in | 9.5 in | Mild attic or bonus room |
| R-38 | 10.6 in | 12.0 in | Warm climate attic |
| R-49 | 13.6 in | 15.5 in | Mixed or cold attic |
| R-60 | 16.7 in | 19.0 in | Very cold attic |
| 25 lb bag example | 1.5 pcf loose-fill | 1.7 pcf loose-fill | 3.5 pcf dense-pack |
|---|---|---|---|
| At 6 in installed depth | 33 sq ft | 29 sq ft | 14 sq ft |
| At 10 in installed depth | 20 sq ft | 18 sq ft | 9 sq ft |
| At 14 in installed depth | 14 sq ft | 13 sq ft | 6 sq ft |
| At 18 in installed depth | 11 sq ft | 10 sq ft | 5 sq ft |
| Blower setup | Typical output | Best fit | Calculator input |
|---|---|---|---|
| Small rental machine | 250 to 400 lb/hr | Small top-up jobs | 350 lb/hr |
| Standard rental machine | 400 to 600 lb/hr | Most open attics | 500 lb/hr |
| Large rental machine | 600 to 800 lb/hr | Large attic areas | 700 lb/hr |
| Professional truck rig | 900+ lb/hr | Dense-pack retrofit | 1000 lb/hr |
So now you look at your attic full of yellow fiberglass. It’s sagged down low. It insulates, sure, but gravity and time has made it less effective. How much more? How much is sufficient? Should I get a few more bag, just to be on the safe side? That’s where calculation tool comes into play.
Plug in the size of your ceiling along with your desired R-value and let the calculator take over. You won’t have to guess about coefficients or wonder if you bought too little or to much. You will get just the right amount for the job. The reason for that is cellulose’s density.
How to Calculate How Much Insulation You Need
Because cellulose are lighter than rigid foam board, or fiberglass batts, it flows around framing and wiring. It’s made to fill in all gap. Not only do you have to consider surface area, but also volume (as opposed to just covering a floor). You’re insulating a 3D space, not laying down a flat piece on a floor.
To account for this, the tool will ask if you are installing in a dense pack wall cavity or an open attic floor. Different density is required depending on use. For instance, a loose-fill installation in your attic might be something like one and a half pounds per cubic foot. In order for cellulose to resist gravity and stay packed in a wall cavity, three and a half pounds are needed. That makes a big difference in how many bag you’ll go through.
Use the incorrect density setting and you’ll end up with unused bags, or running out of insulation entirely. All loose-fill projects settles, which shortens their overall height. As the cellulose settles, it will lose its air. It will compact and eventualy be pulled downward by gravity. When we install a new pile, it’s larger than expected, but then shrinks by ten to fifteen percent after settlement takes place. Don’t expect it to settle itself; should of planned ahead for it.
The calculator allows you to adjust your starting depth target to include a settling allowance. You can plug in your desired insulation value and adjust the starting depth to make sure you have enough installed at the beginning. In a cold climate attic where I’m aiming for an R-49 value, I’d require about fourteen inches of settled depth. That means starting out deeper than what I think I’ll need so I don’t wind up with not-enough insulation after six months. Better to go deeper initially then to come back to do it all again later.
Ultimately, your budget will depend on how many bags of material you buy. Typically, most is packaged in twenty-five to thirty-pound bags. The amount of area covered depends based off the depth of blowing. One bag blown at a depth of six inches equals roughly thirty square feet; one bag blown at a depth of fourteen inches equal twelve square feet. This chart (on page) illustrates the point:
When calculating your last bag, always round up to ten percent to allow for waste and irregular distribution. Nothing’s more frustrating than running out of bags and having the rental blower all packed away. That extra amount prevents you from leaving a job half-finished. If you’re renting, time is money: A regular blower can moves up to five hundred pounds per hour (assuming a good hose set-up, and a clear run). Your blower measures your time in terms of total weight, so you can plan accordingly for times with high demand. Knowing you’ll be at it for four hours are less stressful than realizing halfway through that you have a full day ahead.
Always air seal before you insulate, since blowing insulation over air leaks will make the job less effective. No matter how deeply you blow loose-fill, the stuff won’t hold its shape when it’s moving in the air. Clear away any obstacles, spend some extra time closing gaps, and then turn the thing on and let it do the work for you.
Next time you crawl in there, you want to find something that looks like a carpet rather than a patchwork mess that settles down in a year or two.