Flange Bolt Torque Calculator
Estimate flange bolt preload, torque per bolt, gasket seating stress, torque-to-preload comparison, proof load usage, and tightening sequence values from gasket, bolt, and lubrication data.
Torque, preload, gasket stress, and proof check
Calculation breakdown
| Preset flange | Bolt pattern | Typical stud size | Effective gasket area | Starting stress |
|---|---|---|---|---|
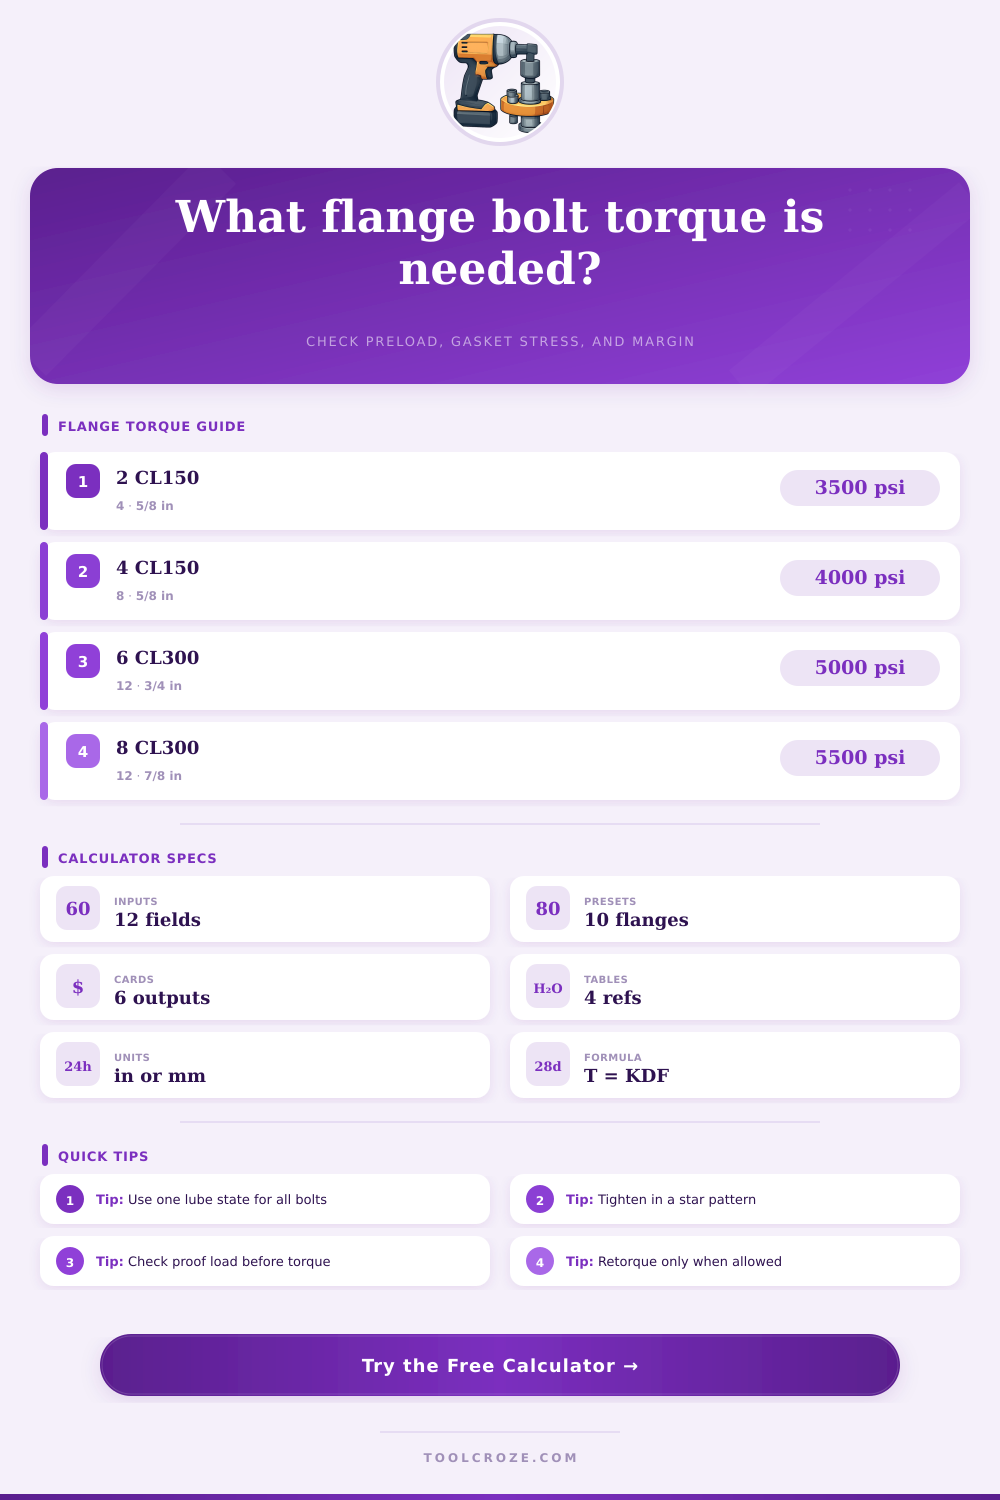
| NPS 2 Class 150 RF | 4 bolts | 5/8 in | 3.5 in² | 3,500 psi |
| NPS 4 Class 150 RF | 8 bolts | 5/8 in | 7.8 in² | 4,000 psi |
| NPS 6 Class 150 RF | 8 bolts | 3/4 in | 12.4 in² | 4,500 psi |
| NPS 8 Class 150 RF | 8 bolts | 3/4 in | 17.1 in² | 4,500 psi |
| NPS 6 Class 300 RF | 12 bolts | 3/4 in | 13.0 in² | 5,000 psi |
| Thread condition | Typical K | Torque change | Use note |
|---|---|---|---|
| Dry plain steel | 0.20 to 0.25 | Highest torque | Wide scatter, avoid mixing with lubed bolts |
| Light oil | 0.17 to 0.20 | Moderate torque | Common shop estimate when no test data exists |
| Moly paste / anti-seize | 0.11 to 0.16 | Lower torque | Can over-stretch bolts if dry torque is reused |
| PTFE coated studs | 0.10 to 0.14 | Lowest torque | Use coating supplier values when available |
| Hot dip galvanized | 0.22 to 0.30 | High scatter | Confirm nut overtapping and lubrication condition |
| Bolt size | Approx stress area | SAE Grade 5 proof | SAE Grade 8 proof | ASTM A193 B7 proof |
|---|---|---|---|---|
| 1/2 in UNC | 0.142 in² | 12,100 lbf | 17,000 lbf | 15,000 lbf |
| 5/8 in UNC | 0.226 in² | 19,200 lbf | 27,100 lbf | 23,800 lbf |
| 3/4 in UNC | 0.334 in² | 28,400 lbf | 40,100 lbf | 35,100 lbf |
| 7/8 in UNC | 0.462 in² | 39,300 lbf | 55,400 lbf | 48,500 lbf |
| 1 in UNC | 0.606 in² | 51,500 lbf | 72,700 lbf | 63,600 lbf |
| Gasket family | Typical seating stress | Relaxation allowance | Practical check |
|---|---|---|---|
| Elastomer sheet | 800 to 2,500 psi | 10% to 20% | Avoid crushing soft rubber facings |
| Compressed fiber | 2,000 to 5,000 psi | 10% to 25% | Check flange rotation on thin flanges |
| PTFE envelope | 2,500 to 6,000 psi | 15% to 30% | Watch creep at elevated temperature |
| Spiral wound | 4,000 to 10,000 psi | 15% to 25% | Confirm inner and outer ring seating |
| Ring joint | 8,000 psi and higher | 5% to 15% | Use the flange code method for final values |
| Tightening sequence item | 3-pass pattern | 4-pass pattern | Why it matters |
|---|---|---|---|
| Pass 1 | 30% target | 20% target | Seats gasket without high local load |
| Pass 2 | 60% target | 50% target | Builds preload in cross pattern |
| Pass 3 | 100% target | 80% target | Approaches final load gradually |
| Final pass | Circular check | 100% plus circular | Reduces bolt-to-bolt load scatter |
| Stage | Percent of target | Torque per bolt | Sequence note |
|---|---|---|---|
| Pass 1 | 30% | 0 ft-lb | Cross pattern |
| Pass 2 | 60% | 0 ft-lb | Cross pattern |
| Pass 3 | 100% | 0 ft-lb | Cross pattern, then circular check |
Flange failures is not usually caused by an unexpected spike in pressure, or the fact that metal got too hot. Flange failures are caused by the guy who guessed at the torque on a bolt, and came up 20 percent short. That seems like a reasonable margin for error…until you remember it means either having a busted stud when trying to get machine started, or a leak which means no production. Tightening flange bolts just far enough to seal, yet still leave room for them to breathe as the thing gets stressed in startup, is a mechanical balancing act that makes the difference between pros and rest of field.
If you’re willing to do some legwork (counting bolts + gasket load), you can pop open the calculator at the top of this page and it will do all the number crunching for you. It takes a bunch of complex friction numbers and spits out real world torque values, so you don’t have to dig through owner’s manuals or anything like that. However, even though calculating the correct torque value is important, knowing where that number come from is equally critical.
Why Torque Matters for Flanges
Torque is an indirect indicator of preload. Think about it: you’re applying a twist force to a nut, which should stretch the bolt, but only ten percent of the energy you apply actualy goes toward stretching that bolt. The other ninety percent are being wasted in overcoming friction between the nut and its contact surface and in the thread itself.
Why does lube matter so damn much? For example, using a “dry” steel thread means you’ll have twice the required torque as compared to switching to a molybdenum paste. Applying the “old” (dry) torque spec to a lubed joint is a sure bet to either strip the threads or snap the stud off.
The starting point for how much force you apply has to do with gasket seating stress. Does soft elastomer sheeting seal at low pressures? Zero psi? And how many thousand pounds per square inch do spiral wound rings requires to be crushed into an irreversible seal when used in high temperature services? Then there’s the issue of embedment loss: When the gasket material relaxes under pressure and heat, it will settle into its new space. In other words, the clamp load is going to go down as materials around it give up some room.
Torquing on just enough to achieve the desired start-up stress won’t account for this, the materials will be below their sealing level when they finally settle. To make up for this, the tool includes a percentage buffer above the start-up preload so that the stress retained after set up remains safe. A little tweak, but it avoids those slow leaks that shows up weeks later.
That’s what we call your hard ceiling: proof load. There’s a maximum tension at which each grade of bolt simply cannot resist being bent or broken beyond its ability to spring back. Operating at less than 70% of proof provides some wiggle room when vibration and heat expansion/contraction occur. Wanting to apply more gasket tension beyond this line means you’ve got to go back to the drawing board with a gasket design change, add more bolts, or increase their size. You won’t get more tension just by painstakingly tightening the bolts, and you’re risking disaster.
The order of torquing matters nearly as much as the ultimate value. Cranking each bolt individually causes them all to warp the face of the flange and move the gasket around, which puts significantly more than its share of the clamp force on the remaining bolts. By using a star pattern and doing your process in steps, you’ll build clamp force on every bolt evenly all at once. Common stages are broken down in the reference table on the page, but the lesson here is patience. Rushing through passes causes uneven deformation, and no amount of good torque readings can fix it.
Bolts is not always the same from batch to batch, and shop to shop. The surface roughness varies depending on the coating, such as hot dip galvanized. It also depends on the lubricant, like PTFE coatings that make for a slippery interface. If you use the generic “friction factor” without accounting for the particular condition of your threads, you will see huge scatter in your results. You might have two wrenches both set to the same pound-foot setting but end up putting very different amounts of load on the bolt because one has an oiled nut and the other is rusty. So pick a level of lubrication and stick with it for all the bolts on the joint.
So, the bottom line: Bolting is a science, not a feeling game. Once you’re beyond hand tight, there’s no going back to feeling your way through. Calculated targets, verified tools and an understanding of how friction eats your input energy are the only things that matter. In the world of high pressure, each flange represents the difference between a good shift and a big incident. Stop guessing and start calculating; the anxiety will go away along with the leaks.