Conduit Bend Offset Calculator
Calculate conduit offset height, bend spacing, shrink, rolling offset length, parallel raceway marks, conduit size allowances, and bender take-up in one shop-ready worksheet.
📌Real Conduit Offset Presets
Presets load common field situations and keep the result editable, including conduit size, take-up, rolling offset, and parallel rack spacing.
⚙Offset Inputs
Offset bend layout
Use these marks as a planning worksheet, then confirm against your actual bender shoe.
📊Conduit Spec Grid
📑Reference Tables
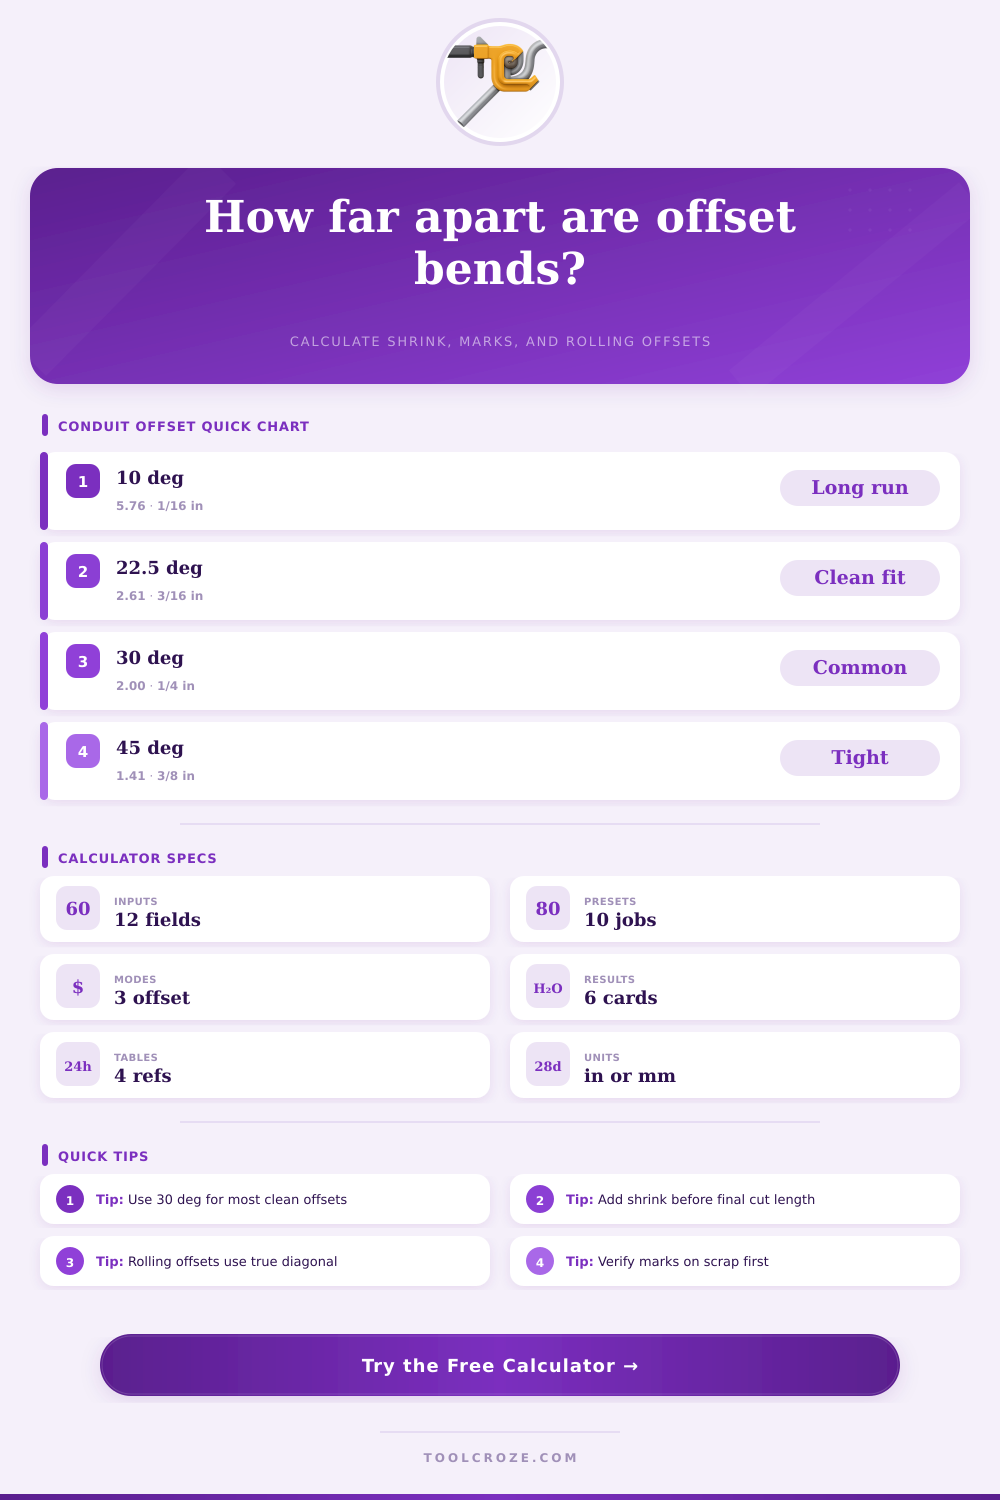
| Bend angle | Offset multiplier | Formula shrink factor | Field use |
|---|---|---|---|
| 10° | 5.76 x offset | 0.087 x offset | Long, gentle offsets above ceilings |
| 22.5° | 2.61 x offset | 0.199 x offset | Clean offsets with moderate run length |
| 30° | 2.00 x offset | 0.268 x offset | Most common hand-bender offset |
| 45° | 1.41 x offset | 0.414 x offset | Compact work with higher pull tension |
| 60° | 1.15 x offset | 0.577 x offset | Very tight offsets with sharp direction change |
| Conduit | Outside diameter | Typical take-up | Typical hand-bender radius |
|---|---|---|---|
| 1/2 EMT | 0.706 in | 5 in | 4 in centerline |
| 3/4 EMT | 0.922 in | 6 in | 4.5 in centerline |
| 1 EMT | 1.163 in | 8 in | 5.75 in centerline |
| 1-1/4 EMT | 1.510 in | 11 in | 7.25 in centerline |
| 1-1/2 EMT | 1.740 in | 13 in | 8.25 in centerline |
| 2 EMT | 2.197 in | 16 in | 9.5 in centerline |
| Offset situation | Typical angle | Planning allowance | Layout note |
|---|---|---|---|
| Box offset | 10° or 22.5° | Small rise plus connector clearance | Keep bends close and even |
| Strut or pipe jump | 30° | Offset height plus 1/4 in clearance | Multiplier is easy to mark |
| Rolling around corner | 22.5° or 30° | Use true diagonal offset | Mark roll direction before bending |
| Parallel rack | 30° | Keep consistent center spacing | Use the same datum on every conduit |
| Tight equipment offset | 45° | Verify fill and pull path | Compact but adds pulling friction |
| Preset | Rise | Angle | Conduit and reason |
|---|---|---|---|
| 1/2 EMT Box Offset | 0.75 in | 10° | Small device-box alignment bend |
| 3/4 EMT Strut Jump | 2 in | 30° | Clear shallow strut or pipe |
| 1 EMT Panel Offset | 4 in | 30° | Land parallel into gear |
| 4-Conduit Rack | 3 in | 30° | Repeat marks across a rack |
| Service Gutter Roll | 5 in | 22.5° | Rise and side shift together |
💡Field Tips
This is a handy tool for calculating following parameters based off a real-world description of a raceway: Mark Location, Take-Up Context, Parallel Conduit Stagger, Rolling Offset Distance, Shrink, and Bend Spacing. It’s a pipe with a bundle of cables to clear or a strut to jump over. Two bends may appear easy to draw on paper but they don’t line up out there. That frustration is exactly why offset work separate the apprentices from the journeymen.
The math is correct, but clues are hidden by factors like shrink amounts and multipliers. Each degree you select sacrifice length for pull tension. So what is actual rise? That is what an offset is. How much clearance do you want to ensure there is no rubbing? Do you want to roll over sideways or not (because of the obstruction)? If you have those two distance, you can use them to find hypotenuse for the calculation. From here on out all math falls into place.
How to Calculate Conduit Bends Easily
For decades, thirty degrees has been the go-to on jobsites because it has a multiplier of two and amount of shrink is tolerable. This angle doesn’t tire your arms as much when you pull a couple times. Drop down to twenty-two and a half degrees and you get a sweeter sweep but still look pro. Go up to forty-five degrees and you really reduce footprint, but now you pay for it with the conduit having a tighter radius and requiring more pulling force later. With this tool you are able to switch back and forth between angles instantly and see the true cost of such a decision before cutting.
The thing that people misunderstand about shrink is they think as you start bending the pipe up, it’s not getting any shorter. It shrinks down the straight run surprisingly far. Then you fail to deduct and when you go to put your next coupling in it fall short of where the print indicates it should be. You get both the old field-chart numbers that we all grew up with from generations of electricians and then the fancy-pants new formula for odd angles. And it reminds you that it’s a pre-deduction deal when you make your initial mark on the first bend.
Another layer that most calculators don’t take into account are rolling offsets. The true offset isn’t just the diagonal between the two leg if there’s someone else with whom to share the ride up and down the side wall. To begin, you’ll have to mark which way it rolls. Without doing that, you’re going to make a perfect hypotenuse in wrong plane.
Parallel rack work create issues all its own. Each following pipe requires a staggered mark to ensure evenness of the centers. Miss it on the first one and whole bank will walk out of alignment by the time you’ve got four pipes. This is missed by most folks till they’ve got half the rack built. But then they don’t.
And then there’s take-up, shoe radius, and outside diameter waiting in the wings. With a half-inch EMT bender, five inches of pipe is gobbled up before it ever begins bending. If you change conduit sizes or switch from a hand bender to a hydraulic bender, all those constants changes. That’s why there are reference tables on the page; so that you won’t need to memorize all the numbers.
Ultimately the best offsets dissapear. The pipe lifts above the object, crosses over, then drops into position as if there were no obstacle at all. That will happen only if you let go of guesswork and begin measuring actual geometry that presents itself in front of you. Run the numbers first. Walk the marks out on a scrap piece. Trust your hands after that. The math has been the same for a hundred years. The only difference is whether you are honest with yourself while listening to it, before you touch pipe to the bender.