Minimum Bend Radius Calculator
Estimate sheet metal inside bend radius from material type, temper, thickness, grain direction, strength, bend angle, and V-die opening before you commit a part to the press brake.
Preset Shop Bend Scenarios
Inputs Material, Die, and Bend Details
Bend Radius Results
Calculation Breakdown
Material Specification Grid
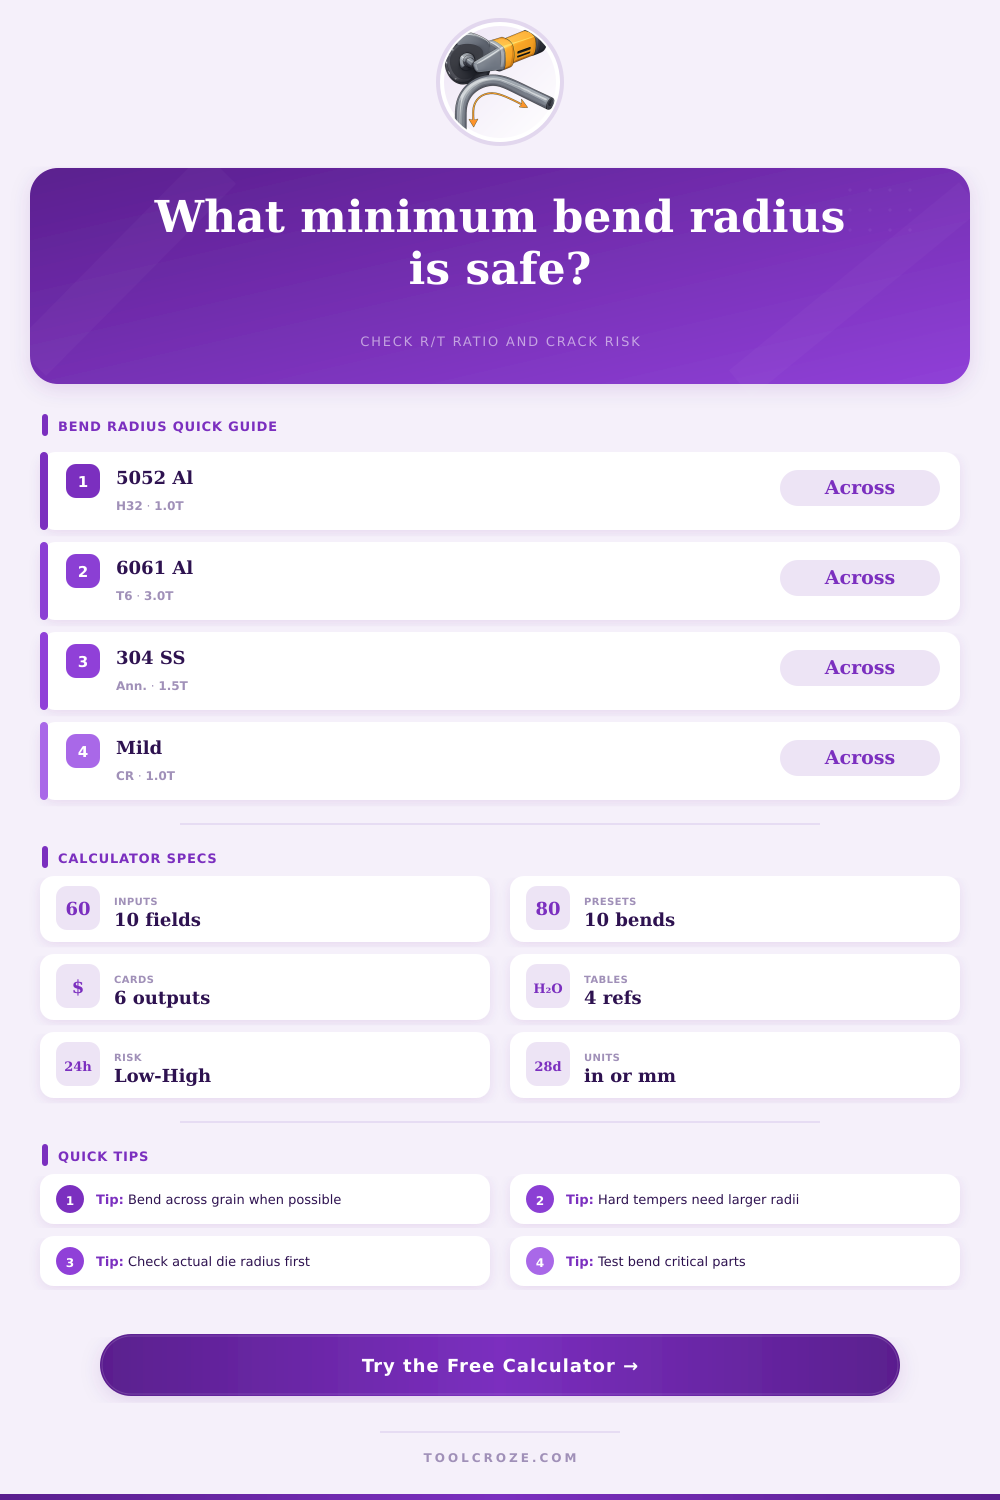
Table Minimum Radius Presets
| Material and Temper | Common Minimum R/t | Typical Yield | Typical Tensile | Shop Use |
|---|---|---|---|---|
| Mild steel, cold rolled | 1.0T | 45 ksi / 310 MPa | 52 ksi / 360 MPa | Brackets, covers, light frames |
| A36 hot rolled steel | 1.0T | 36 ksi / 250 MPa | 58 ksi / 400 MPa | Plates, tabs, structural parts |
| 304 stainless, annealed | 1.5T | 31 ksi / 215 MPa | 75 ksi / 515 MPa | Food, guards, corrosion-resistant trays |
| 316 stainless, annealed | 1.5T | 30 ksi / 205 MPa | 75 ksi / 515 MPa | Marine and chemical sheet parts |
| 5052 aluminum, H32 | 1.0T | 28 ksi / 193 MPa | 33 ksi / 228 MPa | Enclosures, tanks, formed panels |
| 6061 aluminum, T6 | 3.0T | 40 ksi / 276 MPa | 45 ksi / 310 MPa | Machined mounts, light structural tabs |
| 3003 aluminum, H14 | 0.5T | 21 ksi / 145 MPa | 22 ksi / 152 MPa | Soft covers, HVAC, trim work |
| 260 brass, half hard | 1.0T | 50 ksi / 345 MPa | 60 ksi / 414 MPa | Decorative and electrical sheet |
| C110 copper, annealed | 0.5T | 10 ksi / 69 MPa | 32 ksi / 221 MPa | Busbars, straps, conductive parts |
| 4130 steel, normalized | 2.0T | 63 ksi / 435 MPa | 97 ksi / 670 MPa | Aircraft tabs, high-strength fixtures |
Table Grain, Temper, and Method Factors
| Factor | Low Risk Choice | Added Radius | Why It Matters |
|---|---|---|---|
| Across grain | Across bend line | 1.00x | Cracks are less likely because the bend line crosses rolling direction. |
| Diagonal grain | About 45 degrees | 1.15x | Useful when nesting limits the ideal orientation. |
| With grain | Parallel to rolling direction | 1.35x | The bend line can open rolling-direction cracks on hard material. |
| Hard temper | Higher yield/tensile ratio | Up to 1.45x | Less elongation generally means a larger inside radius is needed. |
| Coining | Sharp punch imprint | 1.15x | High local compression can mark or fracture less ductile sheet. |
| Roll forming | Progressive bending | 0.90x | Gradual forming can reduce strain concentration. |
Table V-Die Opening Reference
| Material Group | Thin Sheet | General Sheet | Thick or Hard Sheet | Expected Air Radius |
|---|---|---|---|---|
| Mild steel and A36 | 6T | 8T | 10T | About 0.16 x V opening |
| Stainless steel | 8T | 10T | 12T | About 0.16 to 0.18 x V opening |
| Soft aluminum, copper | 6T | 8T | 10T | About 0.15 to 0.16 x V opening |
| 6061-T6 and hard alloys | 10T | 12T | 14T | Use large punch radius and test bend |
| High-strength steel | 10T | 12T | 16T | Larger V helps reduce edge strain |
Table R/t Risk Interpretation
| Planned R/t vs Adjusted Minimum | Risk Band | Action | Typical Clue |
|---|---|---|---|
| At least 1.25x minimum | Low | Normal setup check | Clean outside surface after bend |
| 1.00x to 1.24x minimum | Moderate | Test bend and inspect grain side | Slight orange peel may appear |
| 0.80x to 0.99x minimum | High | Increase punch radius or anneal where practical | Fine outside checks can start |
| Below 0.80x minimum | Severe | Redesign bend radius or change material temper | Cracks likely on outside bend face |
Tips Bend Radius Notes
Why should you care about minimum bend radius? Because it’s possible to make an expensive piece of sheet go from a part to scrap with just one wrong call at press brake. If you’ve ever been in fabrication shop, you’ll notice tell-tale signs of this: hairline cracks running along the outside of bends in parts. Even worse, properly formed parts could ultimatly fail in field because their behavior under strain was ignored.
There’s one number that explains the whole thing: the R/t ratio (that’s the inside radius over the material thickness). This one number let you know if the outside fibers is at risk of tearing due to excessive stretching. Feed it the variables, like planned radius, thickness, grain direction, and yield strength (and this calculator do the math for you). It converts reality of your shop into an easy yes/no answer so there is no more guesswork.
How to Choose the Right Bend Radius
One such detail seem unimportant at first, but it matters when it starts costing you: the grain direction. If you bend the metal across the grain, it’s easier; if you do so with the grain, you’re essentially bending along rows of perforation-elongated crystals just crying out to split on you. The tool does that automatically. However, the takeaway is this: when you can control how parts are oriented in relation to the blank, make deliberate choices rather than leaving it to chance. Diagonal orientation is a good halfway point that comes into play when nesting forces your hand.
It’s all about alloy and temper. A tight bend will crack 6061-T6 like a whip. But soft annealed 3003 will deform rather then crack. The calculator use standard yield and tensile values for both materials. Then it considers the proximity between them. As yield nears tensile, there is little stretch remaining in the metal. This is what calls for bigger radii on hard tempers. No big mystery. It’s just physics with a shop apron on.
Most folks don’t realize that your V-die opening are a supporting role player. Go too narrow and you focus the stress directly on the bend. Go too wide and you lose control over the radius. It will show you what your selected opening mean for expected air-bend radius as well as if it’s within safe range for that alloy.
Each of these… Air bending, bottoming, and coining; stretch the material in different ways. This is why forming method selector makes small adjustments behind the scenes.
The other one is safety allowance. Because it’s the quiet hero. Is it 10 percent more radius or 15 percent? It seems like a waste, until the first piece slides into the brake perfectly round without any micro-cracks. And the calculator has you turn that conservatism knob down (for non-structural parts) or up (for flight-critical ones), depending.
No digital tool can substitute for test bend of course. Run a scrap coupon through same tooling and cut it out on exact grain orientation. Examine the outside radius under good light. Your early warning will be orange peel texture. If you see visible cracks, go bigger or change temper. This ritual still beats any calculation because real material can have slight chemistry drift from mill and hardening at the edges from shearing.
The strain on the outer fibers grows faster then linear, so much so that doubling the thickness doesn’t just get you twice the minimum radius. That’s why taking that extra minute to get your gauge correct at the calipers would of pays off in spades.
The bottom line is that the calculator doesn’t give you permission; it gives you confidence. It turns decades of shop wisdom into a form where you can apply it before the ram comes down. Run the numbers, watch the risk level it shows you and prove it with a physical test. Do all three of those things and you’ll ship far more good parts and grind out far fewer cracks.
Deciding on the right radius before you start your machine often makes all the difference between a clean production run or a frustrating day on the brake.