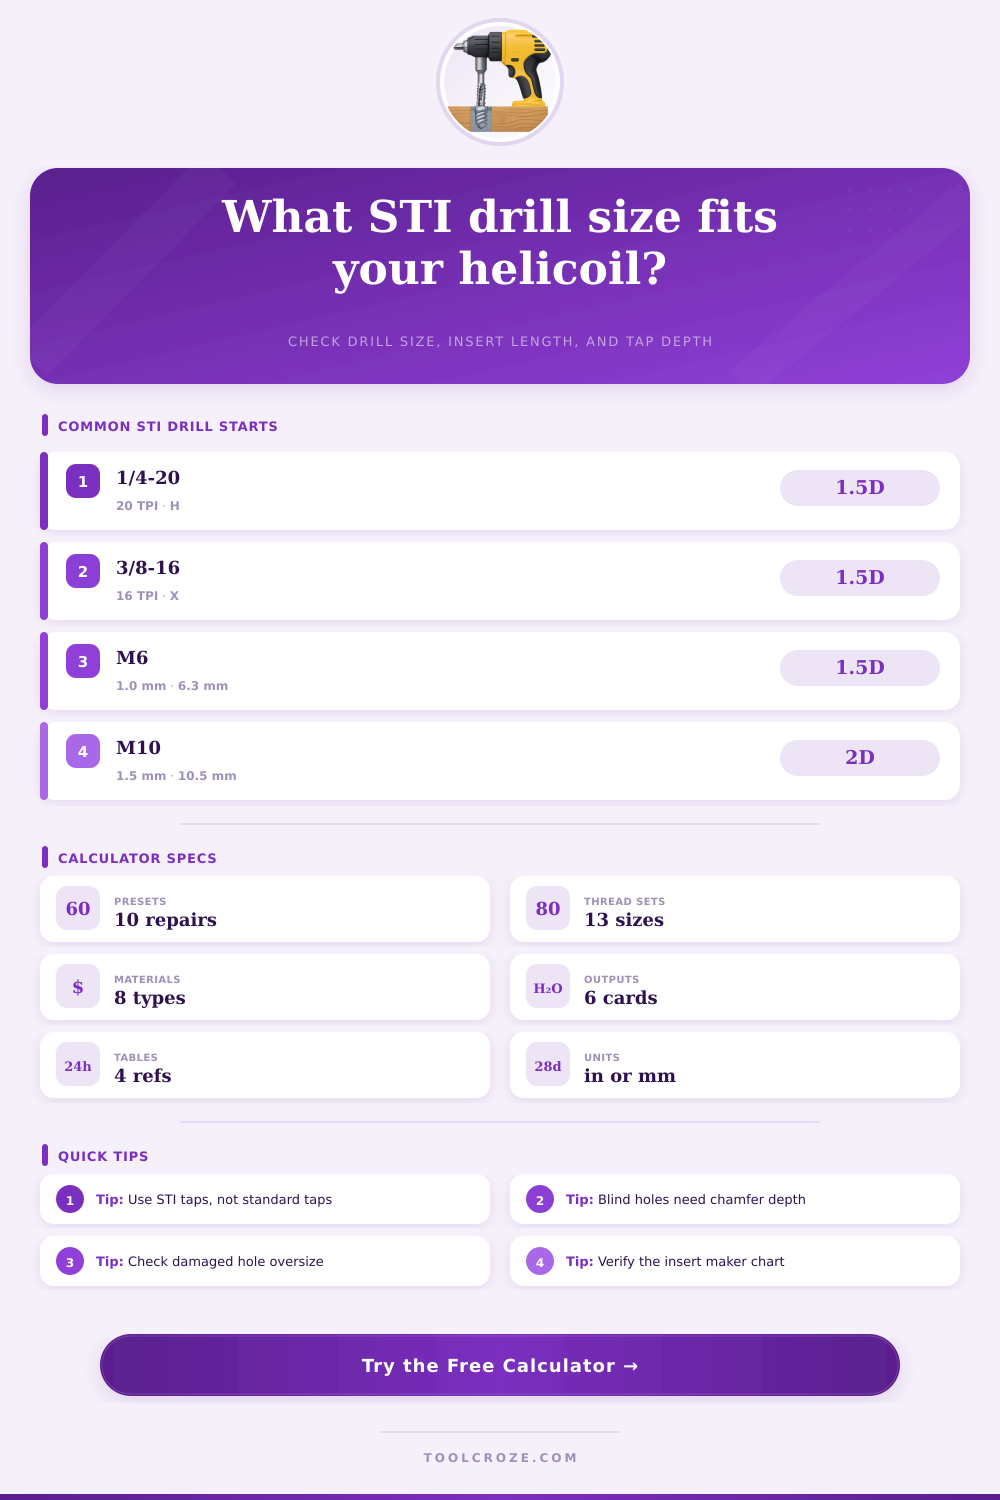
Helicoil Tap Drill Calculator
Choose the original screw thread, parent material, insert length, tap style, and repair condition to size the STI drill, compare percent thread, and check blind-hole depth before installing a wire thread insert.
Each preset loads a real UNC, UNF, or metric insert scenario with material, depth, repair context, and insert length.
| Original thread | Pitch | Aluminum drill | Steel or plastic drill | STI tap major max |
|---|---|---|---|---|
| #10-24 UNC | 24 TPI | 13/64 in | #5 in | 0.2475 in |
| 1/4-20 UNC | 20 TPI | H, 0.2660 in | H, 0.2660 in | 0.3187 in |
| 5/16-18 UNC | 18 TPI | Q, 0.3320 in | Q, 0.3320 in | 0.3884 in |
| 3/8-16 UNC | 16 TPI | X, 0.3970 in | X, 0.3970 in | 0.4602 in |
| 1/2-13 UNC | 13 TPI | 33/64 in | 17/32 in | 0.6042 in |
| Original thread | Pitch | Aluminum drill | Hard-material drill | Countersink mouth range |
|---|---|---|---|---|
| 1/4-28 UNF | 28 TPI | G, 0.2610 in | 6.7 mm | 0.29 to 0.32 in |
| 5/16-24 UNF | 24 TPI | 21/64 in | 21/64 in | 0.36 to 0.39 in |
| 3/8-24 UNF | 24 TPI | 25/64 in | 25/64 in | 0.42 to 0.45 in |
| M6 x 1.0 | 1.0 mm | 6.25 mm | 6.3 mm | 7.1 to 7.7 mm |
| M8 x 1.25 | 1.25 mm | 8.3 mm | 8.4 mm | 9.5 to 10.1 mm |
| M10 x 1.5 | 1.5 mm | 10.5 mm | 10.5 mm | 11.8 to 12.4 mm |
| Tap style | Small sizes | Larger sizes | Blind-hole note | Best use |
|---|---|---|---|---|
| Plug STI tap | Q + 0.5D + 5P | Q + 5P | Good general allowance | Most repair kits |
| Bottoming STI tap | Q + 3P | Q + 3P | Least extra depth | Shallow blind holes |
| Taper STI tap | Q + 7P | Q + 7P | Needs longest lead | Through holes |
| Through hole | Q + set-down | Q + set-down | Clearance exits part | Open backsides |
| Context | Risk to check | Calculator flag | Shop verification |
|---|---|---|---|
| Stripped thread cleanup | Bell-mouth at top | Existing hole vs STI drill | Measure at 3 depths |
| New reinforcement | Tap class mismatch | Percent thread delta | Use STI go/no-go gage |
| Oversize salvage | Hole already too large | Negative cleanup stock | Consider larger insert size |
| Screw-locking insert | Higher install torque | Extra depth warning | Confirm 3B or 4H5H callout |
| Thin boss repair | Edge breakout | Remaining wall caution | Check boss OD and fixture |
Now, having a stripped thread can make a minor repair costly. You’ve got a casting that won’t hold a bolt anymore and you have no time for it. A thread insert in wire form resolve the dilemma. It give your castings a better hold than parent material alone and returns threads to their original size.
There’s a right diameter hole you want to drill out first then you’ll need a special STI tap to cut exterior thread on the coil itself. Do any of these wrong and the insert won’t seat correctly and the repair will be useless. More importantly, the size of that drilled hole matter more than most shops admit. If you drill too big, you don’t engage the thread and basically defeat purpose of a repair. If the hole is to small, the tap fights, which risks distorting or breaking taps and the coil springs.
How to Fix Stripped Threads with Inserts
The depth of the hole impacts the size as does what material you’re repairing (steel vs. Aluminum). Starting from scratch vs. Cleaning up stripped threads also impact the size needed. There’s no single answer, except that they is connected and once you connect the dots between all these variables, it makes sense… but seems arbitrary before that.
Another factor is how long the insert is. For most inserts, the default setting of 1.5D should of been good as it allows for plenty of engagement without being too long in the material. Going to a longer insert like 2D or even 2.5D increases strength but also means deeper drilling and longer tap lead.
The calculator does all those relationship calculations for you, so you don’t have to flip back and forth through charts while doing the repair. It is faster and there is fewer mistakes.
The type of material also comes into play when drilling. Stainless steel and cast iron is harder and take more clearance around the bit without building up chips that could seize on tap. They’re also susceptible to work hardening. Clean cutting aluminum will thread nicely with a little less clearance. Be aware that thin-walled housings needs special care; you want to be mindful of how much material is left after you remove boss and what the edge distance will be. These factors all goes into the tool’s recommendations and give you good direction based off your material.
There are two factor that will affect your tolerance for a repair. If you are just cleaning up a stripped thread, there is less to remove. If you are tapping new threads for a screw or bolt, you may need to cut out much more of the bore. Perhaps an oversize bore is already nearly as big as the next drill bit would be, do you abandon the method and try another? Do you go one size up on inserts? These is some of the real-life calls that dictate whether your part gets back into service or is scrapped. They matter, and you cannot ignore them.
Tap inserts are blind holes, which means they has some variables when planning the size. These variables include the countersink, the set down (below the surface) of the insert, the chamfer on the tap itself, and an allowance for chips at the bottom of hole. A taper tap or even a plug tap requires more depth than a bottoming tap. Missing this allowance by a quarter inch can mean the tap bottoms out before completing its work. That’s the part most people discover the hard way.
How do you know how much? That’s where thread engagement targets comes into play. Most repairs need about sixty-five to seventy-five percent engagement. That’s enough strength with no more torque then necessary. Going too high, like pushing to the ninety percent mark, increases the risk of cracking parent metal if the material is soft, which is not good. Too low and the insert floats, negating the whole point of an insert. Load, temperature, and vibration expected of the assembly determine correct target.
Always reference the insert manufacturer’s chart that came with your particular kit. Because brands has different tolerances, those charts are the ultimate authority. They help keep things efficient and accurate on the bench, and they save you from chasing down the decimals as you work.
Luck has nothing to do with whether a helicoil repair works or not. It’s all about prep. Drill the proper STI size, but do not go too deep. Make sure you get the right insert length for the job. Don’t be afraid of what you are drilling into. Following those guidelines results in a repaired thread that will frequently last longer than the rest of the metal. And that means a solid solution that lasts.