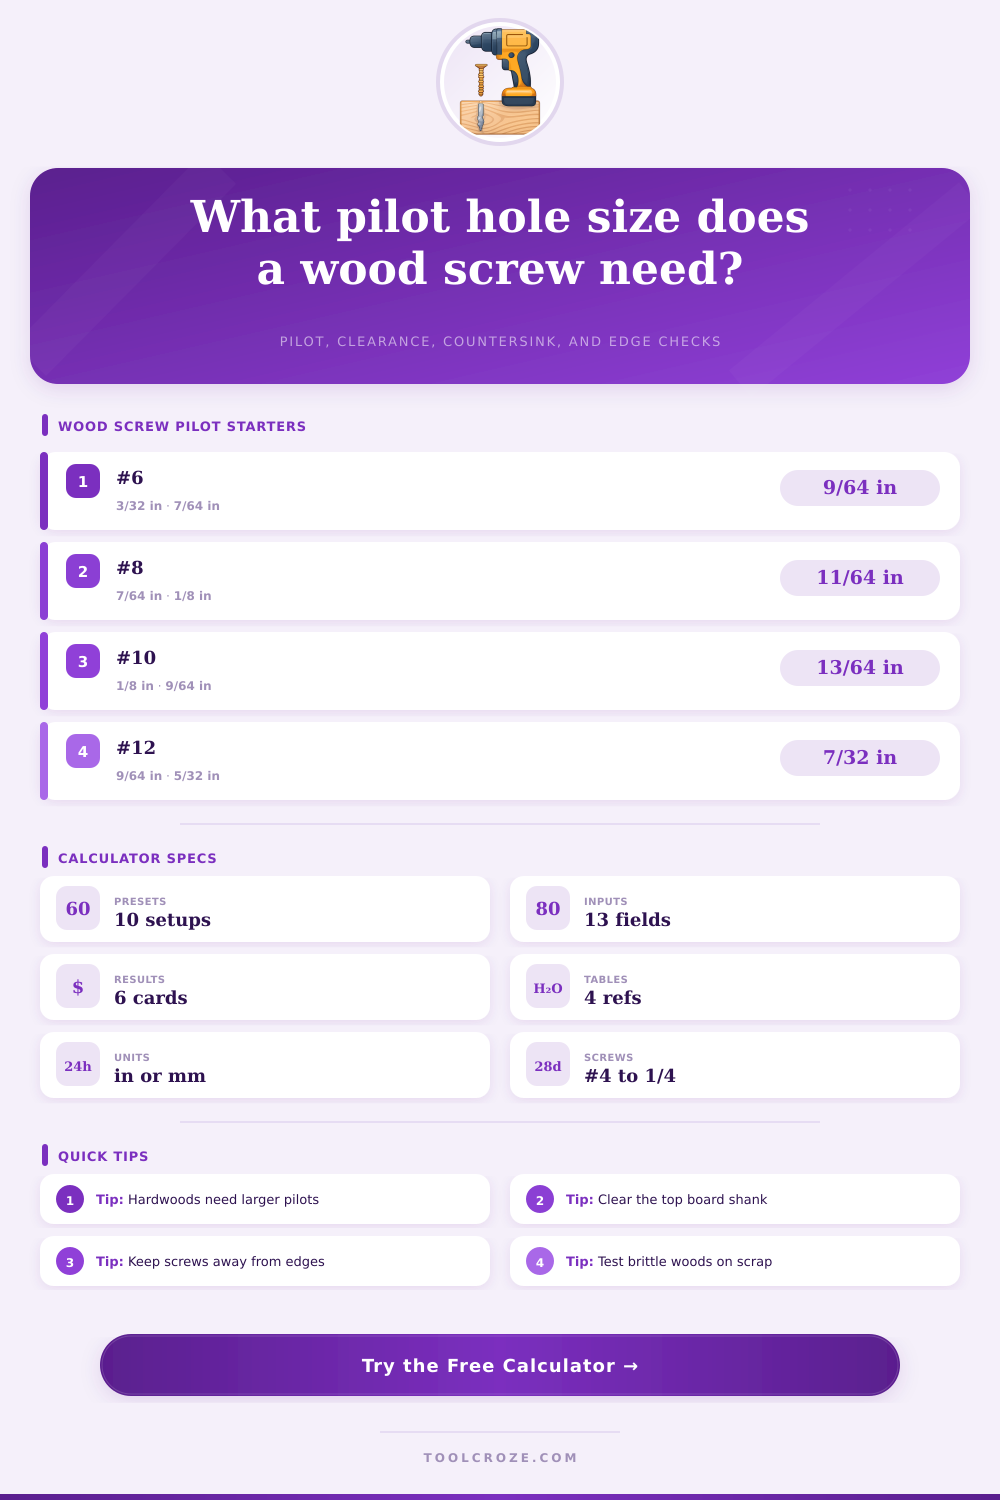
Wood Screw Pilot Hole Calculator
Size pilot holes, top-board clearance, countersink depth, edge distance, and thread engagement for common wood screws.
🔧Workshop Presets
📏Screw and Wood Inputs
Calculation Breakdown
🪵Selected Material and Screw Profile
📚Wood Screw Diameter Reference
| Screw Size | Major Shank | Typical Root | Common Flat Head | Typical Use |
|---|---|---|---|---|
| #4 | 0.112 in / 2.84 mm | 0.075 in / 1.91 mm | 0.219 in / 5.56 mm | Small trim, hinges, boxes |
| #5 | 0.125 in / 3.18 mm | 0.083 in / 2.11 mm | 0.250 in / 6.35 mm | Light hardware, small cases |
| #6 | 0.138 in / 3.51 mm | 0.091 in / 2.31 mm | 0.279 in / 7.09 mm | Hinges, drawer parts, trim |
| #7 | 0.151 in / 3.84 mm | 0.101 in / 2.57 mm | 0.305 in / 7.75 mm | Cabinet assembly, MDF screws |
| #8 | 0.164 in / 4.17 mm | 0.112 in / 2.84 mm | 0.332 in / 8.43 mm | General cabinetry and decking |
| #10 | 0.190 in / 4.83 mm | 0.130 in / 3.30 mm | 0.385 in / 9.78 mm | Rails, cleats, structural joints |
| #12 | 0.216 in / 5.49 mm | 0.148 in / 3.76 mm | 0.438 in / 11.13 mm | Heavy shop fixtures, benches |
| 1/4 in | 0.250 in / 6.35 mm | 0.176 in / 4.47 mm | 0.500 in / 12.70 mm | Lag screws and heavy blocking |
🌳Pilot Percentage by Material
| Material | Pilot as Root Diameter | Edge Multiple | Depth Adjustment | Practical Note |
|---|---|---|---|---|
| Eastern white pine | 68% to 76% | 2.2x shank | 95% of bite | Soft fibers tolerate smaller pilots |
| Western red cedar | 72% to 80% | 2.5x shank | 100% of bite | Splits near board ends easily |
| Douglas fir | 74% to 82% | 2.8x shank | 100% of bite | Latewood bands raise driving torque |
| Hard maple | 84% to 92% | 3.2x shank | 105% of bite | Dense stock needs accurate drilling |
| Red oak | 82% to 90% | 3.0x shank | 105% of bite | Open grain still splits at ends |
| Teak | 86% to 94% | 3.4x shank | 105% of bite | Use larger pilots for bronze screws |
| Baltic birch plywood | 80% to 88% | 3.0x shank | 100% of bite | Layers hold well with clearance above |
| MDF edge | 90% to 100% | 4.0x shank | 110% of bite | Oversize pilot reduces mushrooming |
🔩Clearance and Countersink Reference
| Setup | Top-Board Hole | Receiving Pilot | Countersink Target | When to Use |
|---|---|---|---|---|
| Standard two-board joint | 102% to 108% of shank | Material percent of root | Head flush with surface | Cabinet parts, rails, cleats |
| Trim screw in softwood | 100% to 104% of shank | 70% to 78% of root | Shallow dimple or none | Soft trim with small heads |
| Hardwood brass screw | 106% to 112% of shank | 88% to 96% of root | Full head seat | Hinges, pulls, fine hardware |
| Plugged flat head | 105% to 110% of shank | 84% to 94% of root | Head plus plug pocket | Furniture and visible joinery |
| MDF or plywood edge | 108% to 115% of shank | 90% to 100% of root | Light chamfer only | Sheet goods and composite edges |
📋Common Screw and Wood Pairings
| Project Pairing | Screw | Wood | Starting Pilot | Clearance Note |
|---|---|---|---|---|
| Door hinge leaf | #6 brass flat head | Hard maple | 7/64 in | Full shank clearance through hinge stile face |
| Decking board | #8 coated deck screw | Western red cedar | 7/64 in | Pre-drill near ends and board edges |
| Cabinet face frame | #8 washer or trim screw | Poplar or maple | 1/8 in | Clear top rail to pull joint tight |
| French cleat | #10 flat head | Baltic birch plywood | 9/64 in | Use full shank clearance in cleat |
| Bench blocking | #12 flat head | Douglas fir | 5/32 in | Keep edge distance above 3x shank |
| Boat trim | #8 silicon bronze | Teak | 9/64 in | Wax screw and drill full depth |
💡Shop Notes
When driving a screw, pilot holes stops the wood from splitting. If it does split, it takes glue and dowels to fix a piece of wood that has split. Knowing your wood and measuring preciseley can be difference between a ruined piece of wood and a successful project.
Pine and other soft woods (like cedar) is easy to compress around a screw. They have loose-grained fibers which make it easierer to get a good bite by keeping the screw tight against the wall of hole. By contrast, hardwoods (such as walnut or maple) resists the screw. If there is no room for it, then the force pushing it in cracks the wood. That’s why you need different bit sizes to fit a screw into the same-sized hole based off the wood type. When you enter your material type into the calculator, it compensate for this.
How to Choose the Right Screw Hole Size
The number of threads engaged are critical. Too few and the joint won’t be tight too many and you’ll hit the bottom before the boards close up. That means you need the right combination of screw length and material thickness. Not enough threads left on the receiving board are a weak connection. Too much and you risk stripping out hole or going all the way through opposite side.
Similarly, the closer you get to edge or end, the more distance you need. Putting screws near an edge or end is like wedging them; it tear apart the wood. You then compare your chosen distance to the recommended distances for that type of wood and direction of grain. More space is needed on end grain, which has its fibers running directly outward from the cut surface rather than encircling the screw threads. Edge distances varys for plywood, as the layered nature of plywood creates certain constraints.
Good work is separated by clearance through the top board. If hole in the upper board is just big enough for the screw shank, pulling the joint closed will bring the upper piece down with it instead of lifting it. Friction between the two pieces in the top will force them apart as you tighten the screws if you don’t do this. This causes micro-gaps to form at the glue line which weakens it or visible misalignment shows up.
Another variable is countersink depth. If you intend to plug your hole, head should be slightly submerged (or even) in surrounding wood; if not, it needs to be flush or just below the surface. Each head angle have its own shape (a 100- or 90-degree head differs from an 82-degree). This can also affect how deep you go to get screw flush without going too deep and cracking wood fibers at edge.
Some other materials need special care. For example, brittle woods can be used with brass screws. Brass is not as strong than steel, and will shear rather than bend. Many woodworkers will enlarge the pilot hole slightly when dealing with such a situation, trading the holding ability of a smaller bit for something that doesn’t snap a pricy screw part way into the wood.
No matter what the chart tell you, your best insurance policy should of still be testing on scrap. Every variable interacts. Screw size, how thick the wood is, what direction the grain is running in, what you are using it for, all impact everything else. All variables shifts the answer to “how big?” The real answer is the ability to understand the relationships between them instead of memorizing set-in-stone answers.
When you begin to think in multiple of shank widths and percentage of root diameter, then your answers becomes intuitive. Working with wood is a conversation between maker, material and tool. A good pilot hole calculator just provides you with more clear language to speak the same words so the wood can answer back without splitting.