Shop Lighting Layout Calculator
Estimate fixture count, row spacing, average lux or foot-candles, task-zone boost, and a practical ceiling grid for workshops, garages, benches, and machine bays.
Choose a real shop scenario, then fine-tune room dimensions, fixture output, reflectance, loss factor, and task lighting target.
Layout status will appear here.
Calculation breakdown
| Shop area | Recommended target | Foot-candles | Practical note |
|---|---|---|---|
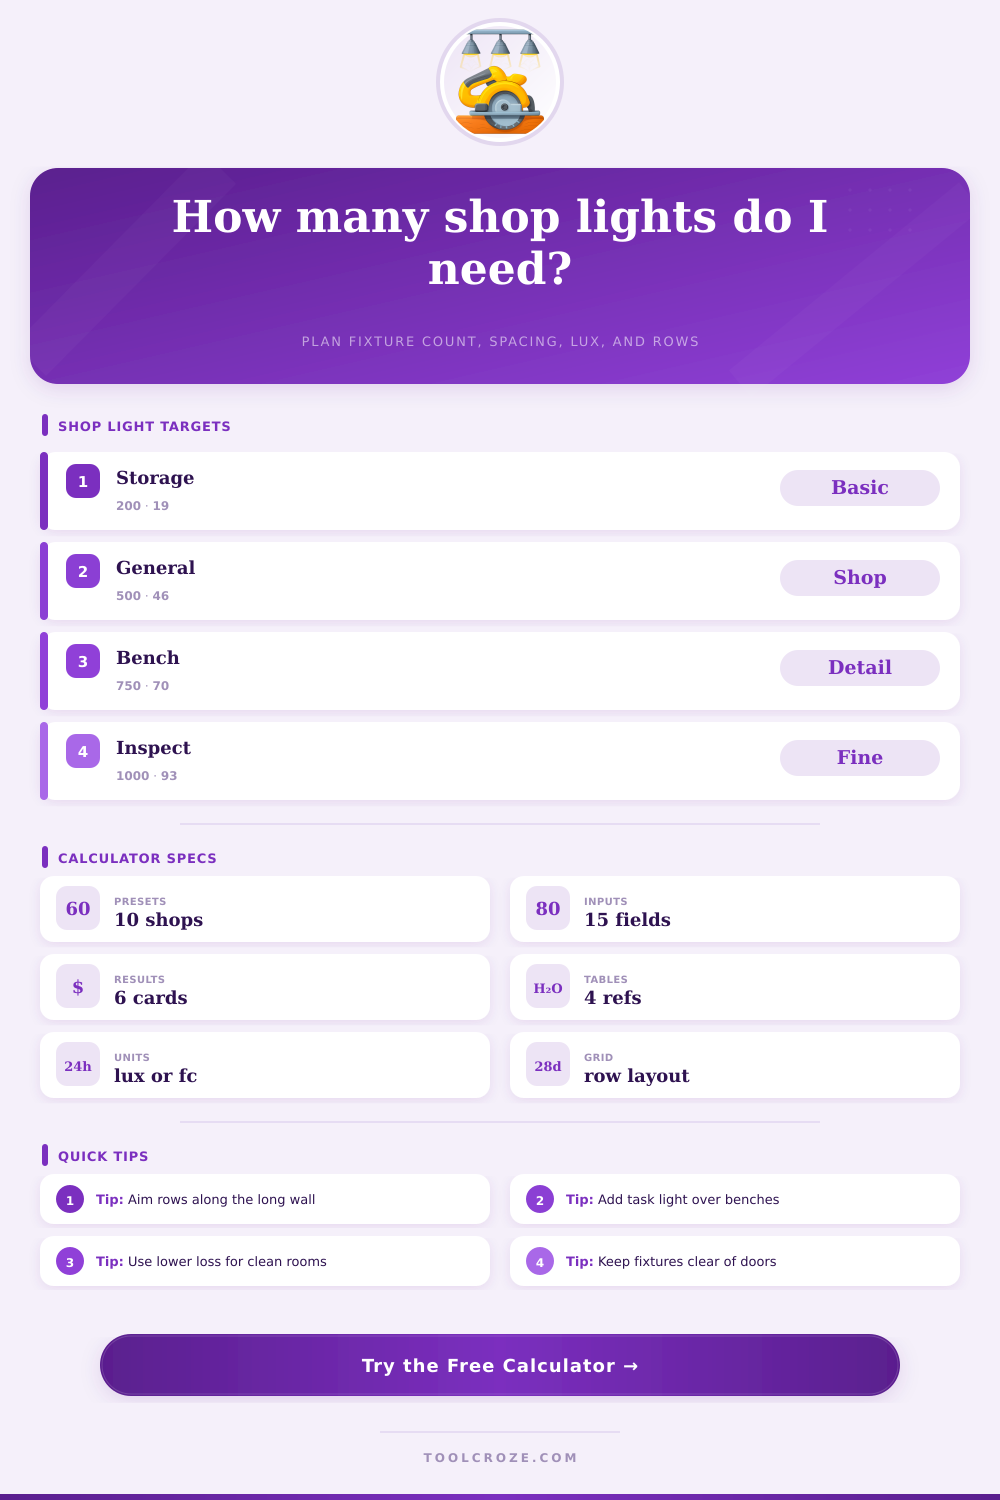
| Storage, compressor closet, tool room | 150 to 300 lux | 14 to 28 fc | Good for walking, finding tools, and low-detail tasks. |
| General garage or hobby shop | 300 to 500 lux | 28 to 46 fc | Use for mixed work where portable task lights are available. |
| Woodworking bench, assembly, repair | 500 to 750 lux | 46 to 70 fc | Better for layout marks, joinery, measuring, and small parts. |
| Machine setup, metal fab, paint prep | 750 to 1000 lux | 70 to 93 fc | Use higher values where shadows can hide edges or defects. |
| Surface condition | Ceiling reflectance | Wall reflectance | Layout effect |
|---|---|---|---|
| Fresh white shop | 80 to 90% | 60 to 75% | Higher utilization, fewer shadows, wider spacing can work. |
| Average garage | 70 to 80% | 40 to 60% | Normal coefficient of utilization for LED strips and wraps. |
| Wood walls or dark shelves | 50 to 70% | 20 to 40% | More lumens are needed because surfaces absorb spill light. |
| Black ceiling or dirty industrial bay | 20 to 50% | 10 to 30% | Use tighter rows and a conservative loss factor. |
| Fixture type | Common lumens | Spacing guide | Best shop use |
|---|---|---|---|
| 4 ft LED shop light | 4,000 to 6,000 lm | 6 to 8 ft centers | Garages, bench rows, compact workshops. |
| 8 ft LED strip | 8,000 to 12,000 lm | 8 to 12 ft centers | Long bays, woodworking shops, open ceilings. |
| LED wrap or vapor-tight | 5,000 to 9,000 lm | 7 to 10 ft centers | Dusty, damp, or multi-use work areas. |
| UFO or linear high-bay | 15,000 to 30,000 lm | 12 to 20 ft centers | High ceilings, machine bays, warehouses. |
| Layout check | Target range | What it means | Adjustment |
|---|---|---|---|
| Spacing to mounting height ratio | 0.8 to 1.2 | Lower is more even; higher can create bright and dim bands. | Add rows, lower fixtures, or use wider distribution. |
| Loss factor | 0.70 to 0.85 | Lower values reserve light for dirt and lumen depreciation. | Clean lenses, repaint surfaces, or add fixtures. |
| Task-zone boost | 1.25x to 2x ambient | Bench tasks often need more light than open floor areas. | Add local task fixtures instead of overlighting the room. |
| Wall setback | Half row spacing | First and last fixtures should not sit tight to walls. | Use balanced rows and avoid garage door tracks. |
Lighting in an shop can affect the visibility of the edges on a layout line. Lighting in a shop can affect the number of minute that a person takes to notice when they have missed a clamp. Lighting in a shop affect how tired a persons eyes feel after standing up for many hours to complete the shops work.
Good lighting will enhance the quality of the work that the worker will perform in the shop. Furthermore, good lighting will allow a person to remain at their work for a more longer period because there will be no issues create by shadows or glare from the shop lighting fixtures. The size of the shop and the height of the ceiling is the first considerations that a shop owner must make regarding lighting.
How to plan lighting for a shop
If the shop is located in a basement, then the lighting fixtures have to be mounted closer to the shop floor. Conversely, if the shop is in an open garage, then the lighting fixtures can be mounted at a greater distance from the shop floor. The distance between the light fixtures and the shop floor will determine how many rows of light fixtures can be placed in the shop without create bright spots of light or dark areas on the shop floor.
Additionally, if the shop features a white ceiling and light walls, then fewer lighting fixtures will be required to illuminate the shop floor compared to use dark walls and wood floors. The output of each lighting fixture and the distribution of that light is the next consideration. Wide LED strips emit light different than high-bay lighting fixtures and task lighting.
The lighting fixture calculator provide mathematical results that show how much light will be distributed in the shop after entering the lumens of the lighting fixture, the distribution type, and the coefficient for the ceiling and walls. The loss factor account for light lost by the lenses of the lighting fixtures collecting dust, the drivers losing their efficiency, and the lamps dimming over time. Using a conservative loss factor will ensure that the lighting layout still has enough light to fulfill the need of the shop after a year or two of regular use.
Task zone will add another layer to the shop lighting layout. Most shops do not require the same intensity of light to be present throughout the entire shop. For instance, the floor of the shop may require 500 lux of light, but the intensity of the light required on a workbench could be 1000 lux.
The lighting fixture calculator allow the shop owner to enter a target light level and the percentage of the shop floor that will require this level of light. Additionally, if the ambient lighting cannot provide enough light for the task to be performed, dedicated task lighting can be provided. Using dedicated task lighting will ensure that the total energy use of the lighting layout remain within a reasonable range.
Spacing rules must be added to provide an even lighting layout throughout the shop. The ratio of the distance between the rows of light fixtures relative to the mounting height of the lighting fixtures is the most important ratio for a shop owner to consider. The farther the distance between the rows of light fixtures from the shop floor is relative to the mounting height, the more likely that bands of light and shadow will be created in the shop.
These bands of light and shadow will make it more difficult for the shop worker to complete there tasks. This ratio can be entered into the lighting fixture calculator; the calculator will provide an indication of the number of rows of light fixtures that should be install in the shop, or the shop owner can simply lower the preferred spacing between the rows of light fixtures. Many people make mistake when creating a lighting layout for their shop.
For instance, many shop owners oftentimes overtight the entire shop to provide enough light for the workbench. In the same way, shop owners space their lighting fixtures to provide even lighting for their average work areas, but their specific area may be to dark for there comfort. Shop owners can avoid these mistake by entering the lighting calculations with a realistic value for the shop’s ceiling and walls reflectance.
Additionally, shop owners can avoid these mistakes by using a sensible loss factor for the lighting layout and providing light for the defined task area. The lighting layout will be even throughout the shop when the average lighting level is set to the target lighting level and the ratio of the distance between light fixture rows to the mounting height of the light fixtures is within an acceptable range. This lighting layout will work to provide even lighting for general shop movement, as well as for areas where concentrated work will take place.