
Tile flooring may look easy when the tiles is already installed on the floor. However, the process of getting the tiles onto the floor involves the use of the correct tools. A person who is working on installing tile during the weekends can complete the installation process using a decent wet saw and a sturdy knee pads.
However, by ignoring the necessary tools for installing the tile flooring, a person will end up spending twice as much time on fixing the problems that resulted from bad decisions regarding necessary tool. Using the wrong tools will ultimately result in a sore back. The difference between successfully installing tile flooring as opposed to one that results in regrettable installation choices is the use of five essential tools that are necessary for the project but not flashy in its appearance.
These tools are the items that a professional should own or rent to complete the installation of tile flooring on a subfloor. The tools are listed in order of importance for installing the flooring. Each tool will solve a specific problem that will be encountered during the process of installing the flooring.
Essential Tools for Installing Tile Flooring
1. Wet Saw
The most important tool for installing tile flooring is a wet saw. The wet saw is the most important tool because it can perform a task that no other tool can perform for cutting tile. A wet saw is a table saw whose blade is constantly sprayed with water.
The water helps to cool the diamond saw blade while the blade cuts through porcelain, ceramic, or stone materials. Because the water is used during the cutting process, there is no production of the dust that is created when other saw blades are used to cut at tile. Furthermore, water helps to soak up the slurry that is created during the cutting process of the tile.
A person can place the tile that they are cutting on the wet saw’s sliding tray, place marks on the tile that indicate the dimensions of the cut that is to be made, and push the tile through the saw blade. The water will soak up the slurry that is being cut from the tile. The use of a wet saw will allow the individual to make even cuts into porcelain tile that will be difficult to cut with manual saws.
A person can rent a wet saw for larger cutting jobs or purchase a compact and portable wet saw if they perform tiling jobs regular. Remember to allow the wet saw to complete the cutting of the tile; forcing the tile through the saw will lead to chipping of the porcelain tiles. Following the wet saw is the notched trowel.
2. Notched Trowel
The notched trowel is a relatively simple tool with notches of various sizes. The size of the notches can range from quarter inches to half inches. The size of the notches on the trowel depends on the thickness of the tile that is to be installed.
Using a notched trowel will allow the thin-set cement to be combed onto the subfloor. By placing the tile on the cement, the thin-set will collapse into full contact with the back of the tile. This full contact will prevent the development of hollow spots in the tile that will result in cracked tiles.
The notched trowel should be held at a 45-degree angle to the floor, and it should only be pulled in one direction. Furthermore, when the tile is being placed onto the thin-set, it should be slightly twisted. The size of the notch on the trowel is the most important aspect of the tool.
Using a too-small notch will result in a starving of the thin-set; using a too-large notch will result in thin-set being forced up into the tile joints. A scrap piece of flooring can be used to test the setting of the notched trowel before placing the tile onto the subfloor. Following the notched trowel is the rubber grout float.
3. Rubber Grout Float
A rubber grout float looks similar to a squeegee. However, it is the only tool that will work effective in pushing the grout deep into the joints and wiping it up. By working diagonally across the joints at a 45-degree angle, the rubber tool will push the grout into the joints without removing it.
If it is left in the joints as the grout sets, the air pockets will eventually crumble months later when a person drags an object across the floor. Once the rubber tool has pushed the grout into the joints, it will take between 15 and 30 minutes for the grout to dry. At this point, a damp sponge can be used to wipe the excess grout off the tiles.
The square corners of the tool allow it to work into tight spots, such as next to cabinets. The rubber tool ensures that the installed floor looks finished by a professional rather than a weekend warrior. The last tool to discuss is the knee pads.
4. Knee Pads
Tile installation does take a toll on the body. Therefore, it is essential to treat the body correctly. The best knee pads use memory foam and gel inserts to provide comfort for the knees while being hard shell materials to allow a person to slide across the floor without catching the pad on the flooring.
The pads should be able to securely strap onto the legs, but they should not be too tight. This is important because when you are on all fours for many hours, cheap foam knee pads will compress to little usefulness by lunchtime. Instead, purchase knee pads that will help to maintain your circulation and reduce the fatigue in your knees.
Less fatigue will allow you to remain precise in your work; precision is the best way to avoid rushing the last few rows of tile. Consider your knee pads to be an investment in your comfort and your work quality. Professionals in the field often prefer knee pads that contain a gel insert for comfort and that have a nonslip bottom so that their laser-level lines do not get thrown off by the movement of their knee pads.
A fraction of an inch can be noticed when the floors are lit. A reliable laser level or chalk line will help to ensure that all of the tiles are straight and square in their placement. A laser level or chalk line will help you to create a beautiful floor that is free of any crookedness.
5. Laser Level or Chalk Line
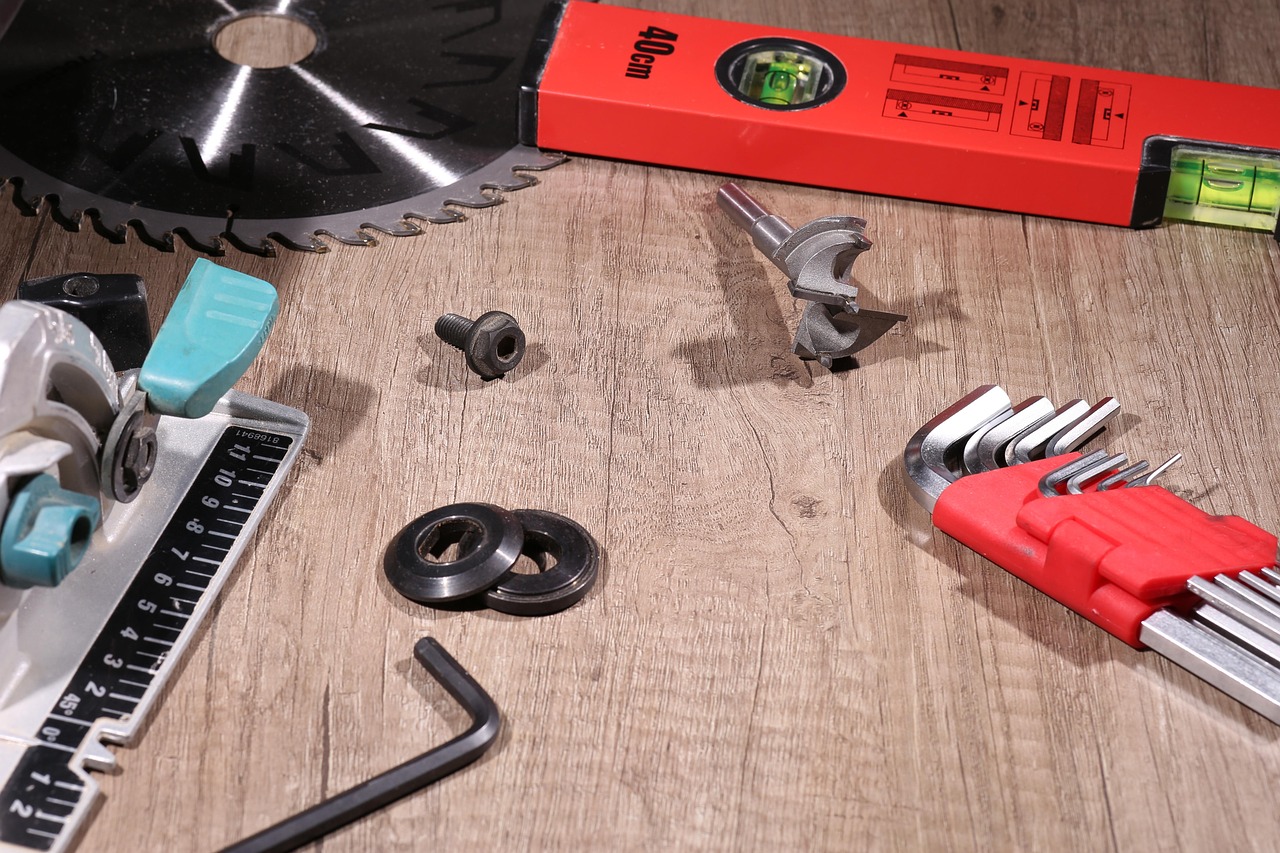
Self-leveling lasers will allow you to mark the floor with red or green lines. No matter where you place your laser level, every single tile will have a line to follow. For those who are placing tile over large areas or who are working outdoors, a chalk line can help to create a long straight line from one location to another in a few seconds.
Use blue chalk instead of red chalk so that the stains are easily removed from the stone. Using either a laser level or a chalk line will remove the guesswork from the process of laying tile. Any fraction of an inch of error in one row will cause the row to end up one inch from the intended line once it reaches the opposite wall of the room.
By correcting the error in the beginning, using a line to guide the placement of the row of tile, you will save yourself hours of frustration and the heartbreak of having to remove the entire row of freshly laid tile. You should not overlook the grout sponge and the bucket in which the sponge will be rinsed. This may sound like an essential tool once you see someone trying to clean the floor using paper towels.
6. Grout Sponge and Bucket
The grout sponge will have large pores on one side and fine grains on the other. To use the grout sponge, rinse it in a bucket of clean water, wring it until it is nearly dry, and wipe the floor in a circular motion with the sponge. This will help to lift the grout from the floor without removing the fresh tile grout from the joint.
Often, the water in the bucket will need to be changed. If dirty water is used to rinse the grout sponge, the resulting haze will be redeposited onto the floor. This will dull the newly tiled floor and force the use of acid to clean it later.
To achieve a beautiful floor, the process of using the grout sponge will require patience. If not careful, the newly tiled floor will appear cloudy. Using a good grout sponge will help to achieve the desired result for the floor.
The last tool to discuss is one of the most necessary for anyone who wants to avoid the rental store every time they have to make a cut. The tile cutter will score the glazed side of the tile and use its leverage to snap the tile along the scored line. It will work well with ceramic and porcelain tiles up to 24 inches in width.
7. Tile Cutter
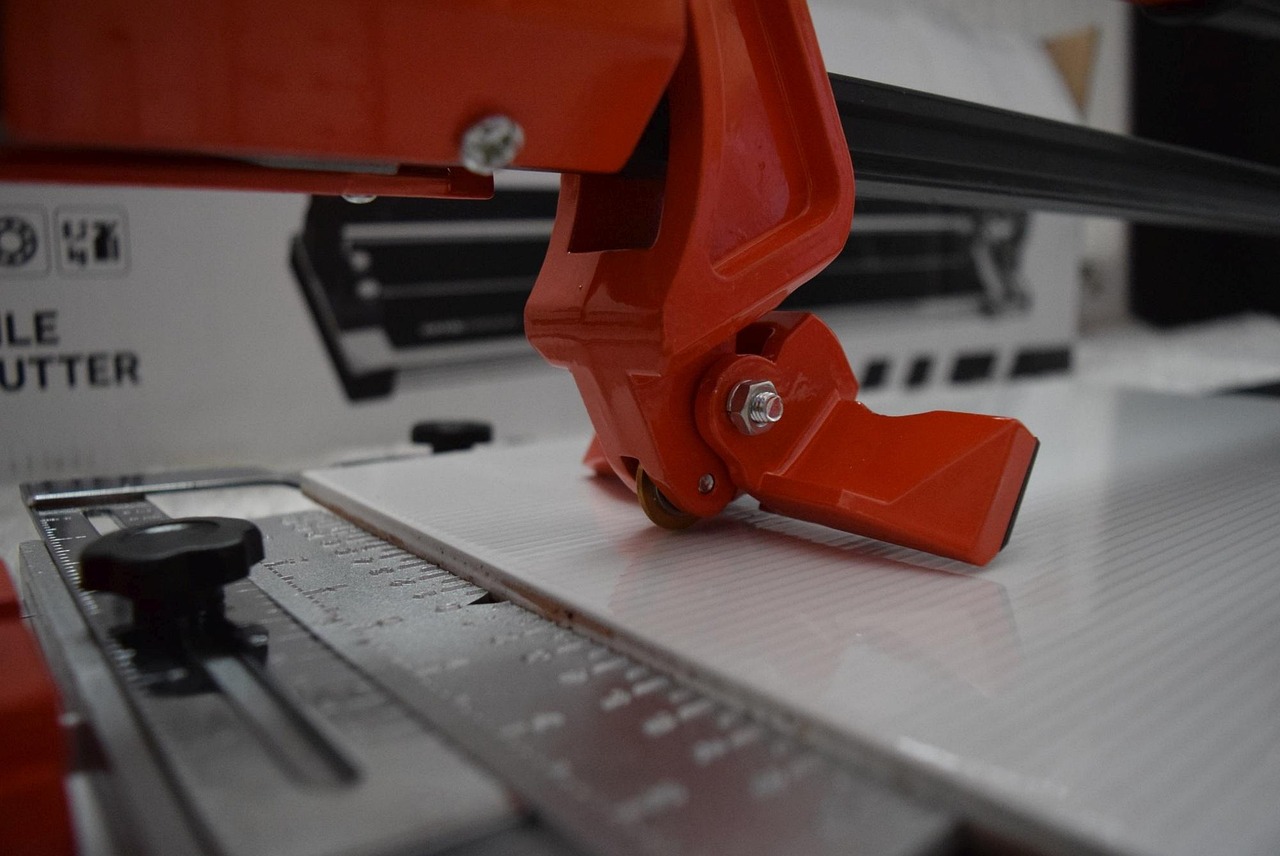
The advantage of the tile cutter over a wet saw is that it creates no dust and it is faster to use. Use the tile cutter to make your straight cuts to avoid the need to utilize the wet saw. Although it will not work for cutting intricate designs or stone, it will cut your time to lay the floor in half.
The carbide wheel will need to be kept clean and will need to be replaced if it begins to skip while cutting the tile. A dull tile cutter will cause the tiles to break at irregular spots which is the purpose of this tool. With the correct tools, you will be able to place the tile at a rapid rate yet maintain quality.
You will no longer have to worry about the placement of the tile because you will have the proper tools for the job. Each floor will be installed faster, look better and last longer because you will place each layer of tile properly. Each layer of tile has the appropriate tool for adding it to the floor.
This is the skill that motivates individuals to return to tiling work despite any soreness in their knees. When considering the important tools for laying floor tile, remember these tools and you can be sure that your floor will turn out beautiful. With the proper tools, the rest of the project will fall into place when you execute the skills necessary to complete the project.
