
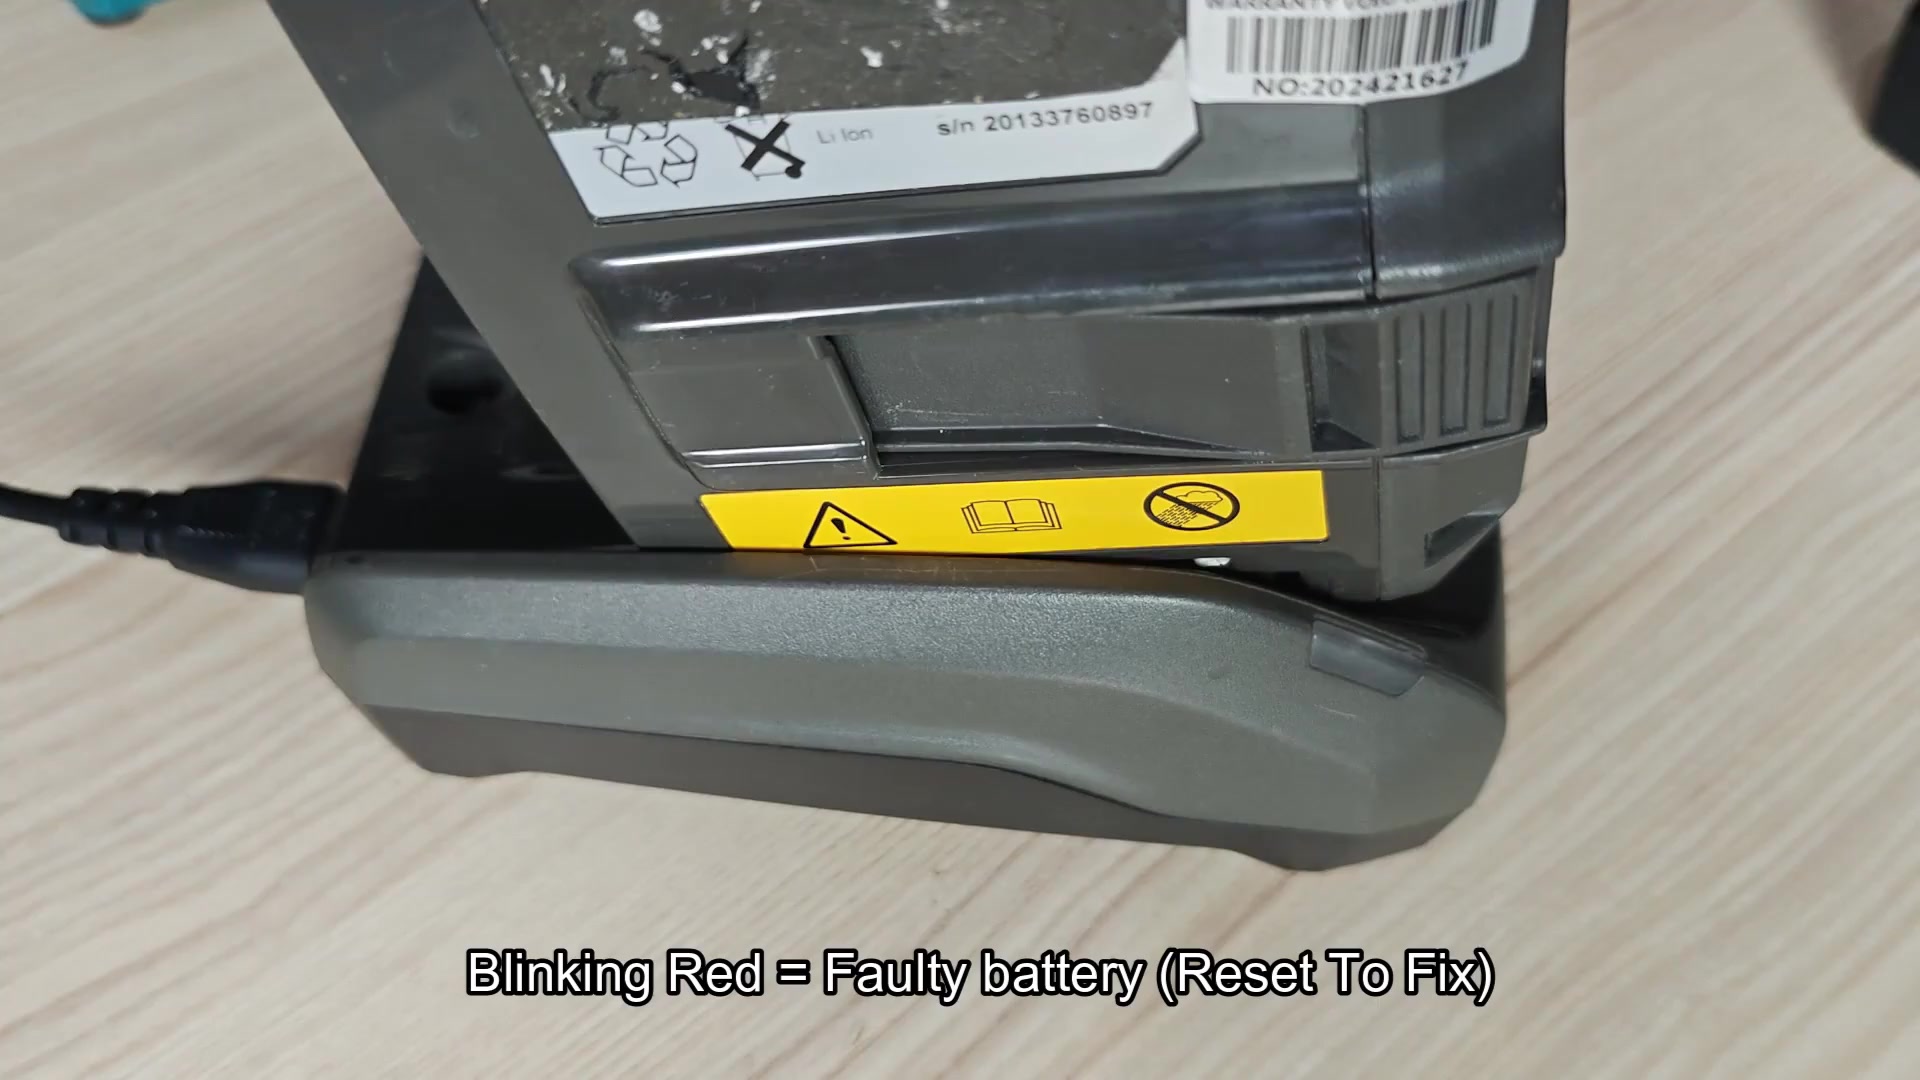
The charger was flashing a red light every time the battery hit the dock. I attempted to charge the battery several times. The battery would not accept any charges at all. It appeared to be in a dormant state due to it’s low battery voltage. Not an ideal situation.
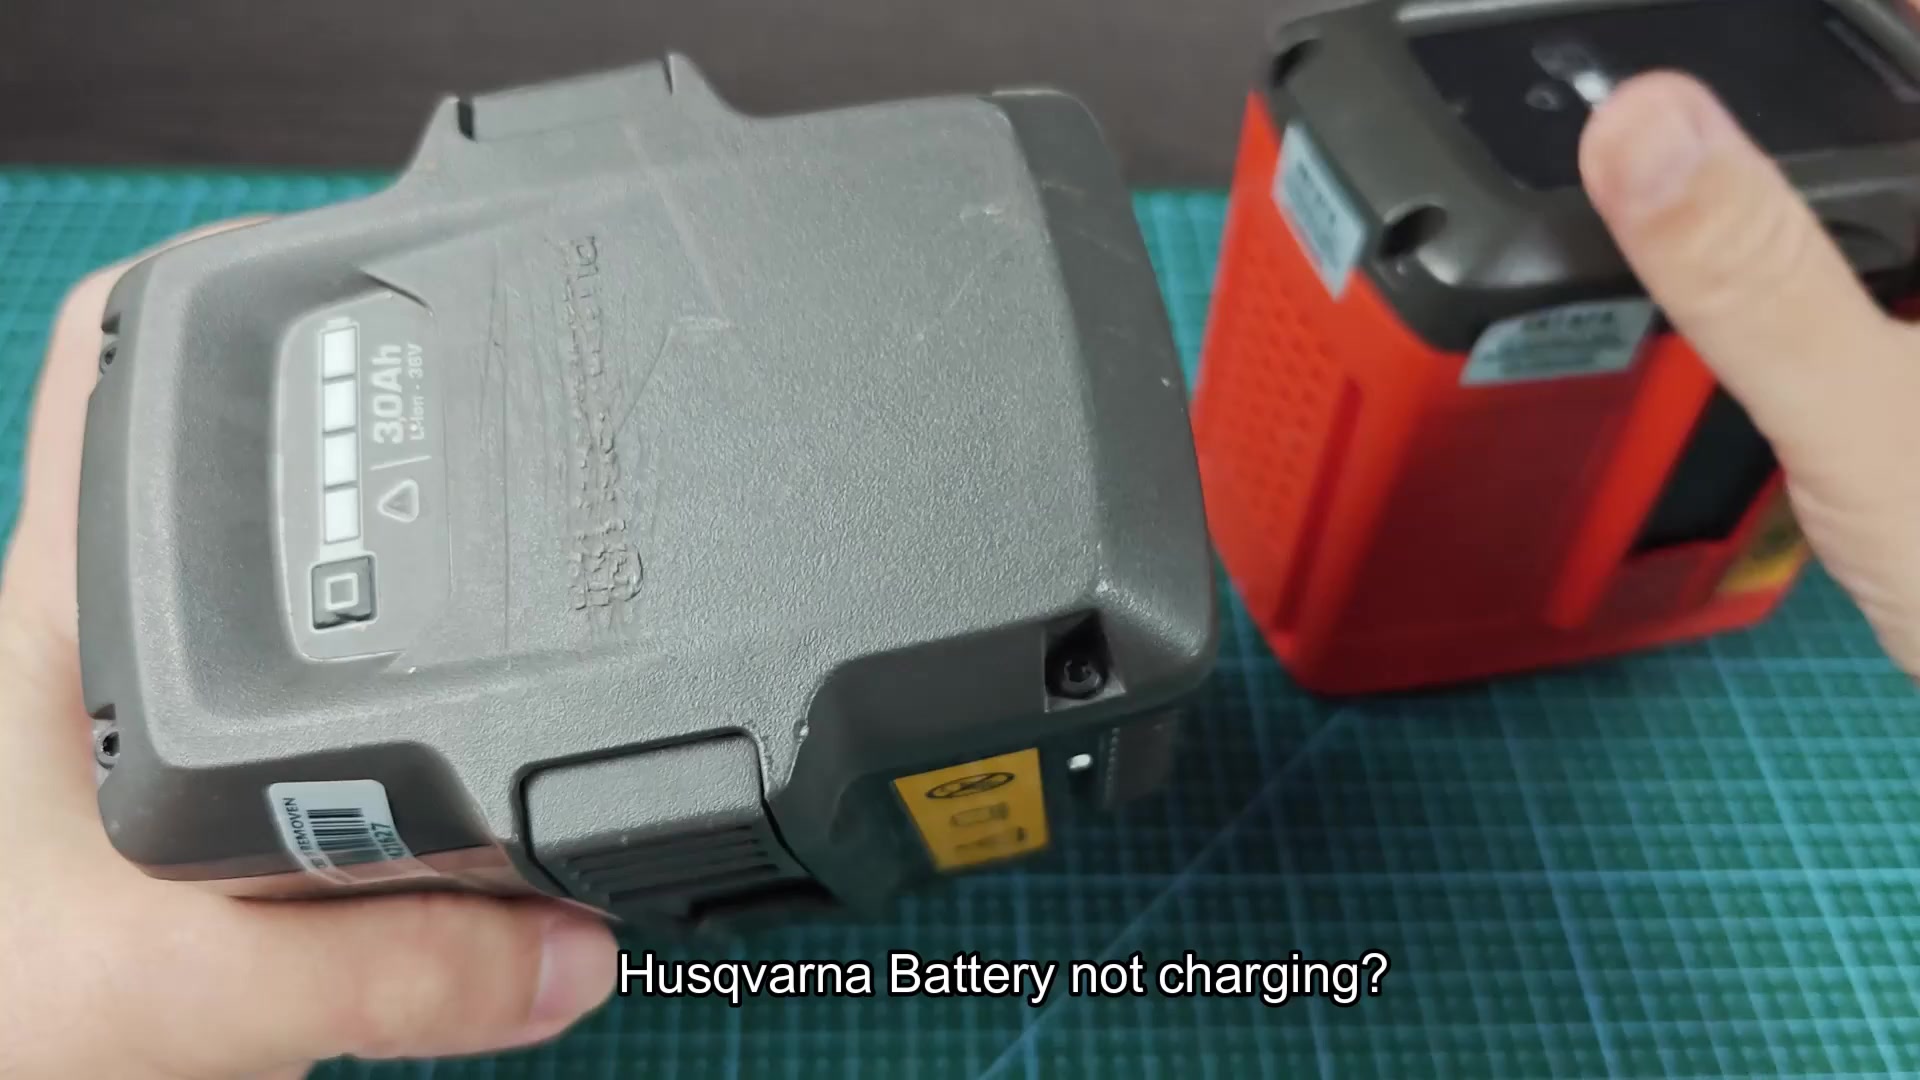
I used a second battery that had a charge. To complete the reset the battery need to have a known good battery. Any battery made by Husqvarna in the 36V-40V range will work. This will reset the battery cell that have experienced a low voltage state.
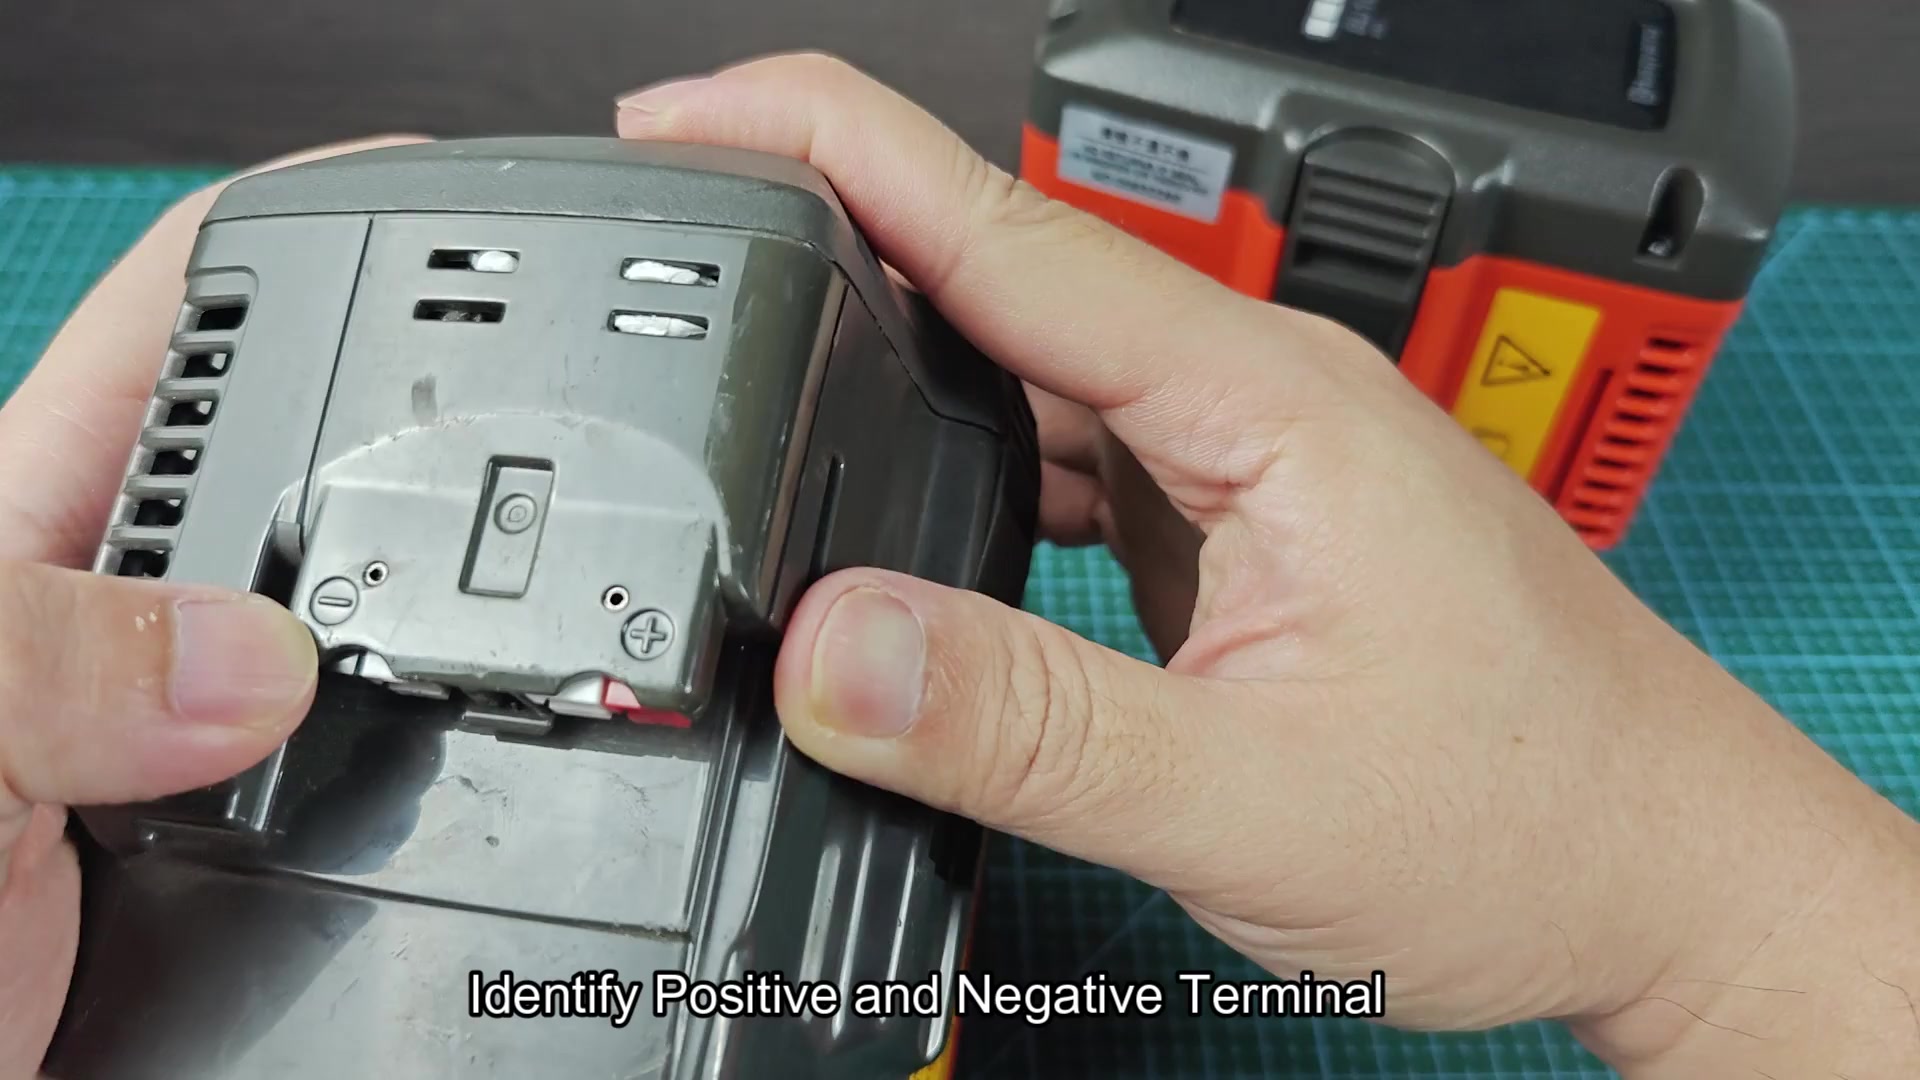
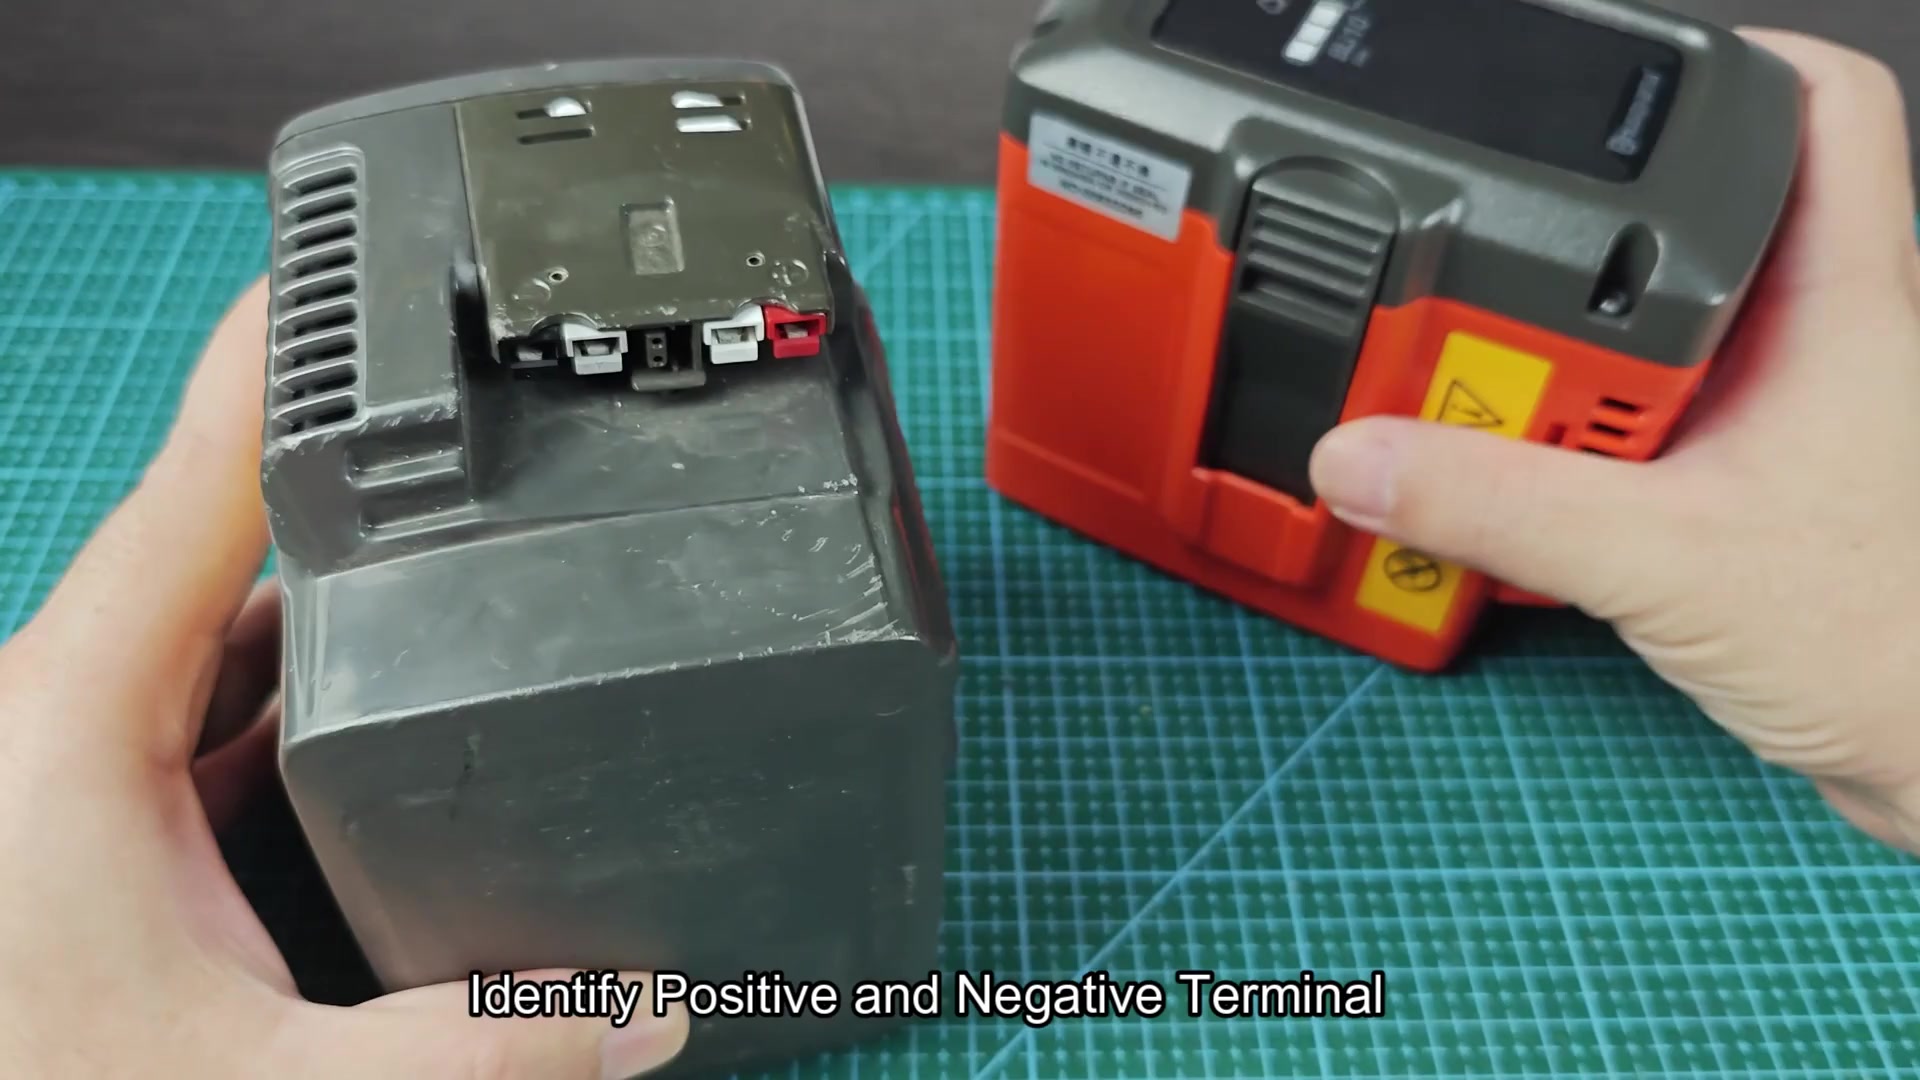
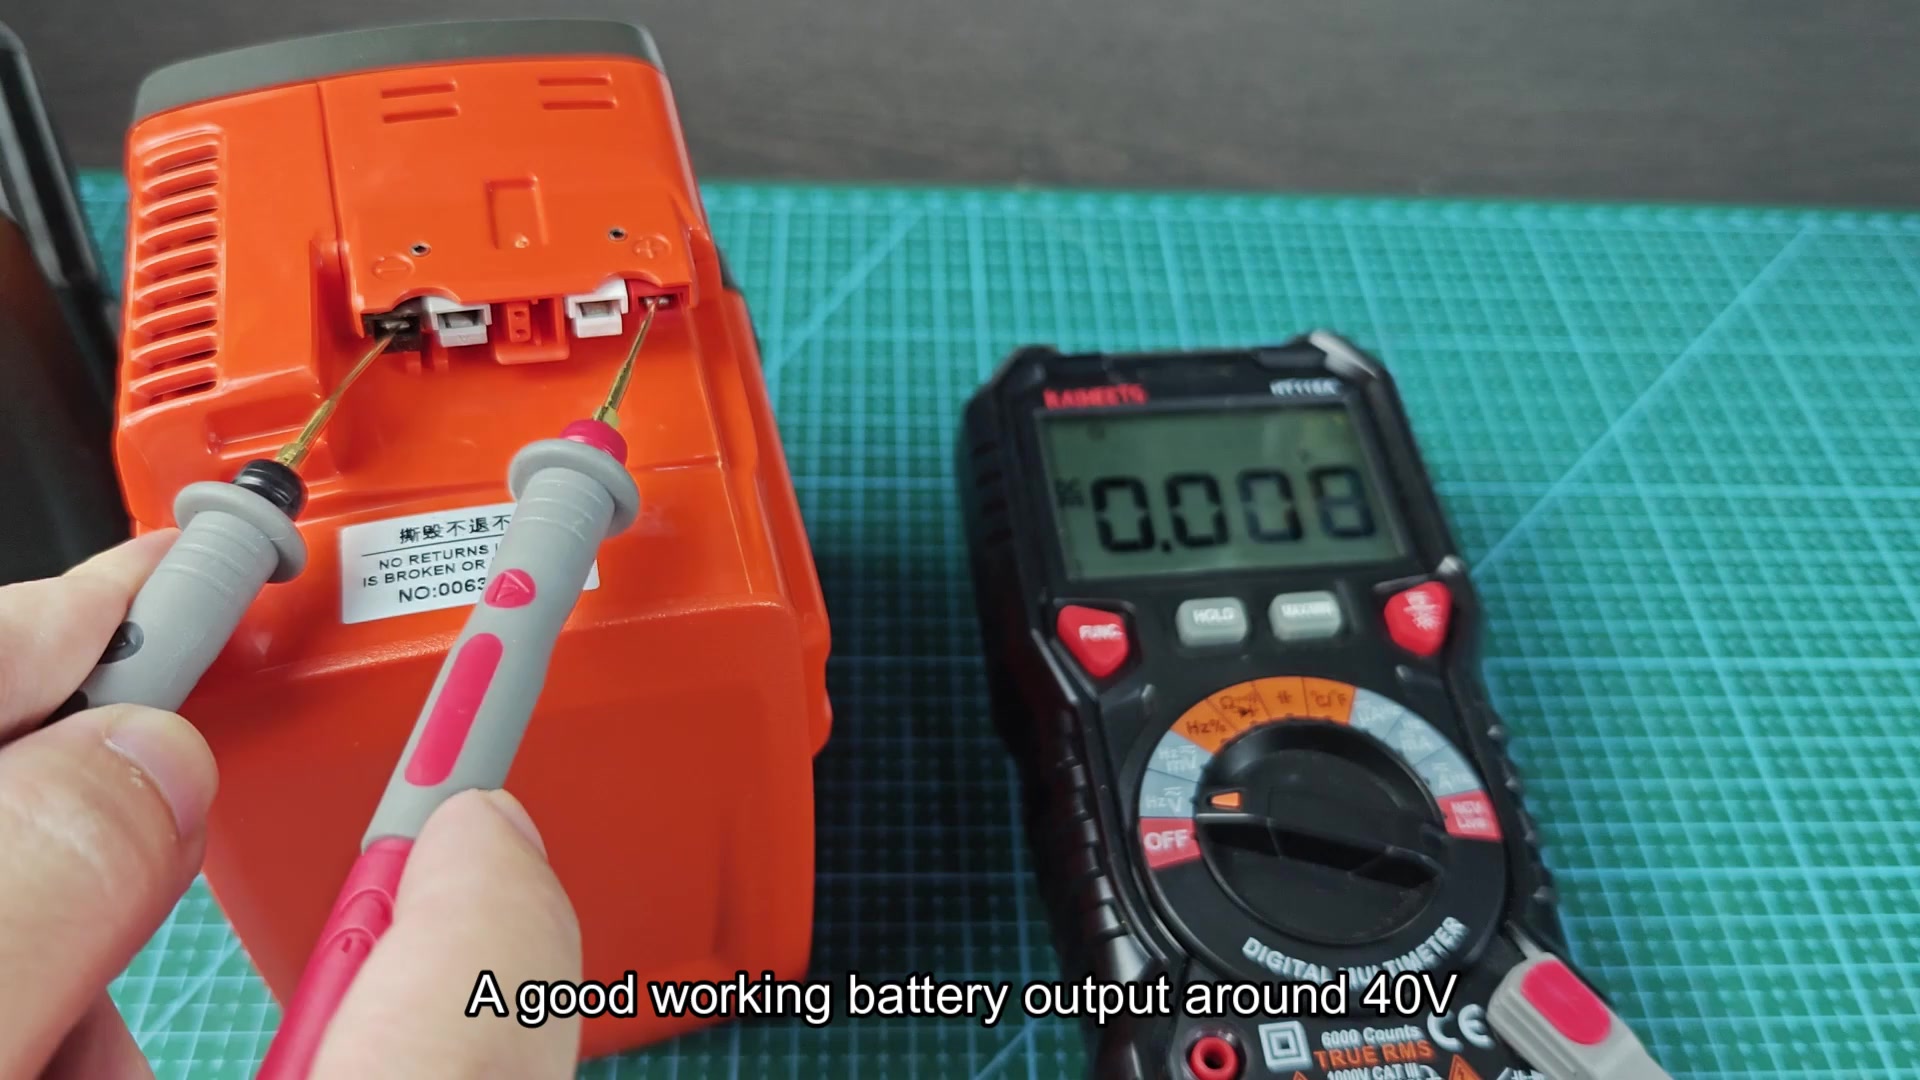
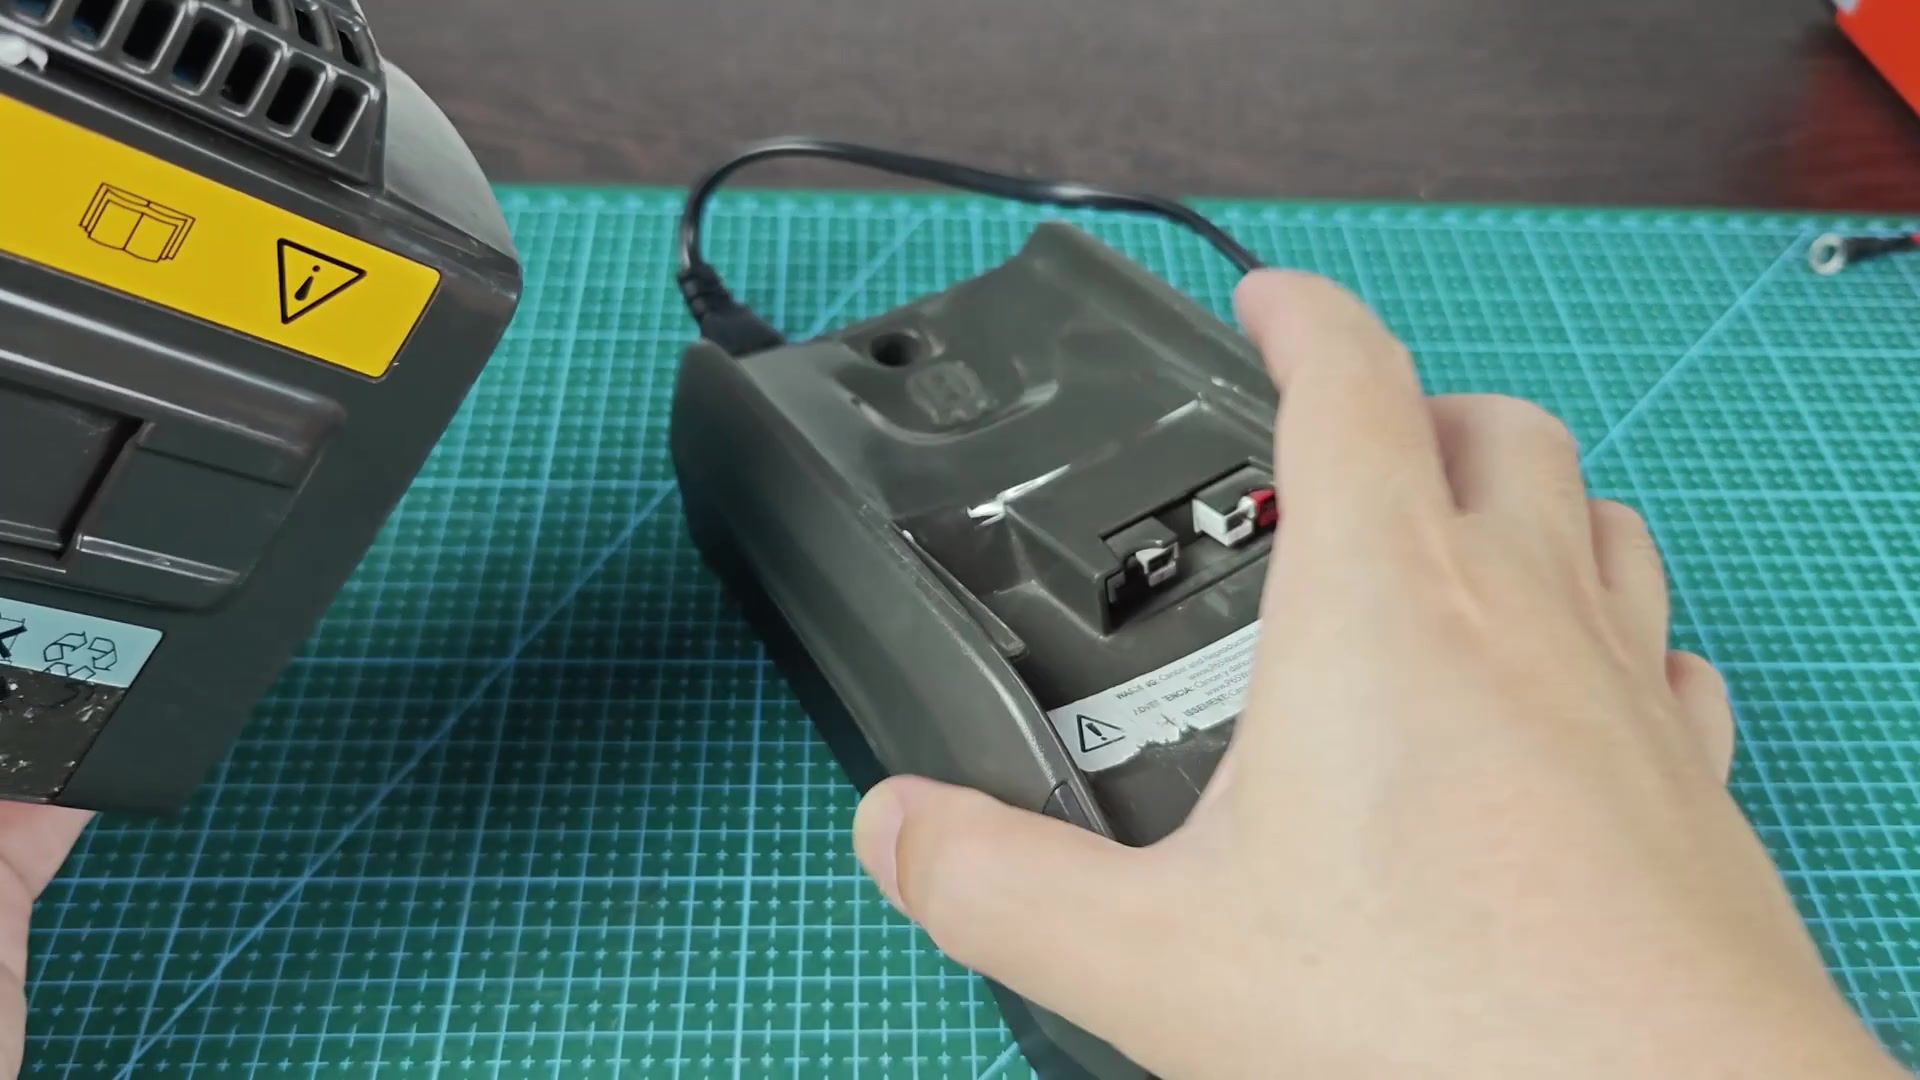
The first step in performing a charge reset is to determine the positive and negative terminals of each of the batteries. Each battery will have a connector that allow it to connect to the power tool and the charger. A closer look at the positive and negative terminals will reveal which is which.
I used a multimeter to test the voltage of the good battery. I measured the voltage at 38.76 volts. Good batteries in this range typically outputs 40 volts when fully charged. Thus, this battery was in good condition and ready for use in performing the reset.
Charge reset steps
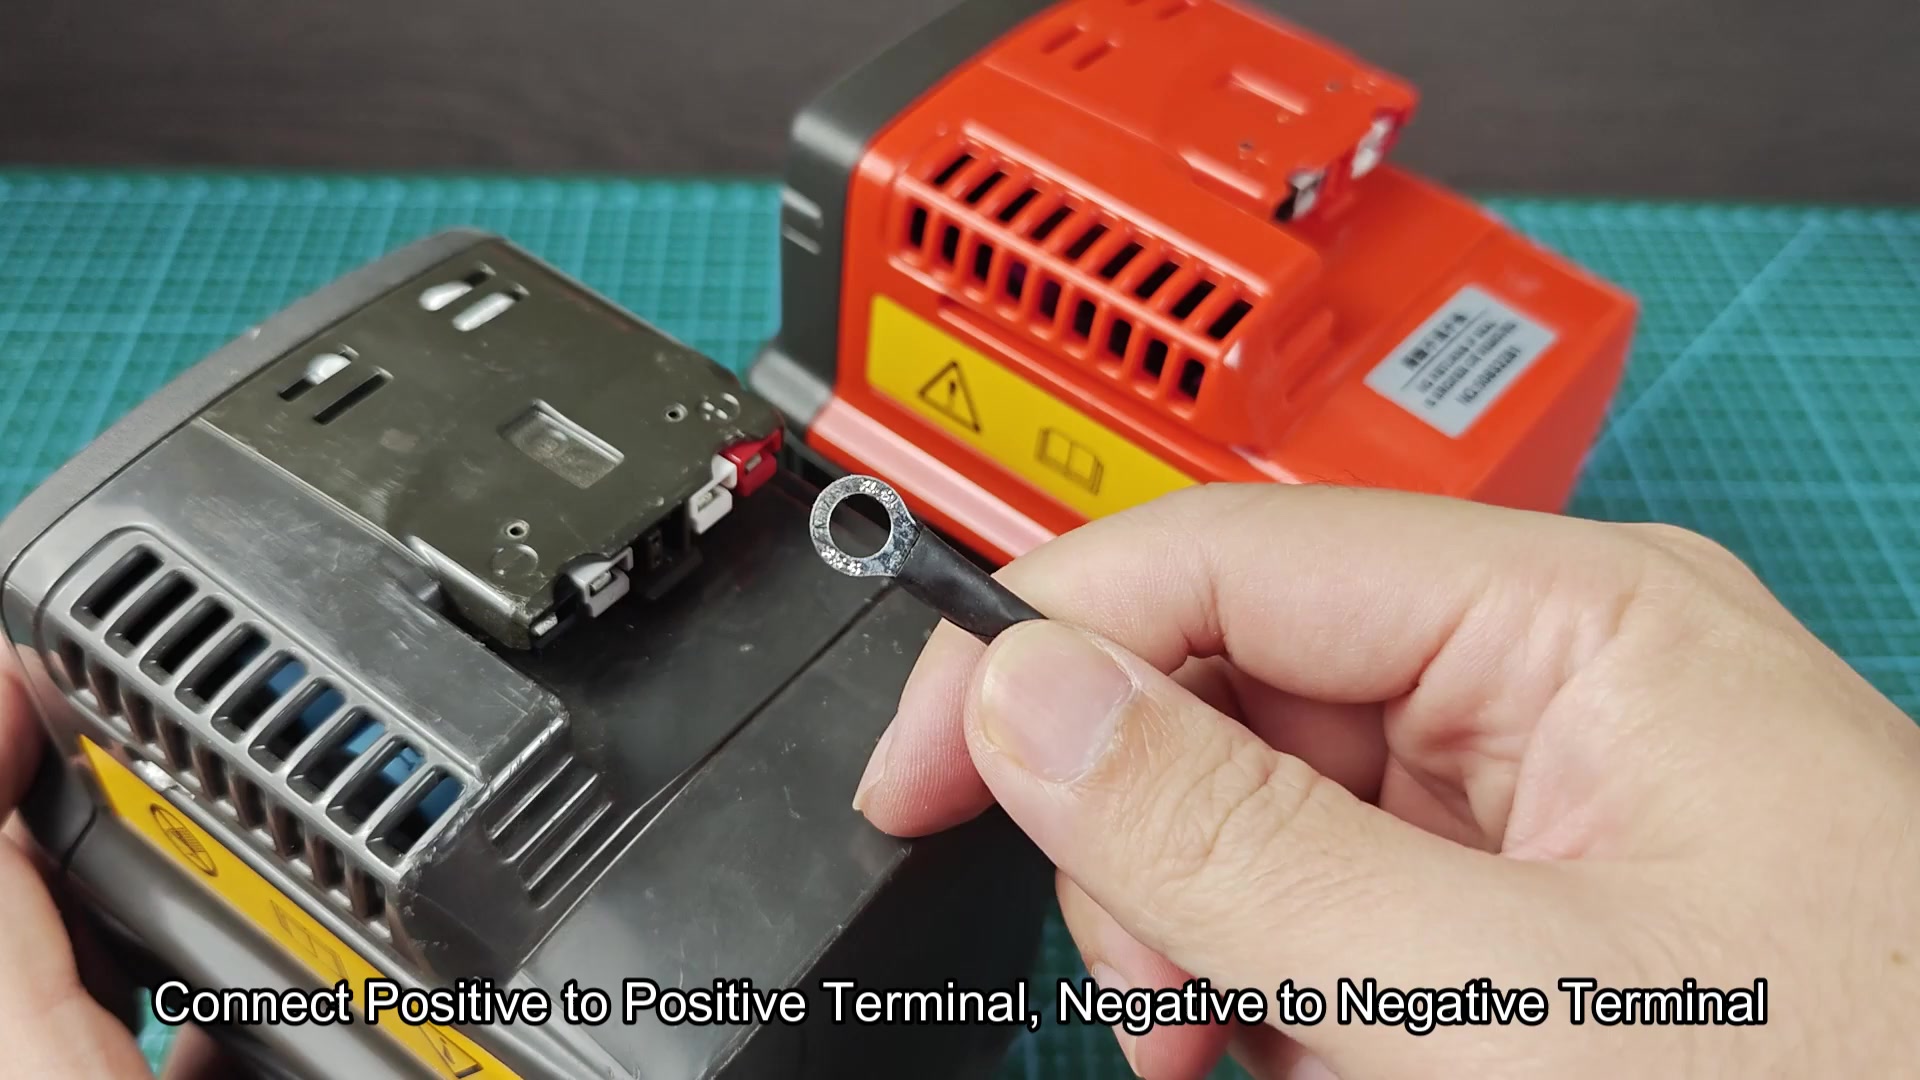
I placed both batteries on the workbench. I used a pair of wire leads with alligator clips attached to the ends of each lead. I positioned the positive lead from the good battery to the positive terminal of the dead battery. I also positioned the negative lead from the good battery to the negative terminal of the dead battery. Ensuring the correct positive and negative terminals was important to avoid damaging the battery.
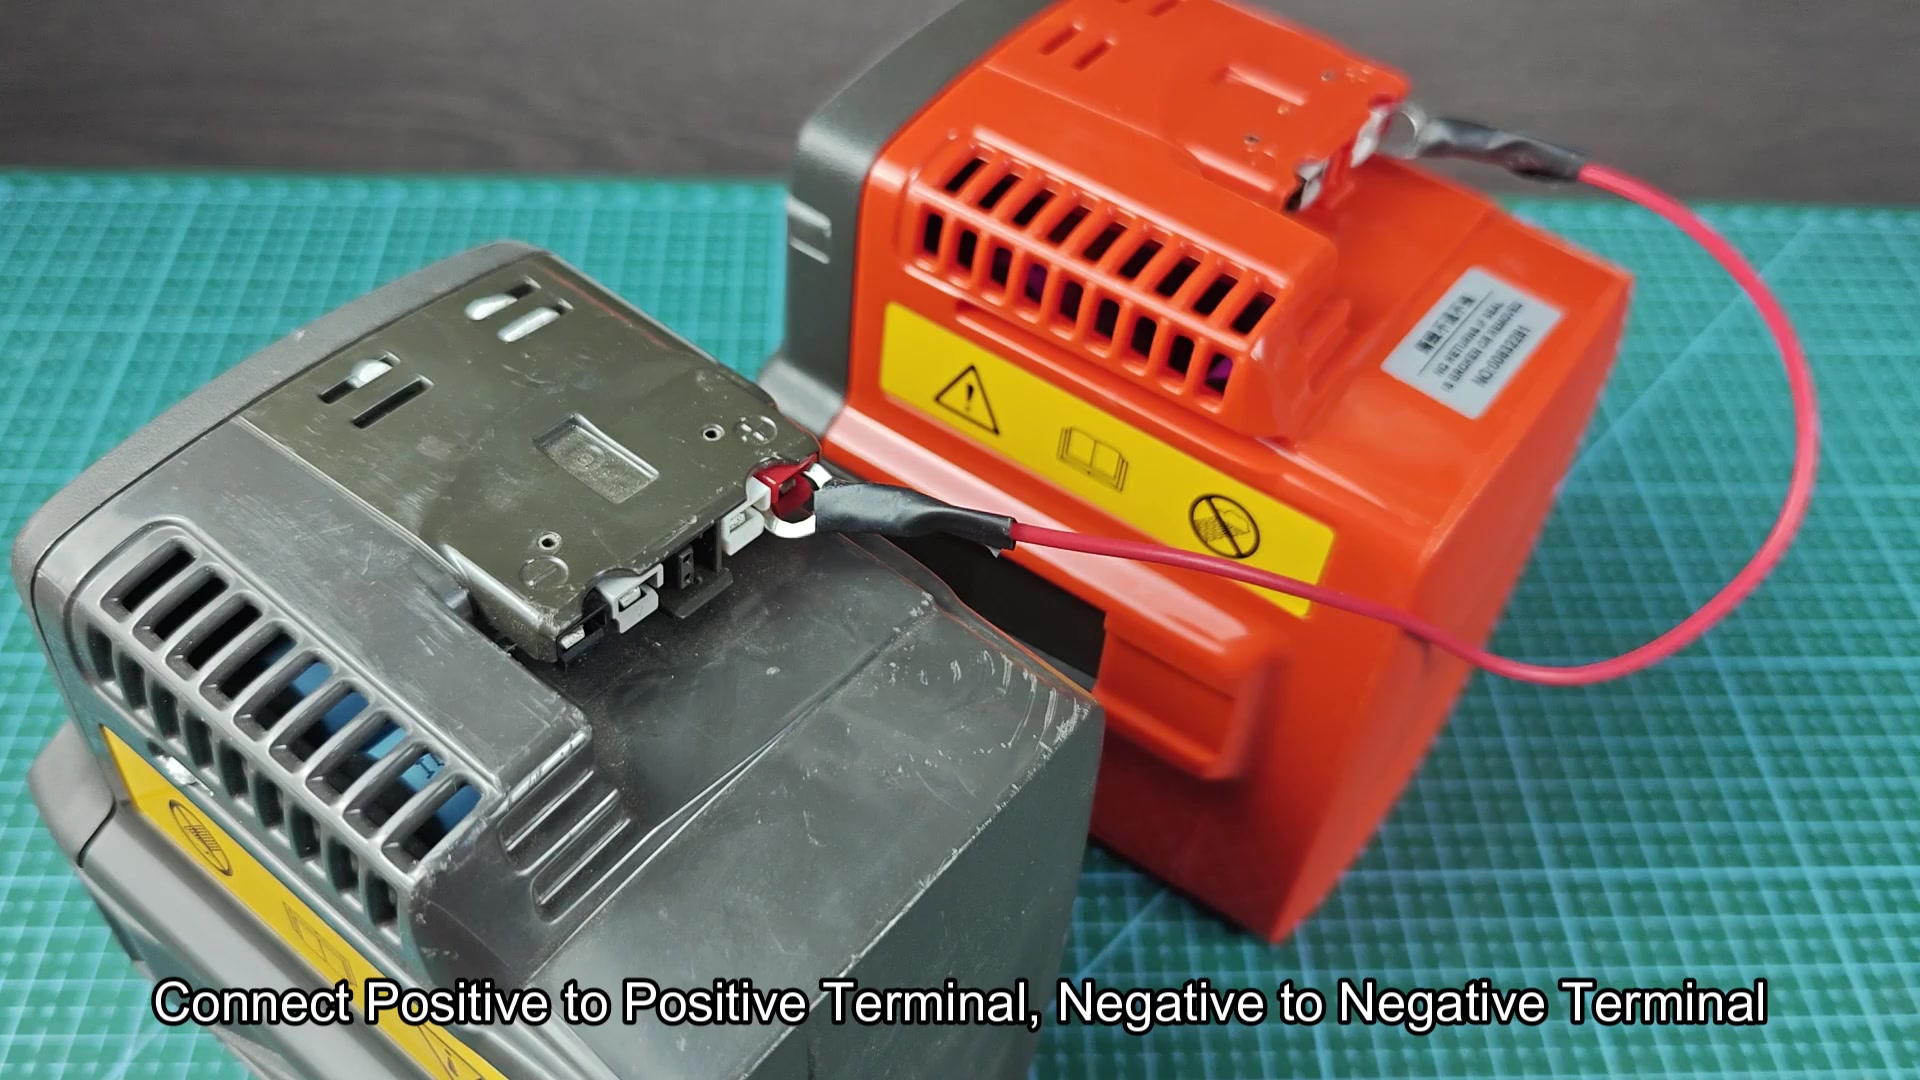
I clipped the leads into the positive and negative terminals of the batteries. I secured the leads into the correct battery terminals. The good battery was able to transfer some voltage into the dead battery.
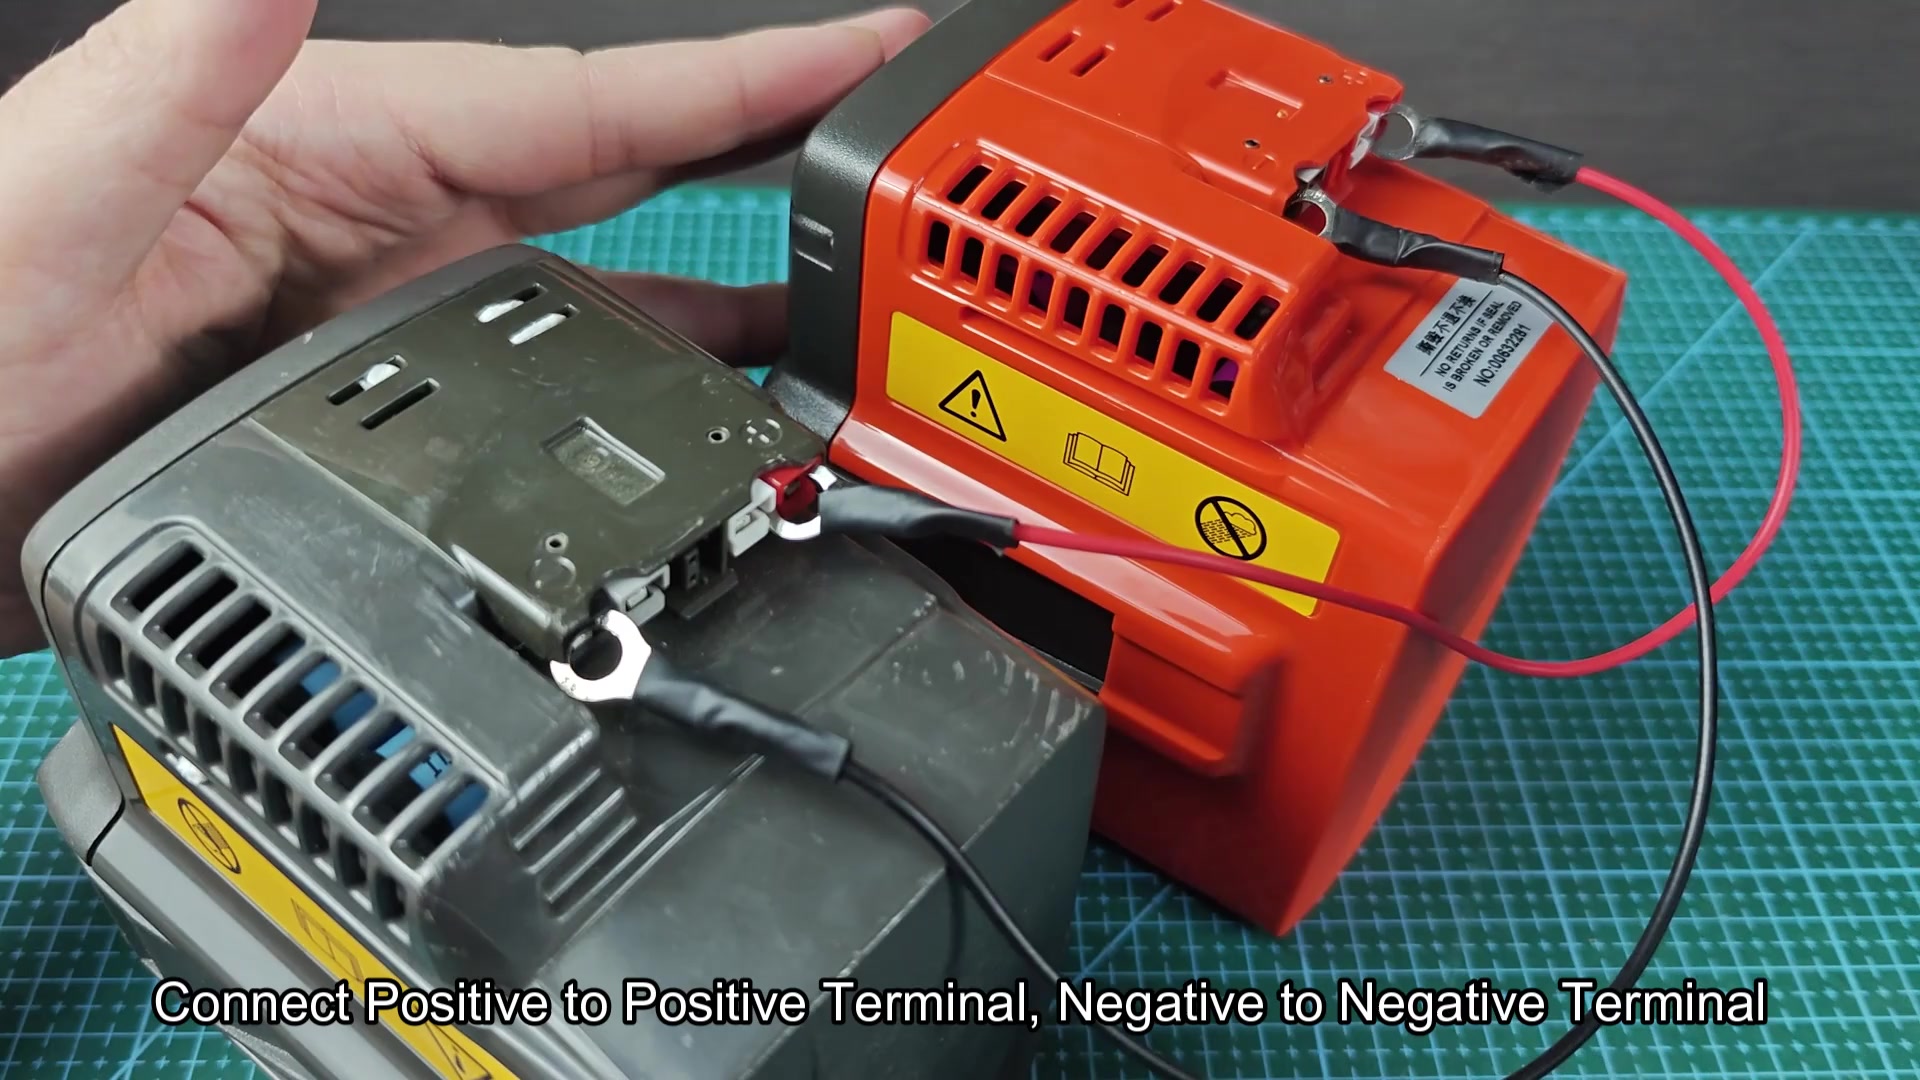
I allowed the batteries to remain connected for around fifteen seconds. It takes some time for the dead battery to absorb some of the charge from the good battery to exit its dormant state. Keeping an eye on the leads during this process will allow for immediate disconnect in the case of overheating of the dead battery.
I disconnected the leads from the batteries. I then placed the previously dead battery onto the charger. The charger was already plugged into power. I placed the battery onto the charger to see if it would help the battery come back to life.
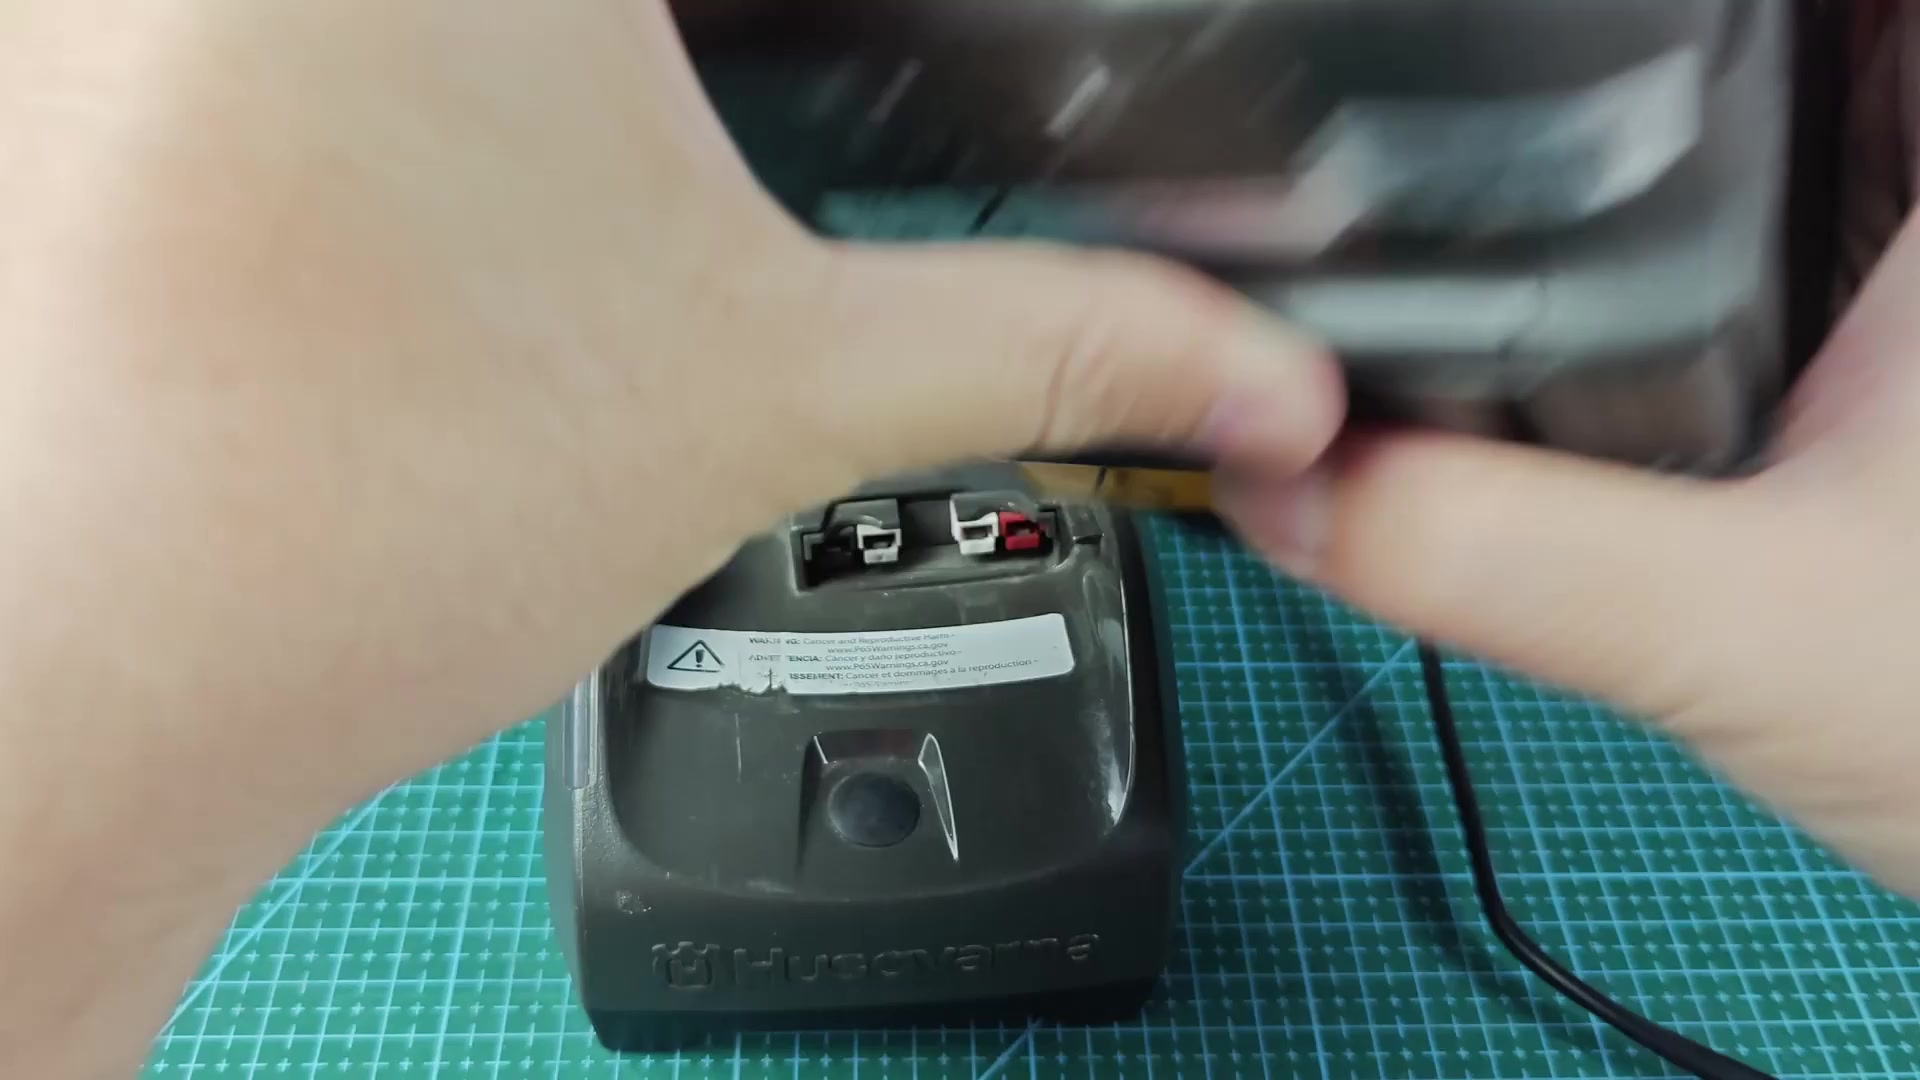
The batterys indicator began to show a solid green light. Finally! This means that the charger is recognizing the battery and accepting the charge. Furthermore, no more blinking red light means that the battery is accepting the charge and the cells is working propery.
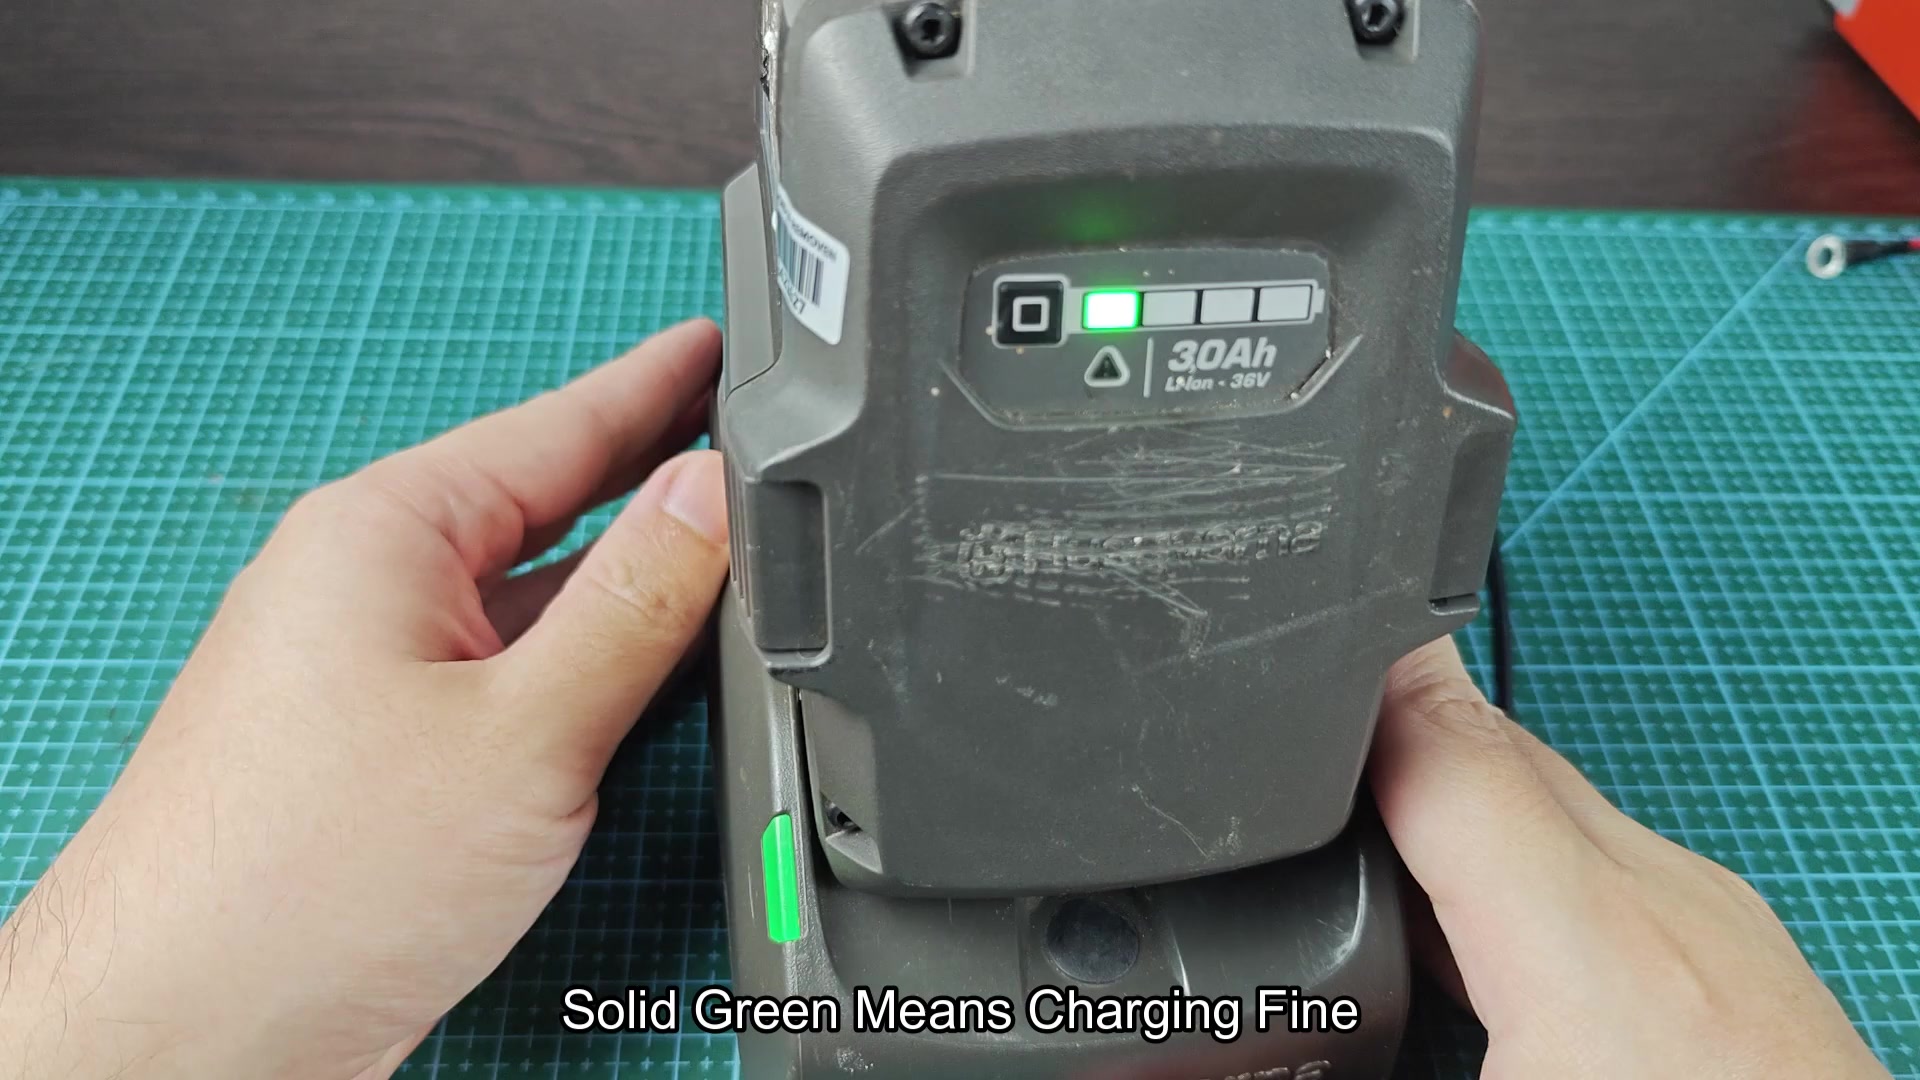
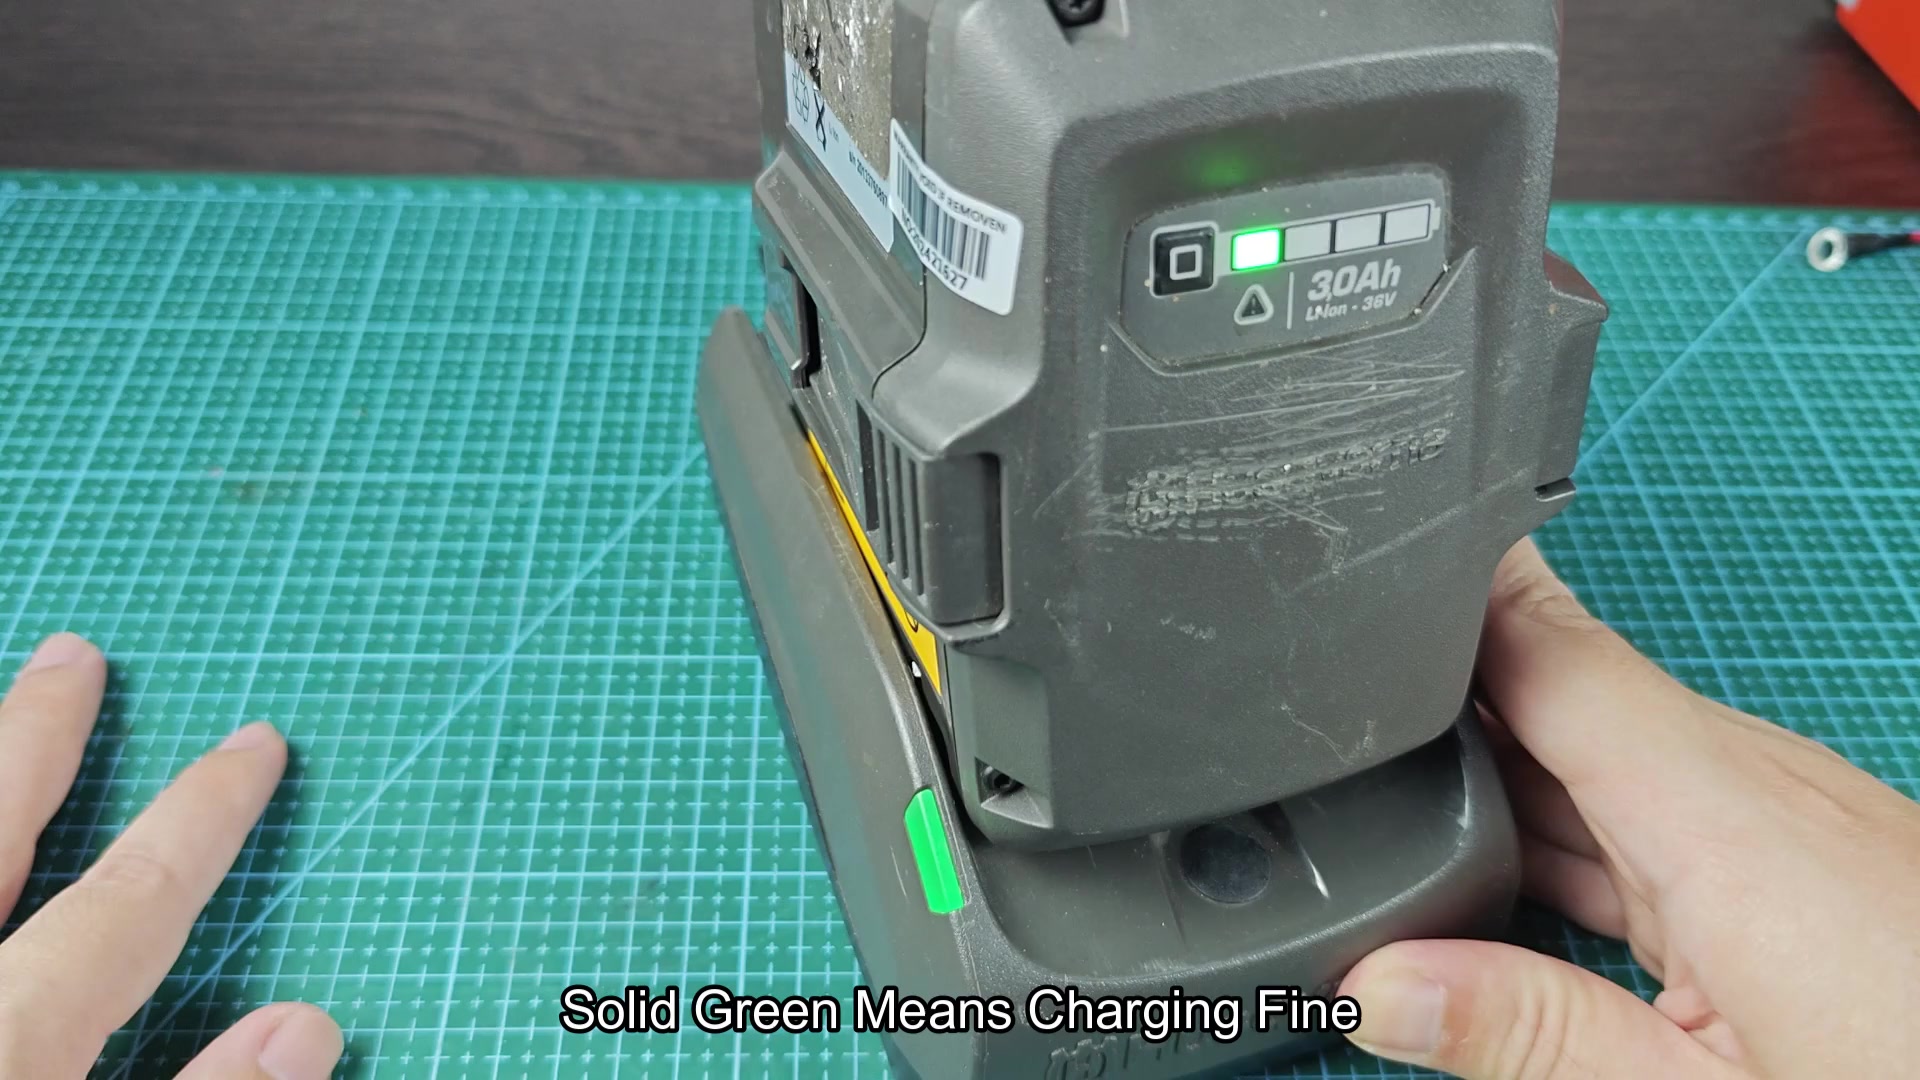
The indicator light remained green and the battery was charging. It took less than a minute to perform each of these steps. The battery that was nearly dead is now back to life and functioning proper. Furthermore, the charger is performing normaly with the battery and the battery holds it charge properly.
