Oil Finish Coverage Calculator
Estimate oil finish volume, wipe-off loss, per-coat use, cure batches, and waste reserve for furniture, floors, cutting boards, trim, and outdoor wood.
Coverage breakdown
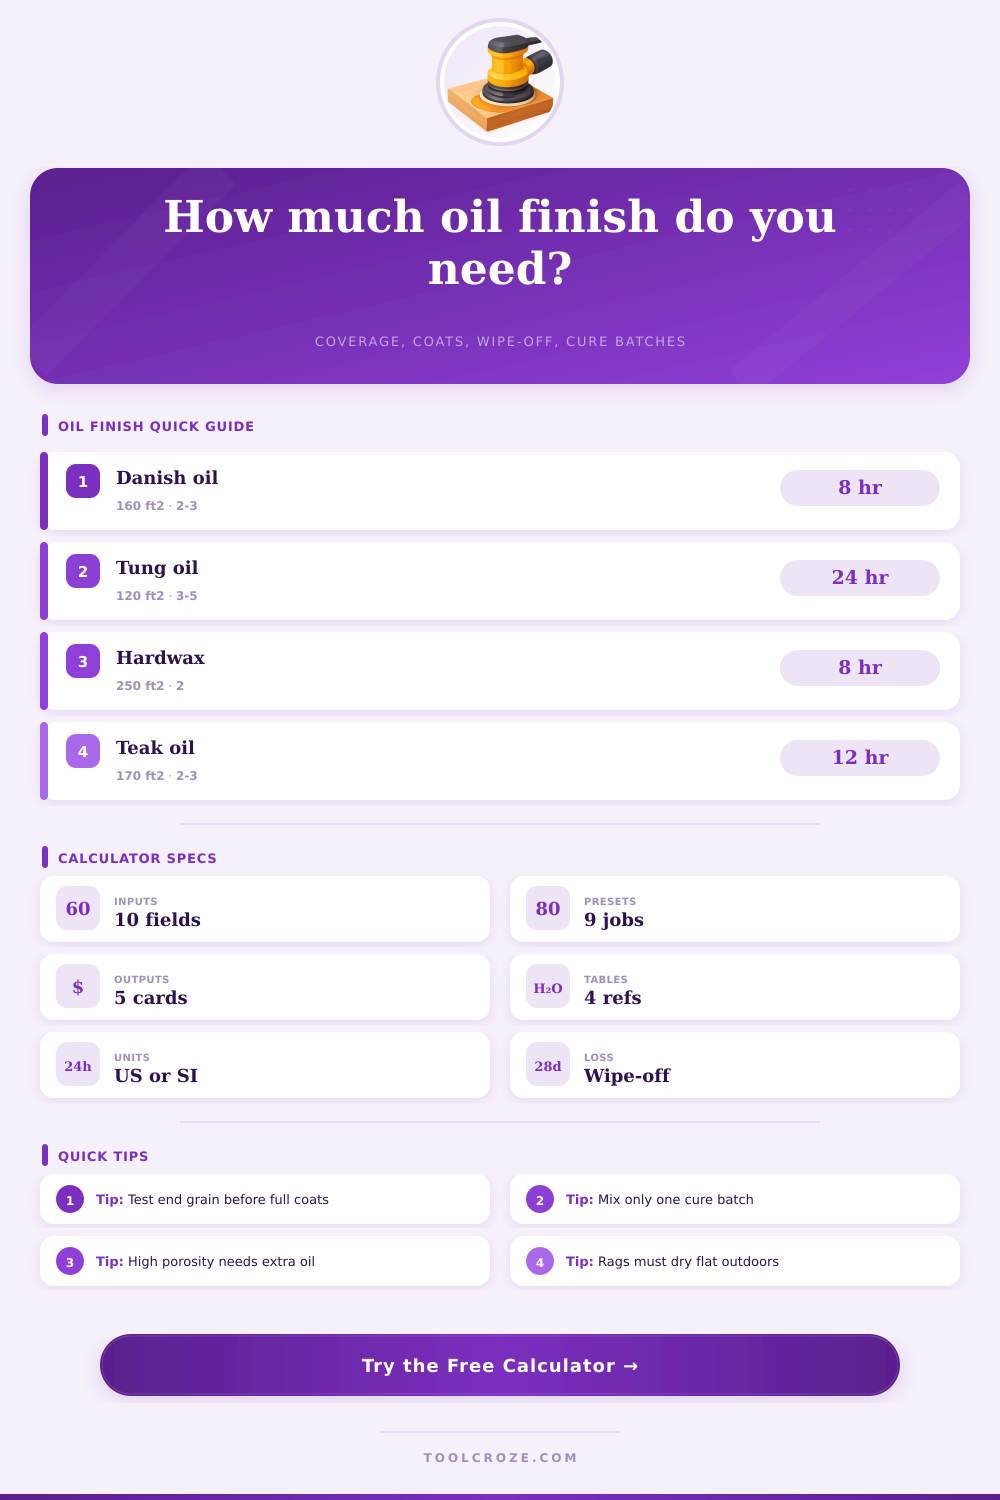
| Oil finish | Typical coverage | Usual coats | Recoat guide |
|---|---|---|---|
| Danish oil blend | 140-180 ft²/qt | 2-3 | 8-12 hours |
| Pure tung oil | 90-140 ft²/qt | 3-5 | 24 hours or more |
| Boiled linseed oil | 150-200 ft²/qt | 2-4 | 24 hours or more |
| Hardwax oil | 220-320 ft²/qt | 2 | 6-12 hours |
| Teak oil | 140-190 ft²/qt | 2-3 | 12-24 hours |
| Wood condition | Calculator factor | Common examples | Planning note |
|---|---|---|---|
| Tight grain | 0.85x | Maple, birch, cherry | Thin coats spread far |
| Medium grain | 1.00x | Walnut, pine, alder | Use label coverage |
| Open grain | 1.18x | Oak, ash, mahogany | First coat soaks more |
| End grain | 1.40x | Cutting boards, routed edges | Pre-wet test areas |
| Weathered | 1.55x | Outdoor, rough, thirsty boards | Plan extra reserve |
| Application method | Use factor | Wipe-off range | Best fit |
|---|---|---|---|
| Rag wipe-on | 1.00x | 25-45% | Furniture and small parts |
| White pad | 0.95x | 20-35% | Hardwax and tabletops |
| Brush | 1.08x | 30-50% | Trim, corners, carvings |
| Roller | 1.12x | 25-45% | Floors and broad panels |
| Spray then wipe | 1.18x | 35-60% | Slats, chairs, complex shapes |
| Preset project | Area | Finish | Batch plan |
|---|---|---|---|
| Dining table | 42 ft² | Danish oil | 18 ft² batches |
| Butcher block | 16 ft² | Mineral oil | 8 ft² batches |
| Oak cabinet | 65 ft² | Hardwax oil | 20 ft² batches |
| Cedar bench | 32 ft² | Exterior oil | 12 ft² batches |
| Boat trim | 24 ft² | Teak oil | 10 ft² batches |
Oil finishes exists between protection and appearance. Oil finishes sink into the wood rather than form a film on the wood’s surface. The amount of oil finish you require are based off the amount of oil finish that the wood can hold before you wipe away excess oil finish.
Even though many people choose to skip the calculation of the amount of oil finish that they will need when purchasing a quart of oil finish, calculating the amount of oil finish necessary for your project is a necessity to ensure that you have the proper amount of oil finishes for your project. The calculator will determine the amount of oil finish that your project will require once you enter the surface area of the project, the porosity of the wood, the type of oil finish, and the number of coat of oil finish you will apply. Additionally, the calculator determine the percentage of oil finish that will be wiped off the project, the amount of extra oil finish that will be kept for the tools that will be used to apply the oil finish, and the size of each batch of oil finish that will be prepared for the project.
How to Figure Out How Much Oil Finish You Need
The size of each batch of oil finish that will be prepared for the project is included in the oil finish calculator because preparing too large of a batch at one time may cause the oil finish to begin to tack before all of the oil finish can be applied and the surplus oil finish wiped away. Each of these variables is important to the calculation of the total amount of oil finish that will be required for your project. Porosity is one of the variables that many oil finish applicators may underestimate when oil finishing a project.
Porosity will determine how much oil finish the wood can absorb. For instance, wood species with very tight grain will absorb less oil finish than those with open grains. Additionally, the end grain of a project will absorb more oil finish than the flat surfaces of the same piece of wood.
In determining the amount of oil finish that will be required, the calculation of the total amount of oil finish that will be required will use a multiplier based on the porosity of the wood. This ensures that the amount of oil finish that is calculated reflect the experiences of seasoned woodworkers. If the porosity of the wood isnt accounted for in the calculation, either too much oil finish will be purchased for the project, or there will be insufficient oil finish to complete the project.
Another variable that may influence the amount of oil finish that is calculated is the method with which the oil finish will be applied. If you use a rag to apply oil finish to the project, the oil finish that is calculated will be less than if a brush or roller is used. Additionally, if you spray the oil finish onto the project followed by wiping the oil finish off the project, some of the oil finish will be lost during the spraying process.
Both of these variables will be accounted for in the oil finish calculation for the project. Another variable that should of been considered is the cure time for the oil finish coats. Oil finishes may require an eight-hour cure time to allow the oil finish to penetrate into the wood to react with the wood, or the oil finish may require a full day to cure.
The oil finish calculator will determine the total length of the oil finish schedule required for the project once you enter the minimum and maximum cure time between coats. The oil finish schedule will allow you to decide whether you will have to split the project into several days to complete each coat of oil finish, or whether you will have to prepare several small batch of oil finish to apply. Having small batches of oil finish prepared will ensure that you are not required to work with oil finish that begins to tack while you are working on the project.
The oil finish calculator will determine the percentage of oil finish that will be wasted during the oil finishing process. Some oil finish preparations will waste more oil finish than others. Additionally, oil finish may be applied to outdoor projects or rough-sawn lumber that will continue to absorb oil finish even after the initial wiping of the oil finish.
These percentages will be reflected in the oil finish calculation for the project. Due to the fact that most projects will not be the same as the specifications that are listed on an oil finish data sheet, it is likely that most real projects will have different types of wood on the same project. For instance, a walnut project may include both flat walnut panels and turned walnut legs.
Additionally, the wood patch on a wooden floor may take oil finish differently than new wood boards. While the oil finish calculator does not have the ability to see the specific type of wood that will be finished on the project, the oil finish calculator will provide a starting point from which to adjust the amount of oil finish that will be applied to the project. When using the oil finish calculator, try to only mix the amount of oil finish that you can apply and wipe away.
Ensuring that you have a measured reserve of oil finish that you can use for the tools will ensure that you do not waste oil finish. Additionally, using the reserve oil finish to test the first coat of oil finish on a piece of wood that is not part of the project will ensure that the results of the oil finish are consistent. This sequence supports the overall purpose and function of the oil finish calculator.