Oil Seal Size Calculator
Check radial oil seal size from shaft diameter, bore diameter, housing depth, lip type, pressure, shaft speed, temperature, material, and tolerance allowance.
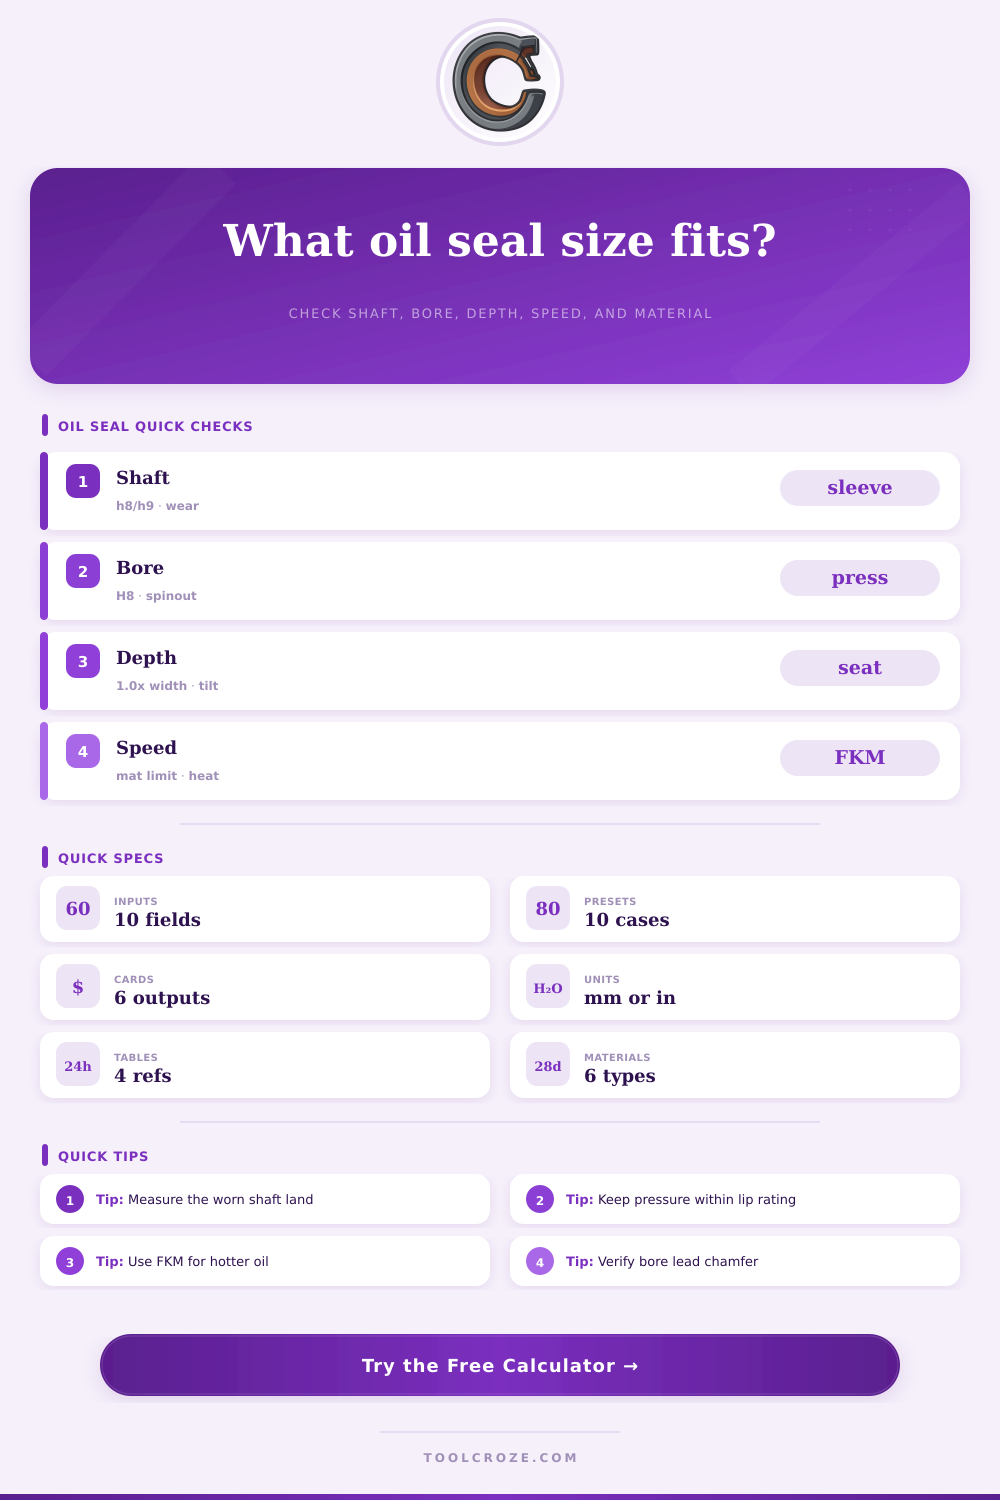
01 Seal Presets
Load a common shaft seal case, then adjust the measured shaft land, housing bore, depth, speed, pressure, and elastomer.
02 Seal Inputs
Calculation Breakdown
03 Seal Material / Spec Grid
04 Reference Tables
| Material | Typical temp range | Surface speed guide | Common use |
|---|---|---|---|
| NBR nitrile | -40 to 120°C | to 12 m/s | Gear oil, grease, hydraulic oil, general machines. |
| FKM fluoroelastomer | -25 to 200°C | to 20 m/s | Hot oil, fuel splash, higher shaft temperature. |
| HNBR | -30 to 150°C | to 15 m/s | Pressure, abrasion, and stronger dynamic duty. |
| ACM polyacrylate | -20 to 150°C | to 16 m/s | Automatic transmission and hot lubricant service. |
| Silicone VMQ | -55 to 180°C | to 10 m/s | Wide temperature but light pressure and low wear. |
| PTFE lip | -70 to 230°C | to 30 m/s | High speed, dry start concerns, chemical exposure. |
| Lip type | Typical marking | Pressure guide | Best application |
|---|---|---|---|
| Single lip | SC / BA | 0.3 to 0.5 bar | Oil retained inside a clean housing. |
| Double lip | TC / BASL | 0.3 to 0.5 bar | Oil retention with outside dust exclusion. |
| Garter spring | Spring loaded | 0.5 to 0.8 bar | Better lip force on moderate wear or runout. |
| Pressure rated | HP / BABSL | 1 to 3 bar | Vented housings that still see light pressure. |
| Cassette seal | Unitized | 0.5 to 1 bar | Mud, wheel hubs, and dirty exposed shafts. |
| PTFE lip | PTFE / Teflon | 0.5 to 2 bar | High speed and broad chemical compatibility. |
| Fit feature | Common tolerance | Planning clearance | Design note |
|---|---|---|---|
| Shaft land | h8 or h9 | Smooth running fit | Keep wear groove, burrs, and runout below seal limit. |
| Housing bore | H8 | OD press fit | Metal case OD usually needs a clean chamfered bore. |
| Rubber OD | H8 bore | Higher grip | Useful for light scratches, split housings, and sealing OD leak paths. |
| Axial depth | Width + 0.5 mm | Seat below face | Leave room for lead-in, retaining washer, or shoulder radius. |
| Shaft finish | 0.2 to 0.8 Ra | No spiral lead | Polish direction matters; helical grind marks can pump oil. |
| Thermal growth | Case dependent | Check hot fit | Aluminum housings may loosen more than steel bores. |
| Nominal format | Example size | Typical width | When to review |
|---|---|---|---|
| Metric rotary seal | 25 x 47 x 7 | 7 mm | Good compact gearbox and motor seal size. |
| Metric heavy lip | 40 x 62 x 10 | 8 to 10 mm | Use when dust lip, spring, or deeper shoulder is needed. |
| Inch rotary seal | 1.000 x 1.750 x 0.250 | 0.25 in | Check catalog OD and shaft tolerance before ordering. |
| Cassette seal | 60 x 85 x 13 | 10 to 15 mm | Confirm installation sleeve, mud lip, and hub shoulder. |
| PTFE lip seal | 35 x 52 x 7 | 7 to 8 mm | Review installation direction and dry startup lubrication. |
| Repair sleeve setup | shaft + sleeve | catalog match | Recalculate after sleeve OD, not original worn shaft. |
05 Tips
This oil seal size calculator estimates seal format, radial wall, width fit, surface speed, pressure margin, and material suitability from practical shaft and housing inputs.
Selecting an correct oil seal size is a necessary task for any assembly or overhaul of machinery. If the oil seal is too loose for the shaft and housing bore, it will leak under load. Similiarley, if an oil seal is too tight for the shaft or the housing bore, it will overheat and potentially damage the shaft.
The oil seal must have a precise fit to both the shaft and the housing bore. However, the actual diameter of the used shaft may not correspond to a drawing that was used to create that shaft. Additionally, the housing bore may have changed over time due to variations in machining tolerance.
How to Choose the Right Oil Seal Size
The oil seal size calculator uses the shaft and housing bore diameter, depth, rotational speed, and temperature to compute the proper oil seal size without requiring the user to guess at the suitability of a standard catalog size for there machine. The first measurement that you must take when sizing an oil seal is the diameter of the shaft. The lip of the oil seal must ride on a polished land on the shaft; the shaft must therefore be measured at that zone of contact with the seal.
The diameter of the shaft may wear over time, especially if repair sleeves is installed. The calculator uses the shaft diameter to compute the surface speed of the rotating shaft. Higher speeds produce more friction heat at the lip of the oil seal; the material of the oil seal must be able to handle the temperature created by the required surface speed.
The diameter of the housing bore determine the outer diameter of the oil seal. Additionally, the housing bore determines the amount of radial wall thickness of the housing that will be available for the oil seal. If the radial thickness is too little, the oil seal case may distort during installation into the housing bore.
If the radial thickness is too great, it may be difficult to install the oil seal into the housing bore without forcing the case. The calculator compares the diameter of the housing bore to the diameter of the shaft to calculate the radial wall thickness available for the oil seal. Additionally, the calculator compares the radial wall thickness to the depth of the housing bore to ensure that there is enough axial depth in the housing to install the oil seal case.
Other factor to consider when determining the size of an oil seal are the lip style and the internal pressure. Oil seals with single lips are generally used to contain oil within enclosures with near-atmospheric internal pressure. Under higher internal pressures, a single lip may lift from the enclosure and lead to leaks in the oil seal.
A double-lip oil seal has an extra lip on the outside of the seal to exclude dust and other particulates from entering the oil seal. However, a double-lip oil seal takes up more axial space than a single-lip seal. Pressure-rated lips and cassette seals can handle higher internal load ratings than single-lip seal.
However, the higher load ratings of pressure-rated lips and cassette seals require that the lip force exerted on the enclosure be greater, which creates more heat within the oil seal. The calculator will adjust the margin for pressure based on the type of lip and the elastomer so you can see if the lip and elastomer are within the safe limits for the application. Temperature and speed are not separate choices; instead, they work together to impact the seal.
For example, a seal may be able to handle 150 degrees with ease at a slow shaft speed. However, if that same seal sits in place on a component that heats up to where the seal reaches 150 degrees and does not have a way for the heat to escape the seal, the seal can crack due to the heat buildup. The tables show the typical temperature ranges for the elastomers.
However, those temperature ranges all assume that the shaft finish and lubrication for the seal are proper. In many cases, the actual operational conditions for the shaft can be much more different than expected. For example, there may be dry starts for the shaft or there may be abrasive particle in the environment that can impact the shaft.
If the heat index for the application is too high, the calculator will alert the user to consider a different seal material or lip design. The tolerances will help determine the runout for the seal. For example, if the housing bore and shaft are standard sizes (H8 and h8), they will provide a reliable press fit for most steel components.
For aluminum components, a looser allowance is required to provide enough grip for the seal lip. The calculator will adjust the grip and runout based on the tolerance choice. These choices will help explain the difference in performance of the same nominal size on two different machine.
Most of the time, people make mistake using the seal calculator. For example, they may measure the wrong surface on the component. It is common for people to take the measurement of the shaft at the end of the component rather than where the lip should track on the component.
Another common mistake is to use the temperature from the original drawing of the component rather than the actual running temperature of the seal. Lastly, many people think a larger seal is always a better seal. While this is true to a point, a wider lip will only help if there is enough depth to the housing to allow the seal to accommodate the width of the lip without allowing it to bottom out against the housing end.
Ultimately, your decision on the type of seal to use should be based off the actual operating environment of the component rather than the ideal operating environment depicted on the engineering drawing. After you enter all the dimensions for the component and after the calculator informs you of the nominal size, the pressure status, and the material check, you must consider the finish of the shaft and the method of installing the shaft and seal into the component. Furthermore, you must decide if using a wear sleeve is a better option than replacing the shaft.
These types of details will ultimately determine the lifespan of the seal that you select for your component.