Over the years, I have tried many appliances to keep my lawn in shape and Ryobi devices have been my trusted, go-to choice for it.
They are easy to handle, reliable and give a great battery backup which makes it easy for me to work in shifts on my off-days.
These devices come with their 40V battery and a charger which is easy to plug in and portable for a clumsy person like me to organize and it hardly ever gives me an issue with charging.
Yesterday though, when I put the battery to charge, the display kept flashing red and green lights showing an error.
I also made a short video about this topic and I uploaded it on my YouTube channel but you can also watch it down below.
On the video I showed how you can fix a Ryobi 40V battery that’s not charging in three ways: resetting the battery, jumpstarting the battery, and replacing a faulty cell.
3 Ways to Fix Ryobi 40V Battery Not Charging
Here’s how I did the troubleshoot and fix for the issue, follow along if you ever face the same error with your Ryobi battery:
1. Reset the Battery
This is what my first thought was, to reset the battery using the RST pin and try charging again.
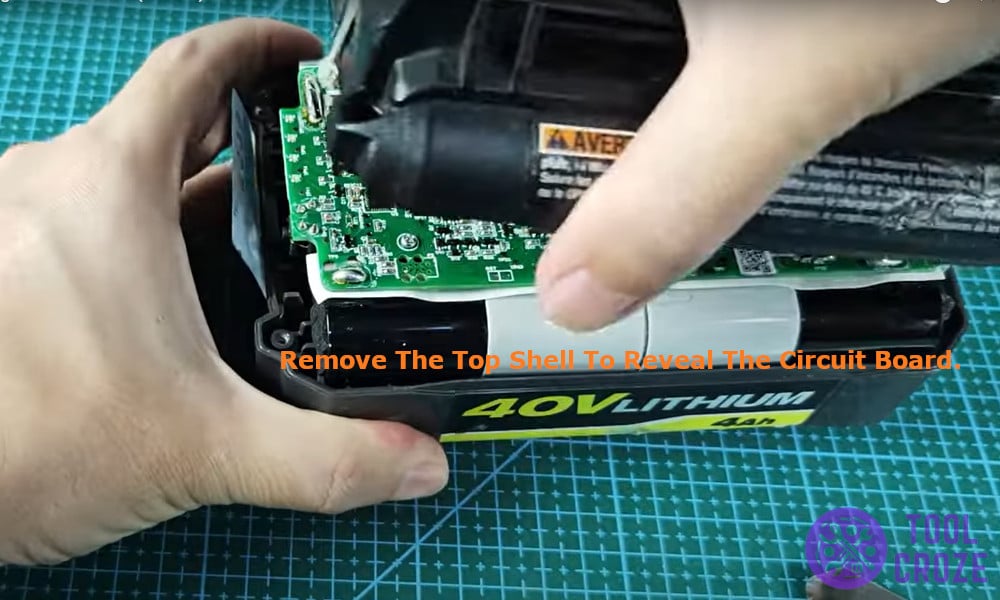
To do that, I started by unscrewing the screws on the shell of the battery and carefully taking off the plastic label on the side to remove the top shell to reveal the circuit board.
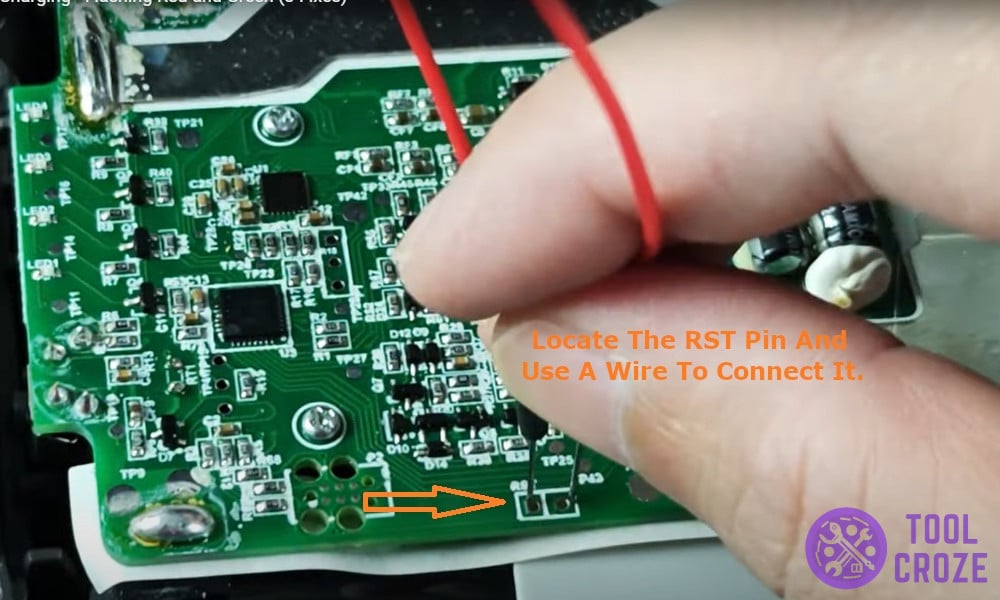
Next I located the RST pin and used a wire to connect it before pressing the back button on the side. All 4 green lights lit up which meant that the reset was complete.
After resetting, I put back the shell on and tried charging it again and exactly as I expected, the battery started charging again.
My battery was an old model so the RST pin was present on the circuit board, this trick might not work on the new models with no reset pin.
Related: How I Troubleshooted Ryobi 40V Charger Itself Not Working?
2. Jump Start the Battery
The reset method did the trick for me and fixed the charging issue with my Ryobi battery. If that fix did not work for you or you have a newer model with no RST pin, don’t worry I have another trick for you.
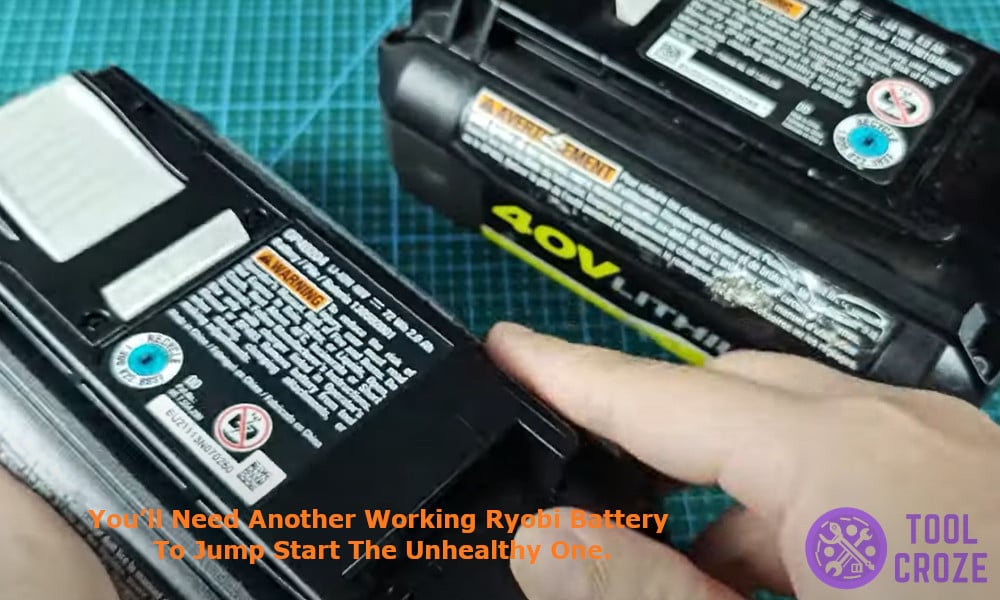
To do that you’ll need another working Ryobi battery to jump start the unhealthy one. Connect the two batteries using jump wires, positive to positive and negative to negative, and let it transfer charge for a minute before plugging it in to charge again.
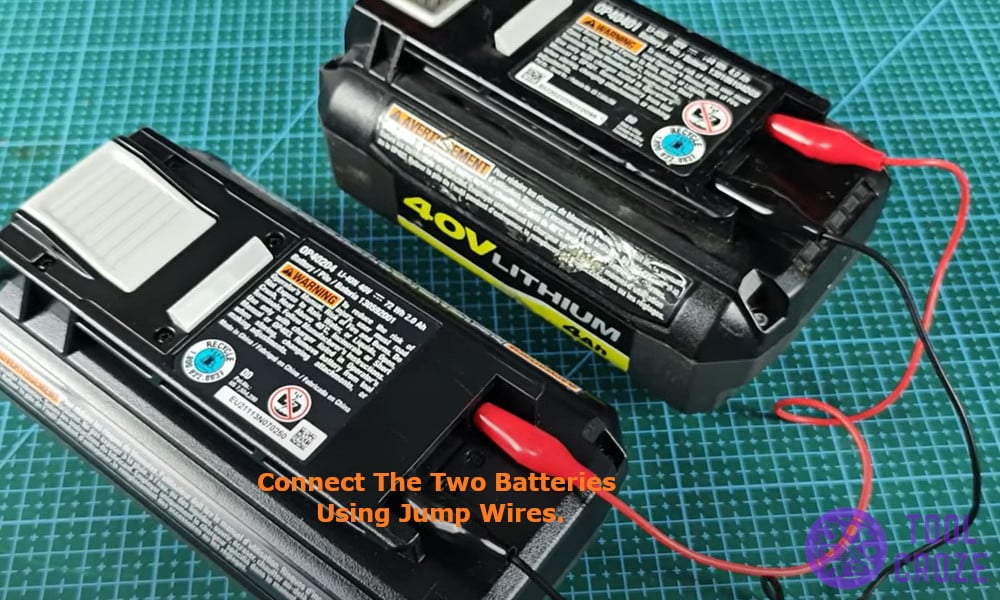
This should fix the flashing red and green light issue for your Ryobi battery.
3. Replace Individual Faulty Cell
This method is a bit technical but it worked on an old leaf blower battery that died out on me a while back.
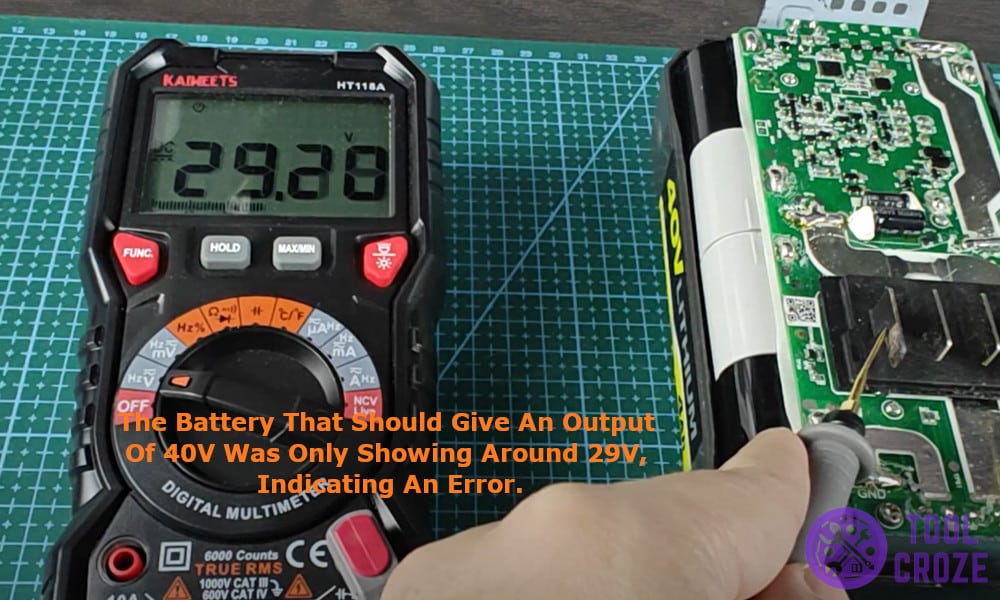
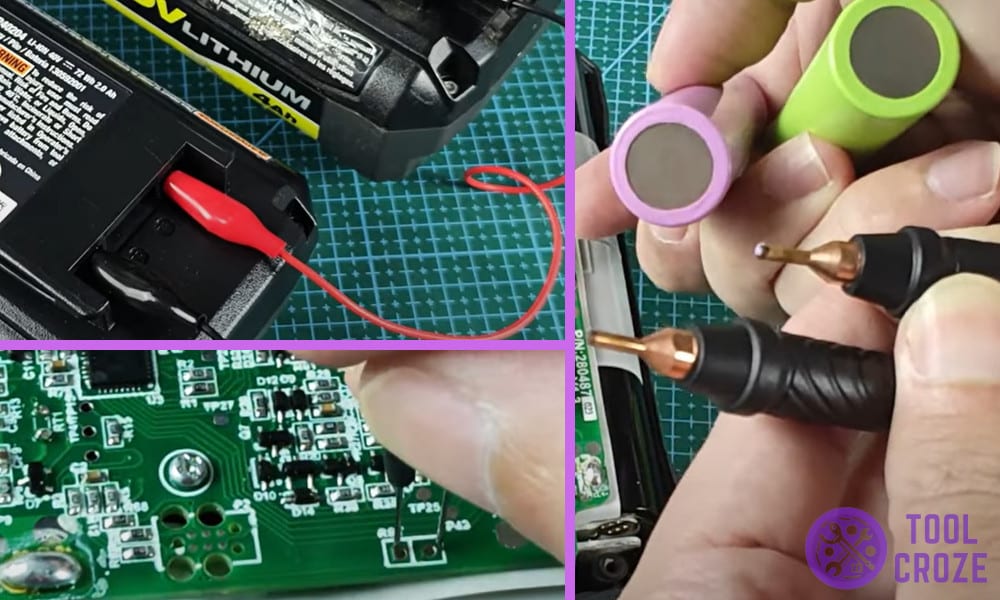
Sometimes, the individual cells on the circuit are just too dead and cannot be revived. In my case, the battery that should give an output of 40V was only showing around 29V, indicating an error.
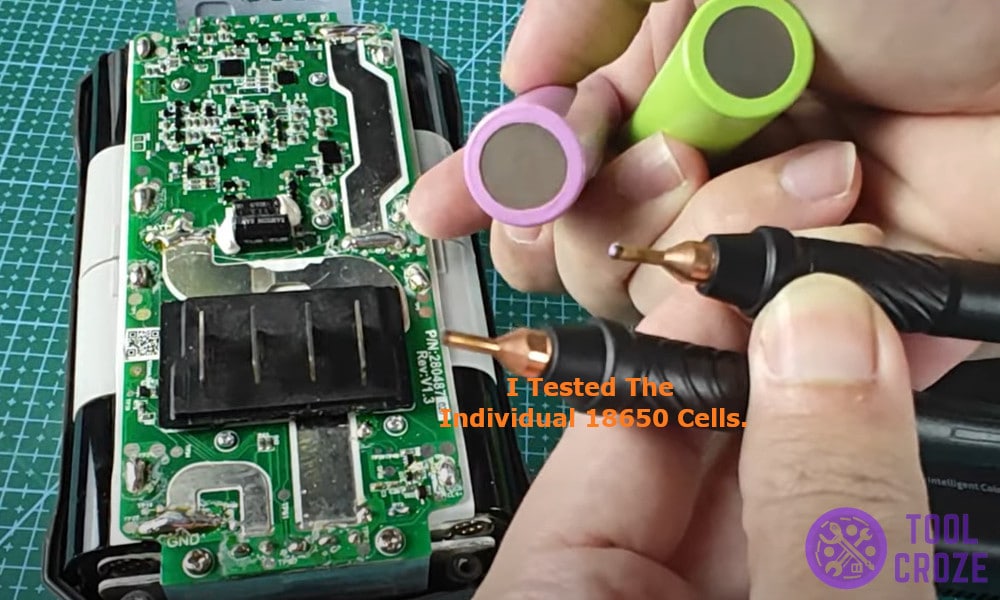
I tested the individual 18650 cells one by one and found out that one of them was faulty. Now the tricky part is that you need a spot welding machine to join the replacement batteries together.
After joining the fresh cells to the battery, I put the battery back to charge again. It took a longer time for the red light to change to green but the battery got a new life again.
