The other day I put my Black & Decker battery to charge after a day of trimming down my lawn like I usually do but it just did not start charging.
Normally, when I put the battery to charge it takes a few seconds to show a blinking green light that shows the battery is charging, but this time, as soon as I plugged it in it started blinking a red light on regular intervals.
At first, I thought it was a charger issue but after reading through the manual, I found out that it was a battery issue and the battery needed to be reset somehow.
I also have a short video about this topic which you can watch first before you continue reading this article. You can watch it below.
On my video, I demonstrated how you can this battery by: using another healthy battery, a similar battery from another brand, and a DC power supply.
3 Ways to Reset Black & Decker 36V/40V Battery
These are the methods I tried to reset the battery:
Reset using another Black & Decker battery
The first method I tried was jump starting the dead battery using another good conditioned Black & Decker 40V battery.
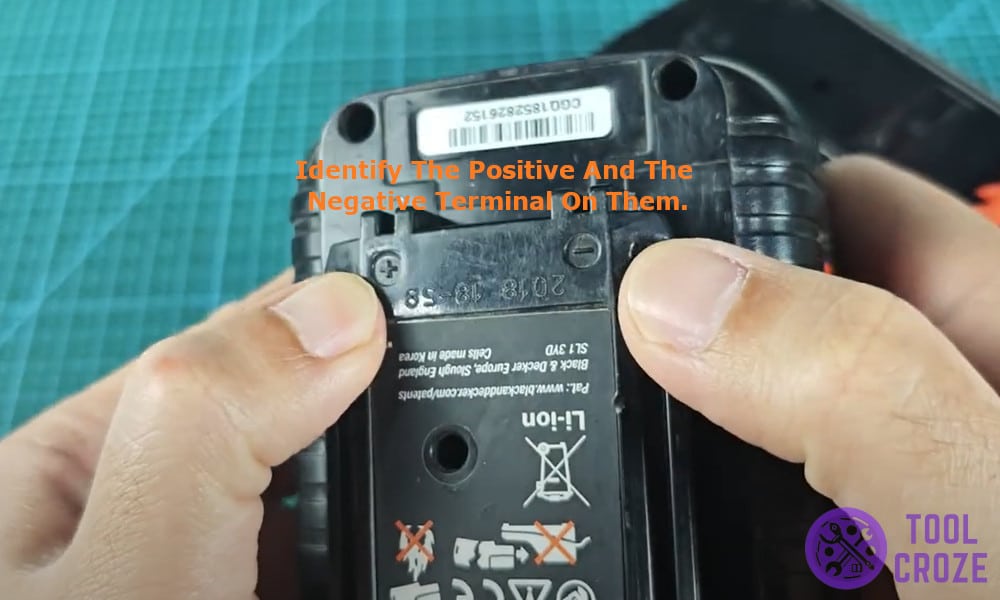
To do that, I started by identifying the positive and negative terminals on the two batteries and connected them using jumper wires, positive to positive and negative to negative.
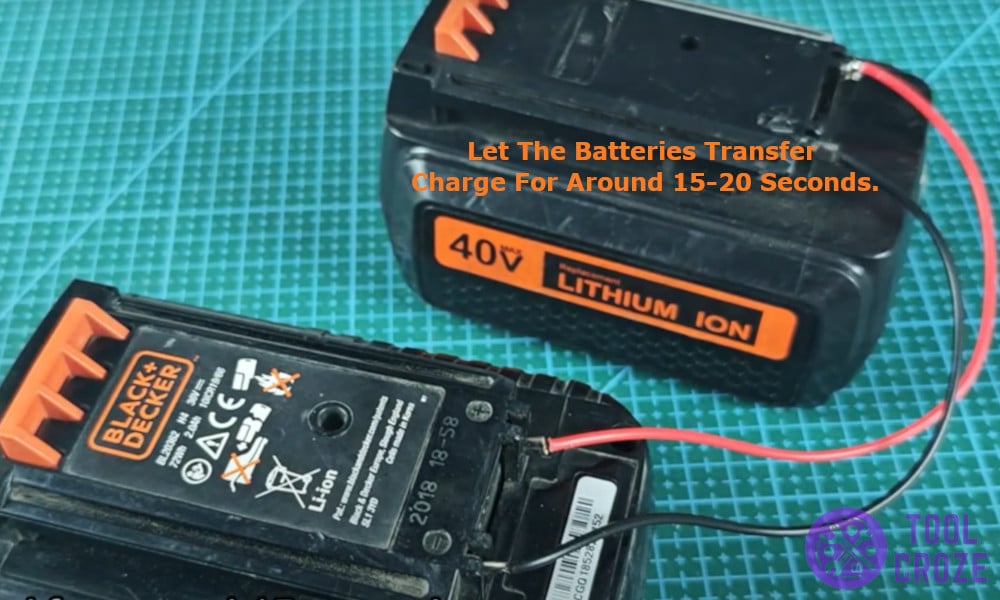
After setting up the connection, I let the batteries sit like that and share charge for a while for around 15 seconds. Remember that this manual jump start can sometimes be dangerous, so disconnect the batteries immediately if they melt or smoke.
Next, I disconnected the wires and popped the old battery back into the charger and it started charging again just as I expected.
I also have a short video about this topic and you can watch it below.
Reset using other 36/40V battery
The first method worked out for me, but if you don’t have another Black & Decker battery laying around, don’t worry I have another fix you can try: resetting using a 40V battery from another company.
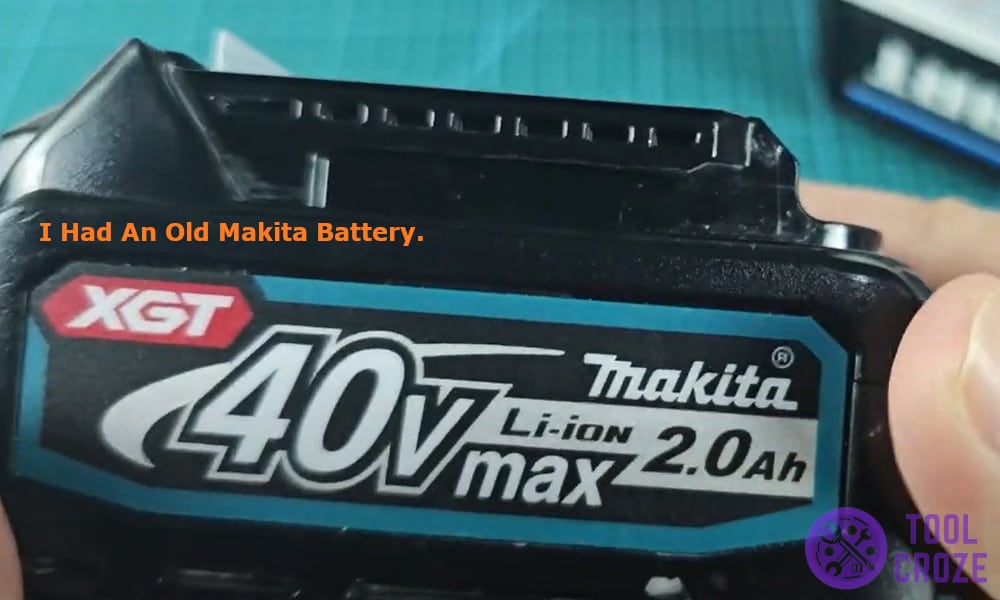
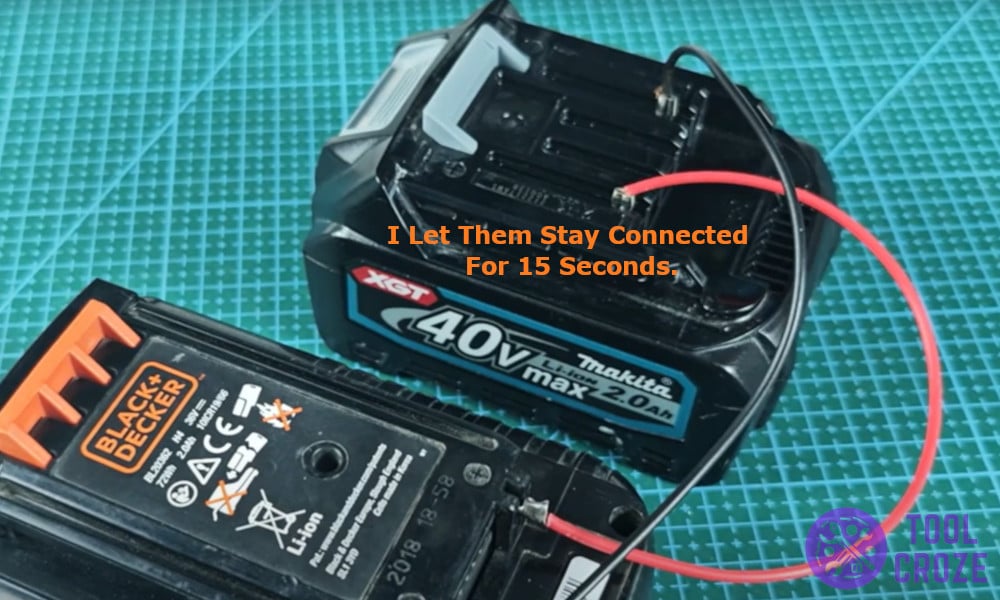
I had an old Makita battery laying around so I used that to try this method.
Just like before, I started by identifying the terminals on both the batteries and connecting them using jumper wires, positive to positive and negative to negative.
I let it stay connected for 15 seconds while keeping a close eye to make sure it does not spark or smoke and that jumpstart was enough to power the battery back on.
So even if you don’t have another Black & Decker battery, you can still save your dying battery.
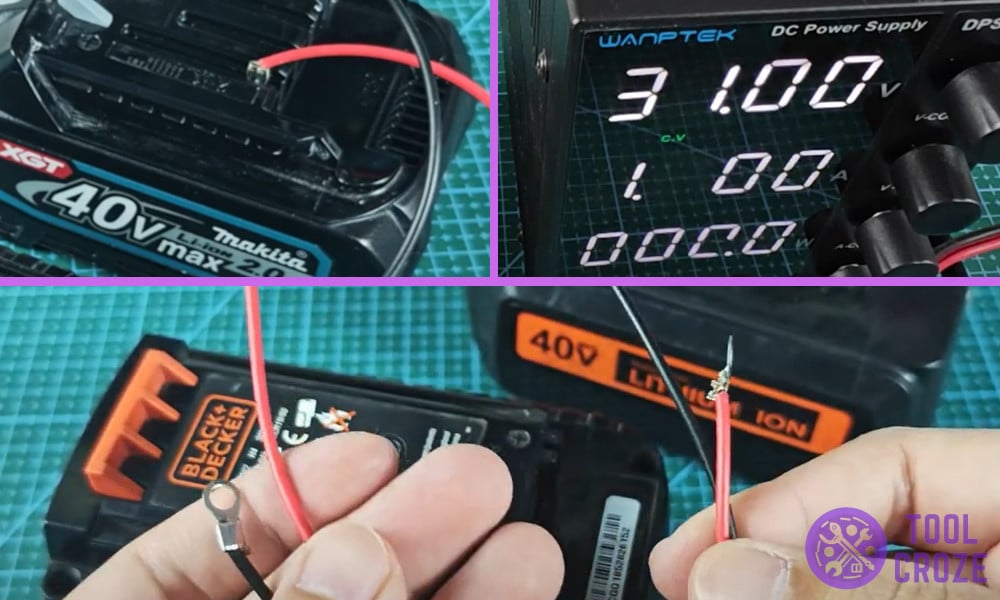
Use a DC power supply
If none of the battery methods work for you or you don’t have another working battery laying around, you can try this method that uses a DC power supply.
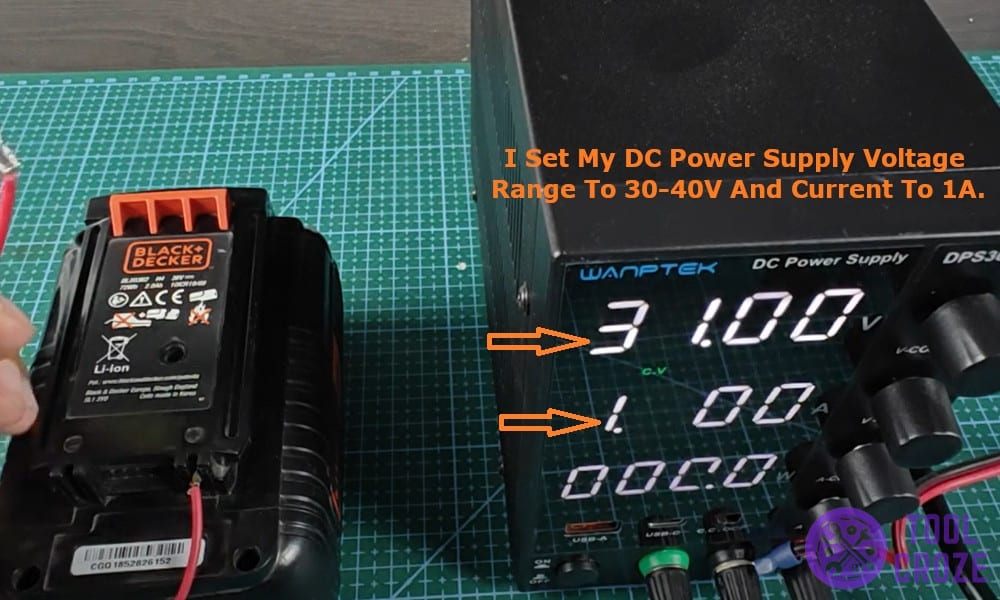
I tried it once with an old 12V battery, I set my DC power supply voltage range to 30-40V and current to 1A. Next, I connected the jump clips from positive to positive and negative to negative and like before, let it stay connected for about 15 seconds.
Once done, I tried plugging the battery back into the charger and it started showing a blinking green light, meaning that the battery is charging again.
