My front yard has always been very messy, the grass is never properly trimmed and I always delay the trimming of the grass but as the weather is getting better I decided to change my bad habits and clean my front yard once and for all.
I grabbed my favorite Milwaukee string trimmer and got to work but for some reason the “grass gods” decided to stop me.
I also made a short video about this topic which I uploaded on my YouTube channel but you can also watch it below.
On the video, I demonstrated how I fixed this issue by checking the safety lock, checking if the trigger is faulty, and by using a multimeter to test the trigger.
3 Ways to Fix Milwaukee String Trimmer Trigger Not Working
The trigger on my string trimmer got stuck and the trimmer did not work at all until I decided to fix it and I came up with some fixes that can help you fix your trimmer too.
1. Check if the Safety Lock Works or Not
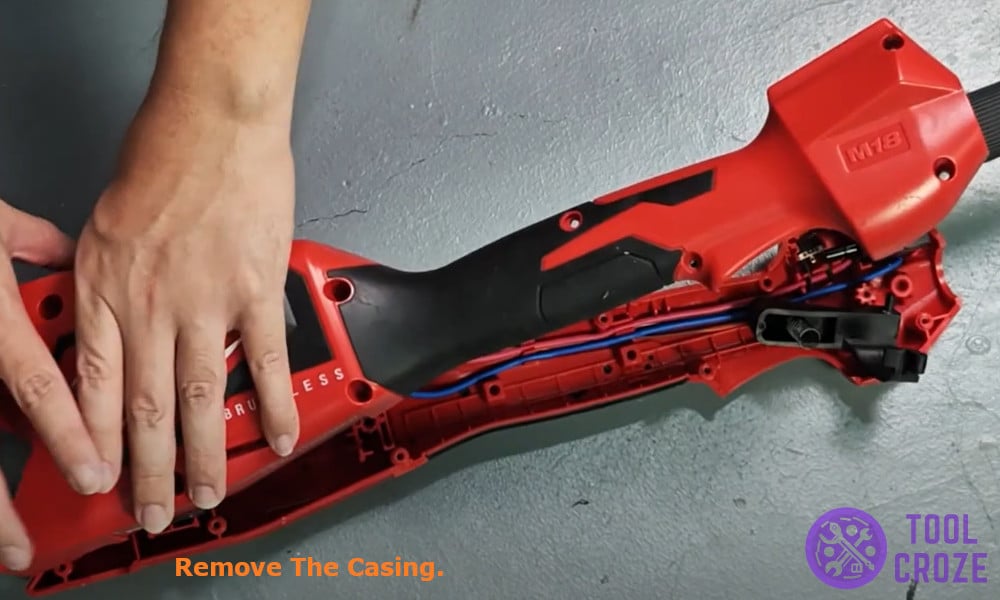
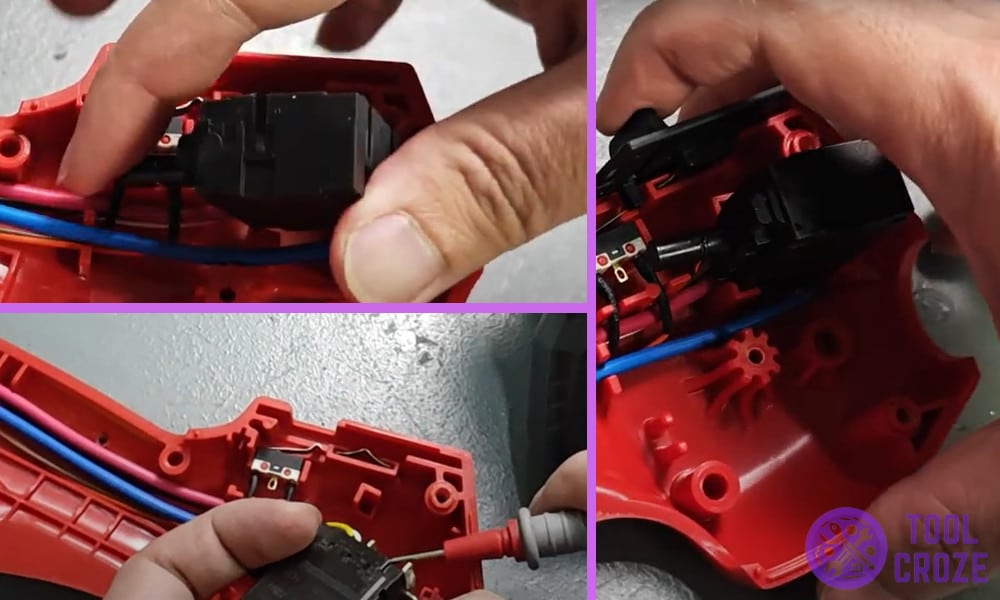
It was evident that the problem was due to faulty triggers and that I had to open the Milwaukee trimmer apart to fix things up.
So I grabbed myself a screwdriver and removed all the screws which then helped me remove the plastic casing, you can easily pull apart the casing once the screws are out.
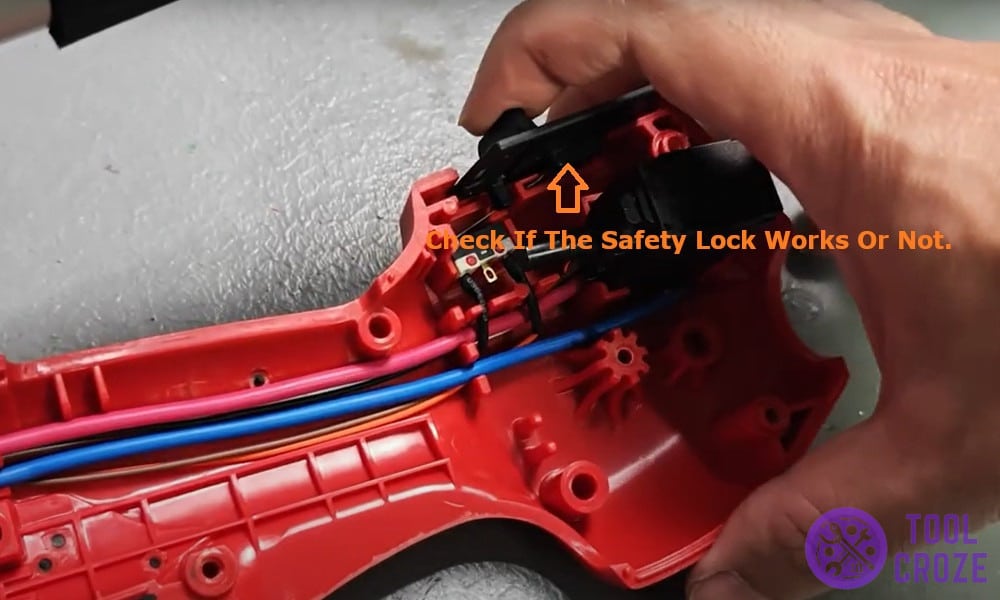
Then I checked for the safety lock, the safety lock if triggered ensures that the trigger doesn’t get pressed. If your safety lock is stuck or doesn’t work anymore, replacing it can fix the issue for you.
2. Check for Faulty Trigger
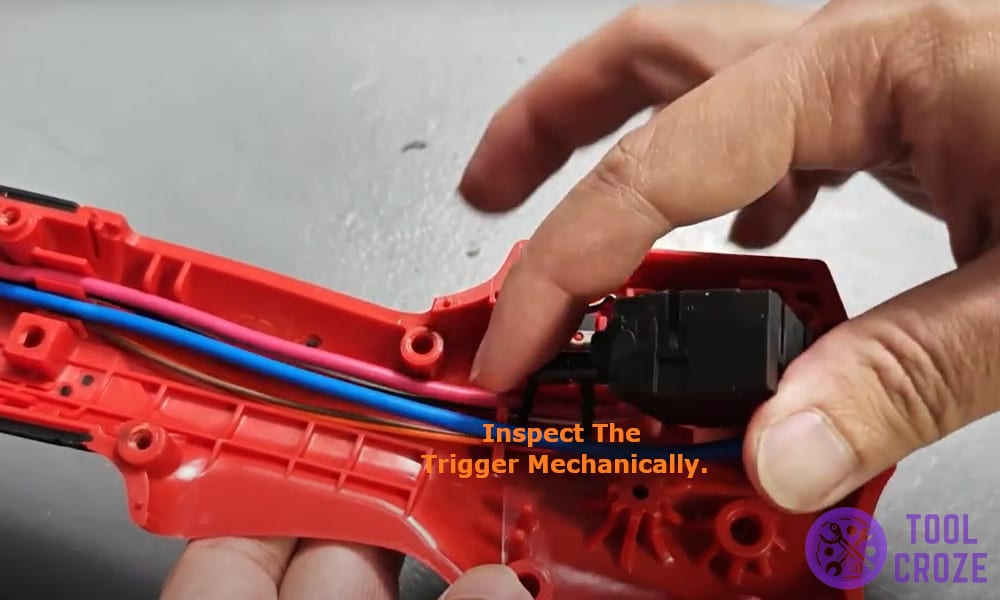
Unfortunately my safety lock worked perfectly and something more than that was going on, so I decided to manually check the switch. I was looking for any unusual clicking noise or if the button felt loose.
If you also feel that the main trigger might be the issue, replacing it with a new trigger can fix the issue for you.
3. Test the Trigger Switch Using Multimeter
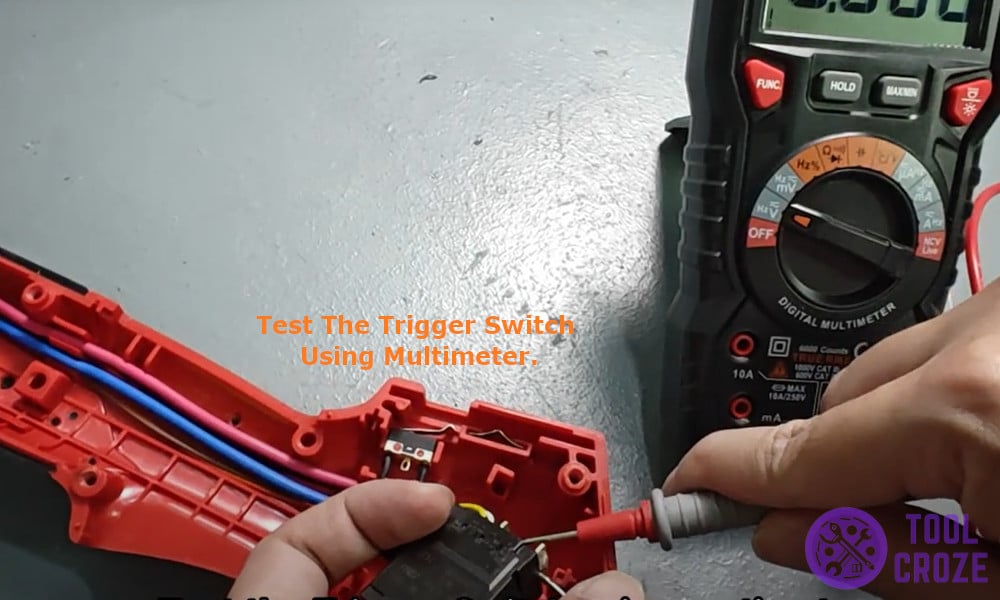
Lastly it was time to give it a deep scan, I took out my multimeter and got to work.
I placed one prong on the negative and one on the positive terminals of the switch and tested the voltage, it showed me around 18V of voltage, a range of 14V to 18V is the normal range that you can expect to see it will be equal to the battery voltage that you are using.
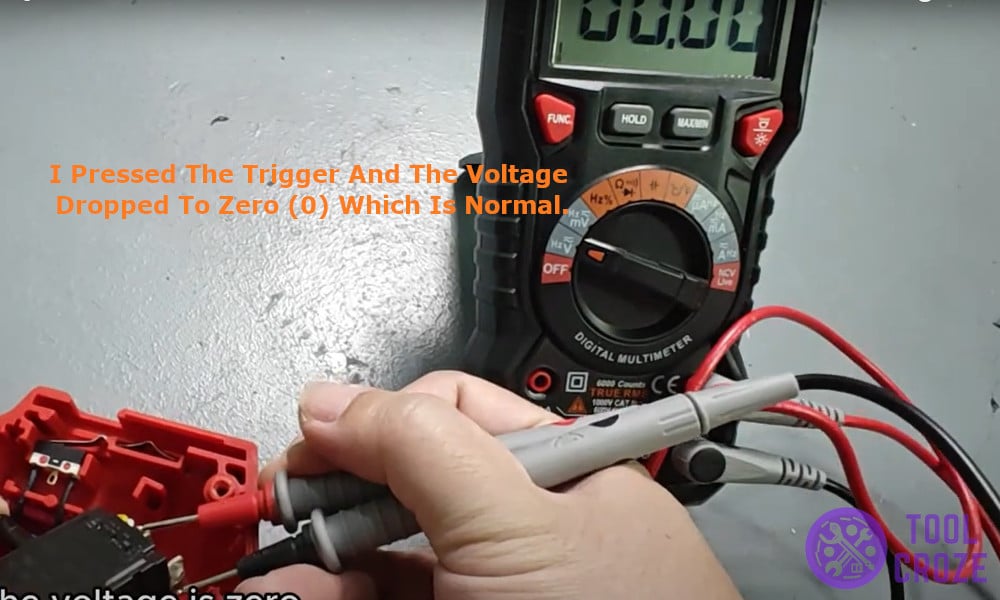
Then I pressed the trigger and the voltage dropped to zero (0) which is normal in this condition as the Milwaukee trigger uses a different type of circuit.
Replacing the trigger helped me fix this issue and in the end I got to use my Milwaukee trimmer normally.
