Earlier today, my Milwaukee M12 drill wasn’t running. That sounds normal, but the weird part was that it wasn’t running even though the light was on.
I was able to get my drill running again though. I’ll share a list of some things that helped me and others, so users can fix their Milwaukee M12 drill if the light comes on but it’s not working!
What To Do If Milwaukee M12 Drill Light Comes On But It’s Not Working
- Rest The Drill When It Overheats
Milwaukee M12 hammer drills are made for heavy-duty jobs. Users can drill through concrete, keep up consistent use for long periods of time, and not worry about the tool faltering.
Every tool has limits though, and this one is no exception. When you push the drill past those limits, that’s when things start to get bad. It can even lead to overheating.
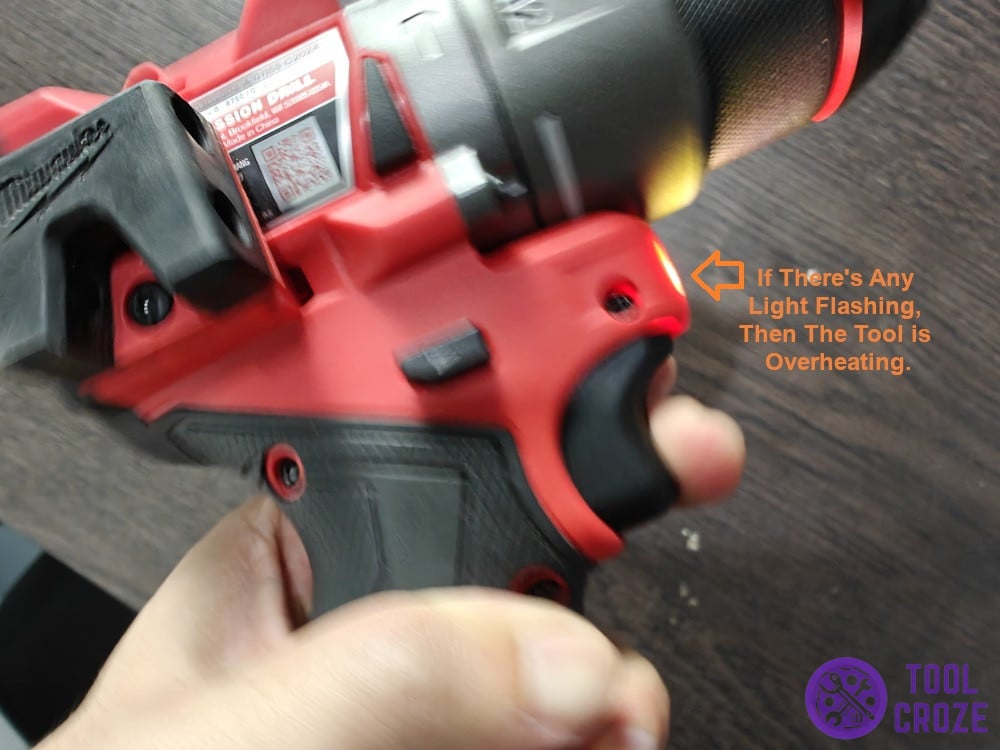
This brings me to my first suggestion. Which light comes on your Milwaukee M12 drill? Is it just the flashlight, or something else, like the indicators on the charger/battery?
If any of those lights are flashing, the tool is overheating. That’s a normal symptom of overworking the tool, using it in environments that are too hot, or using it for too long at once.
It’s very important not to overwork this tool because it can lead to another problem in which your Milwaukee M12 hammer drill is not spinning and hammering anymore.
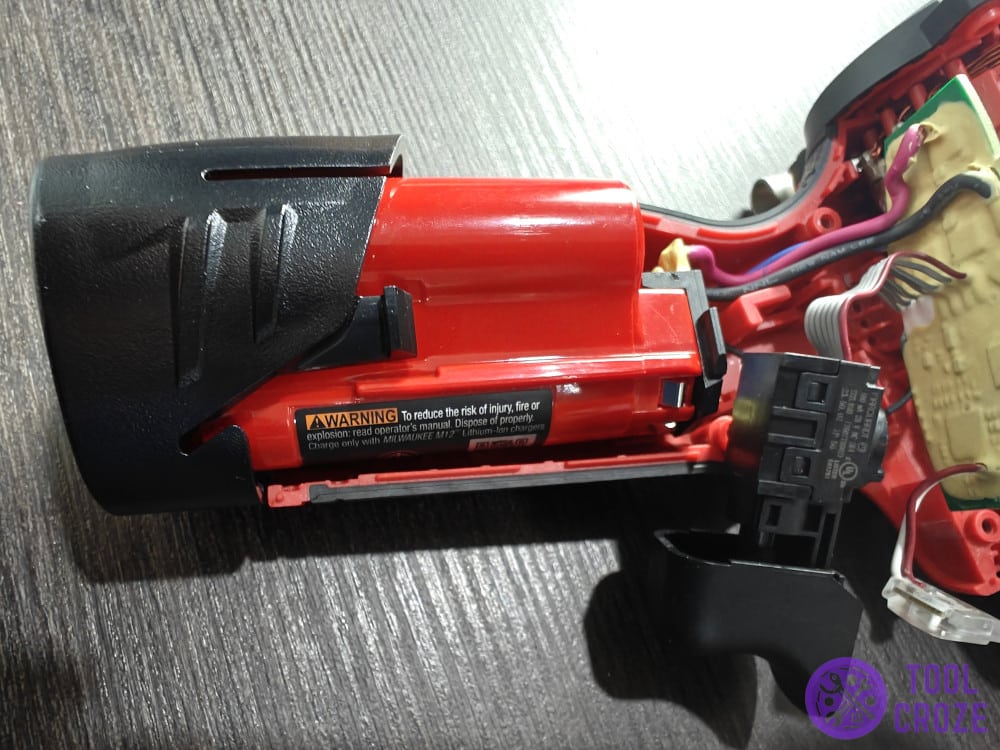
Any of the things I just said put a lot of pressure on the drill, which causes overheating. Whenever you notice that happening, I recommend setting it aside like I have in the image below.
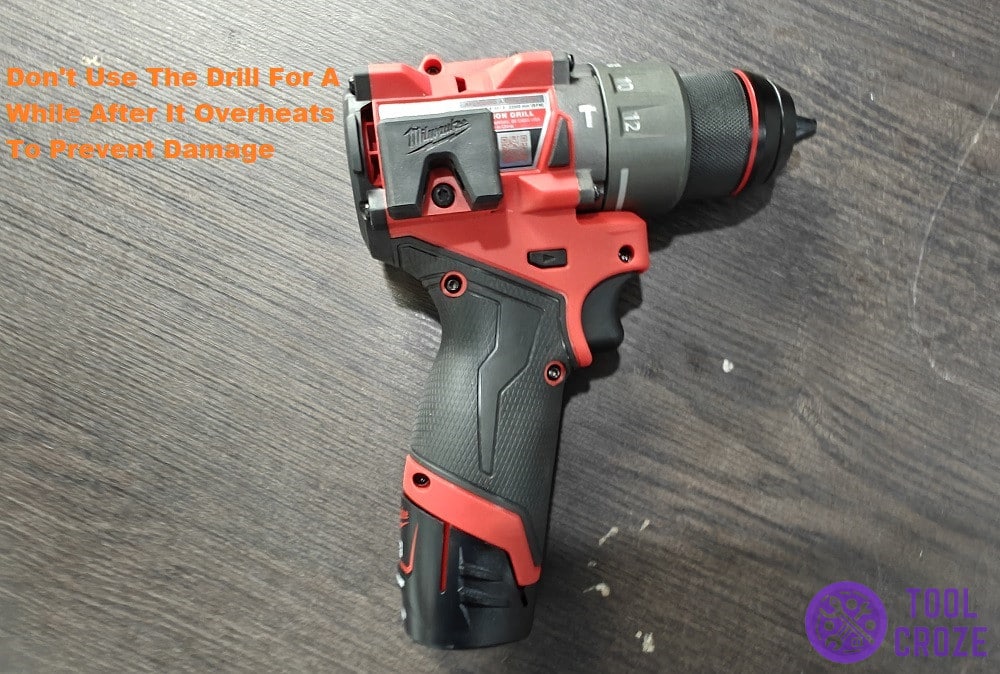
Continuing use after overheating can lead to even higher temperatures. This may eventually fry internal components or the entire tool. It’s much better to just wait a bit.
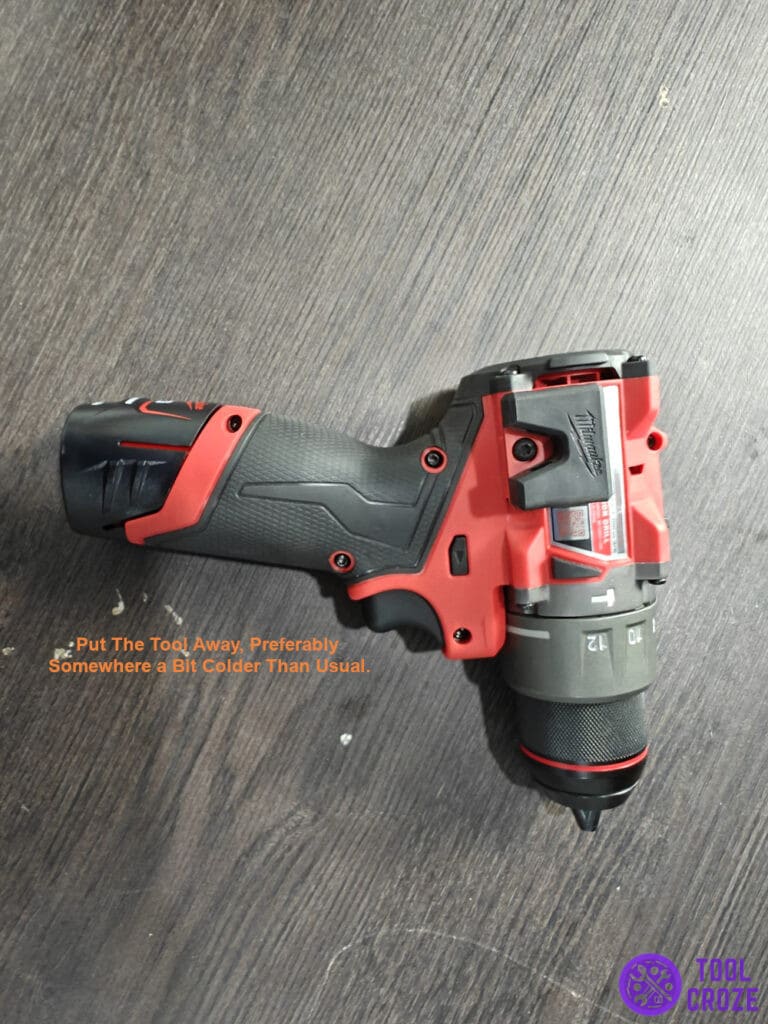
Put the tool away, preferably somewhere a bit colder than usual. After a few hours, it should be back to normal temperature. Then it’s safe to use, and should work perfectly!
Avoid overheating in the future by not doing the things I talked about earlier. Never continue to use it once it gets too hot, never keep it in hot places, and take care of general things like that.
You need to know how to take good care of your Milwaukee M12 drill because it’s one of the best drills available today. To prove this point I have made a comparison video about it which you can watch below.
In my video, I compared a Milwaukee M12 drill to a Black and Decker drill. I compared their batteries, chucks, LED lights, screw/drill bit attachments and hangers and price.
A problem due to overheating is just one of the common problems which you can encounter with your Milwaukee M12 percussion drill. I have a short video below about the other common problems and what you can do to fix them.
First is a motor related problem and you can fix this by inspecting the motor and voltage supply. Next is a speed control problem. To fix this, make sure the speed control latch is working.
You can also experience problems with the chuck, bearing and torque settings. Lastly, a jammed trigger/forward/reverse button is also a common problem, so make sure there’s no obstruction around them.
- What’s Behind The Trigger?
We know the device has power because the light is on. So what’s stopping it from working despite that? Well, if you’re certain it isn’t overheating, it may be jamming around the trigger.
Even though the entire Milwaukee M12 drill is functional and operational, it can’t work without input from the user. Well, the user has no way to send those inputs without a trigger.
After all, how can someone give inputs if the trigger isn’t pressing? My point is, that even though everything seems fine, the drill might not be working because of jamming.
All that dust and debris that comes off the surface as a result of working with a drill can sometimes find its way inside the drill itself. It may block the trigger if it burrows its way into the wrong place.
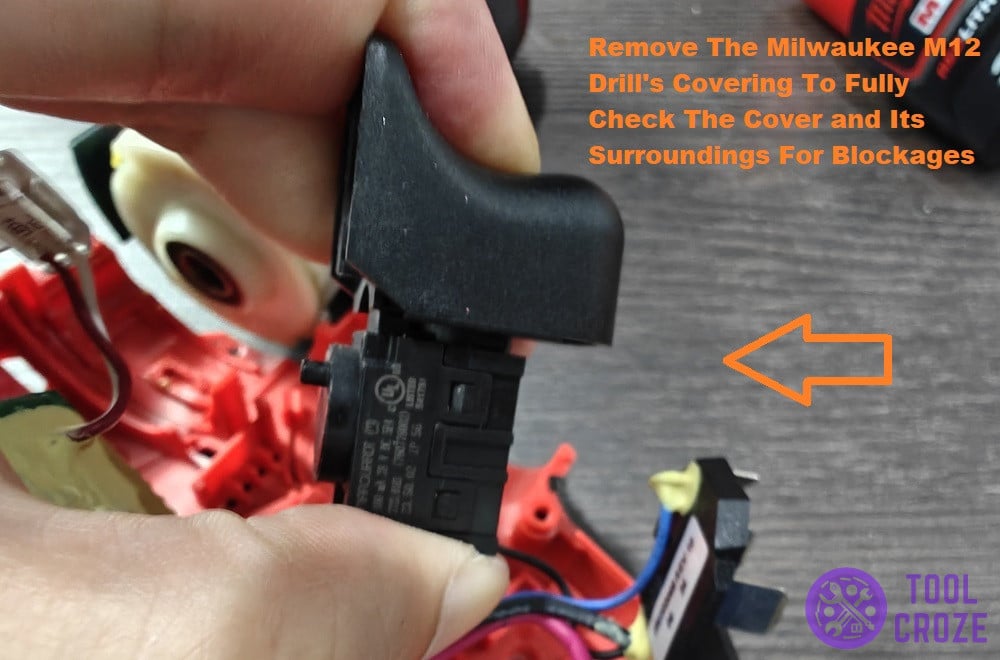
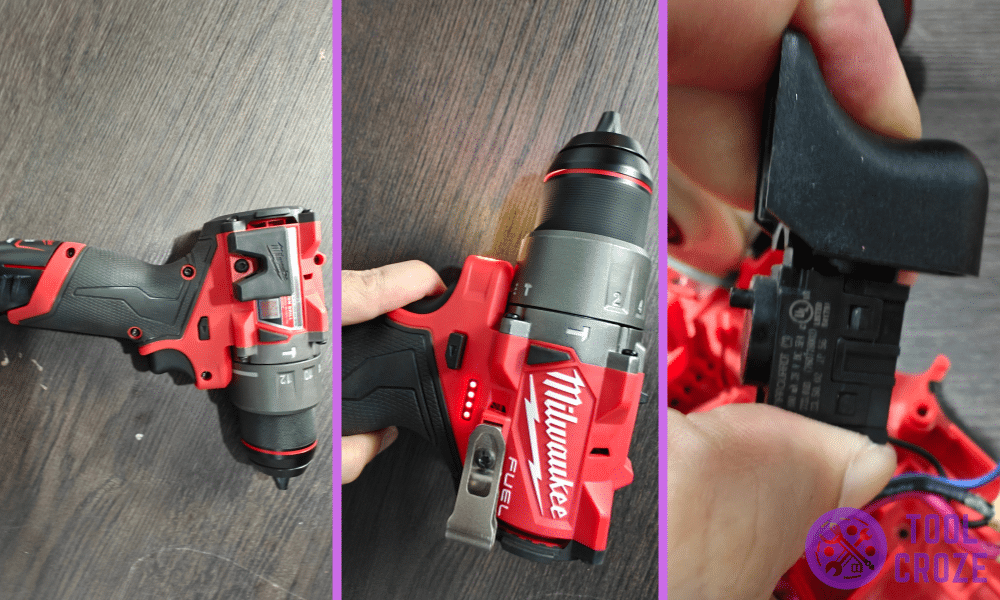
The only way to confirm this is by getting under the covers of your Milwaukee M12 drill like I’m doing in the picture above! Once you remove the covers, get a hold of the trigger.
Inspect the area directly behind it for debris that may be blocking a full press. Also, check the springs around it to see if any of them aren’t moving back fully.
That stops the trigger from pressing fully. It’s easy to find after opening the covers though. After that, it’s a case of cleaning or replacing faulty springs, and then the trigger presses all the way!
- Weak/Faulty Battery Pack
While this isn’t very likely, I have another theory if the other two things weren’t of help. Weak batteries can be the answer to why these types of things can happen.
I’m sure you know how batteries get weaker with age. Well, when did you get your Milwaukee M12 drill’s battery? It might be that it’s much weaker now.
My theory is that the battery could be in a state where it has just enough power to power the light, but nothing else. After all, powering just a light is a lot easier.
The chances of this being the case are likelier if the light comes on, but then turns back off a bit after you try to use the drill. There is one way to confirm it entirely.
You’ll know if your Milwaukee M12 battery is already faulty if you see a flashing red and green light on the charger when you charge it. I have a video which shows how you can fix this problem by resetting the battery.
You need another similar healthy battery here. Just connect the positive terminal and negative terminals of the two batteries using two wires.
After around 15 seconds disconnect the two batteries. Try to recharge the faulty battery again and it should now only showing solid red light on the charger (i.e., it’s charging normally).
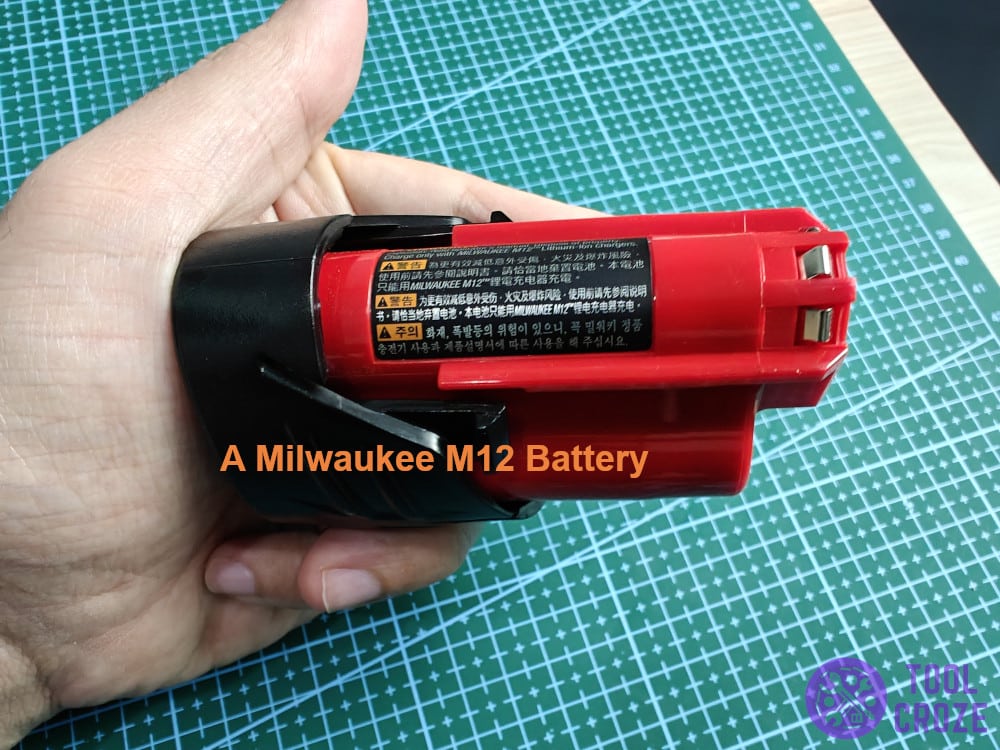
As we’ve seen in the video above, it’s very important to know the different meanings of the indicator lights on a Milwaukee M12 battery. I have another video below which discusses their meanings.
To summarize, a solid red means the battery is charging, a solid green means it’s already fully charged, and as mentioned earlier a flashing red and green means a bad battery, while a flashing red means a hot/cold relay.
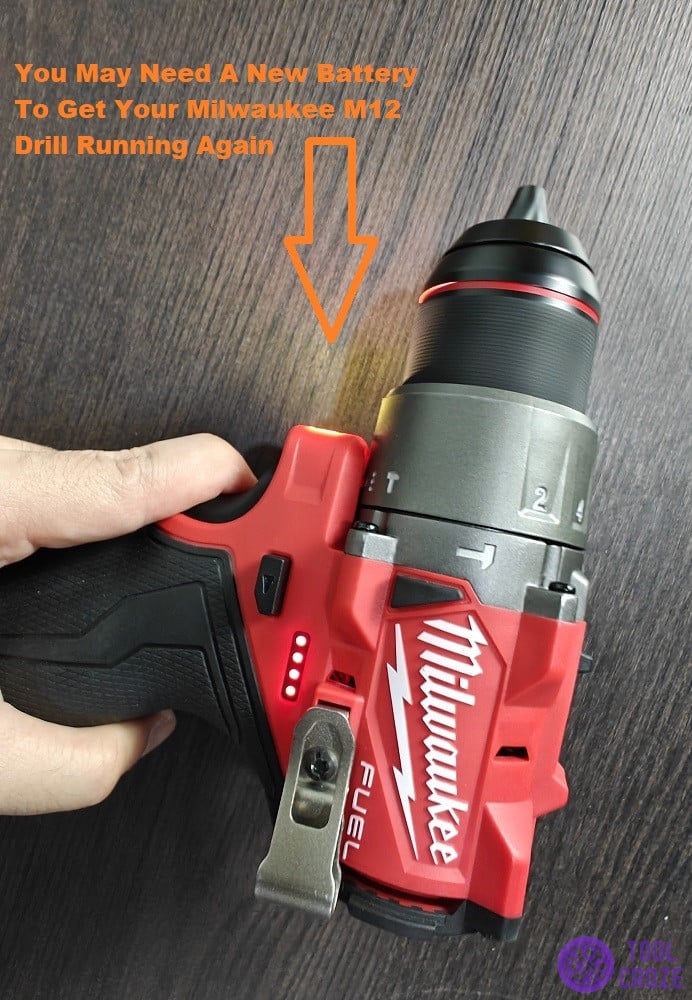
To put the final nail in the coffin, I suggest getting another battery that works with the Milwaukee M12 drill. Preferably, one that’s healthy and relatively new.
If you don’t have a spare you can use, a local tool shop might have one you can test out without purchasing. Either way, try that battery with the tool.
Depending on whether or not that gets the drill to work again without issues, you’ll know if the battery was to blame and if you need a replacement for it!
