I have had my Greenworks trimmer for more than a year now, it has always been reliable for keeping the yard in proper shape.
But the other day the trimmer just stopped working, the battery was fully charged but pulling the trigger won’t spin the blades anymore.
By the way, before you continue reading this article, you may want to watch first the short YouTube video I’ve made about this topic. You can watch it below.
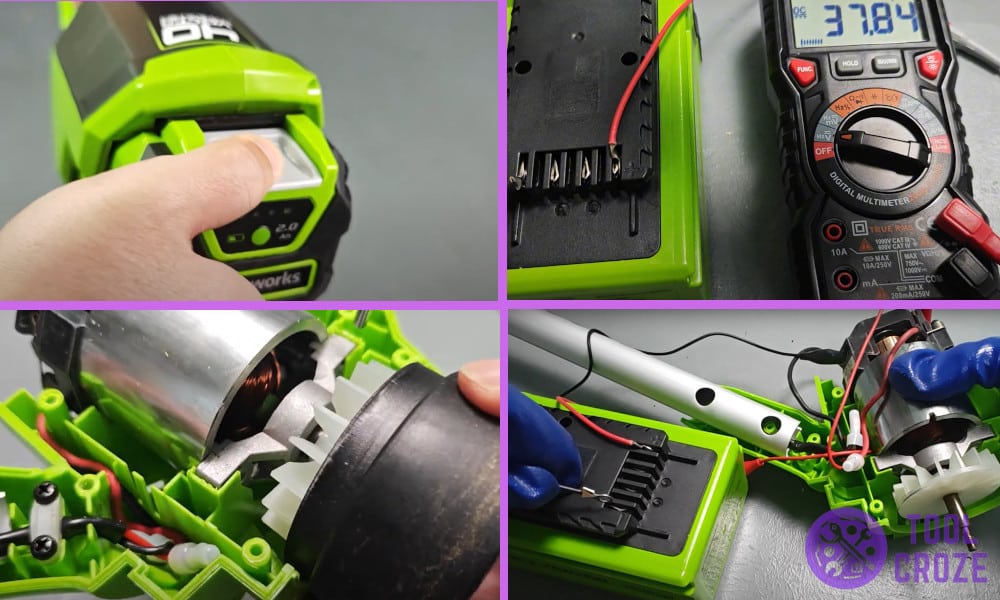
On the video, I showed how I disassembled the head to check the motor. Then, I tested it to see if it’s still working. After I confirmed that it’s not working anymore I ordered a new one and replaced it.
Greenworks Trimmer Motor Replacement & Troubleshoot: A Detailed Guide
I figured it must be a battery or a motor issue, so I decided to troubleshoot and fix the problem myself. Here’s how I did it, hopefully it helps you figure out the issue if you’re stuck in a similar situation.
1. Remove and check the battery
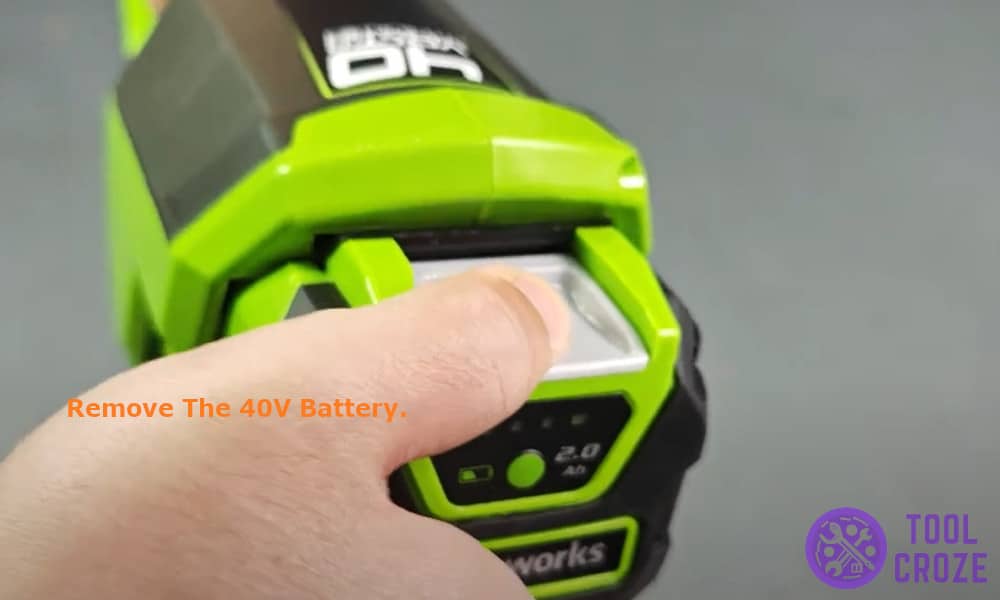
The first thing I did was to remove the 40V battery, it is always a safe place to start while working with blades to avoid accidentally nicking myself. Once the battery was out, I needed to check if it was working alright.
I did that using a multimeter, I connected the red wire to the positive terminal and black wire to the negative terminal of the battery. Make sure you follow the little ‘+’ and ‘-’ symbols on the battery to not get it wrong.
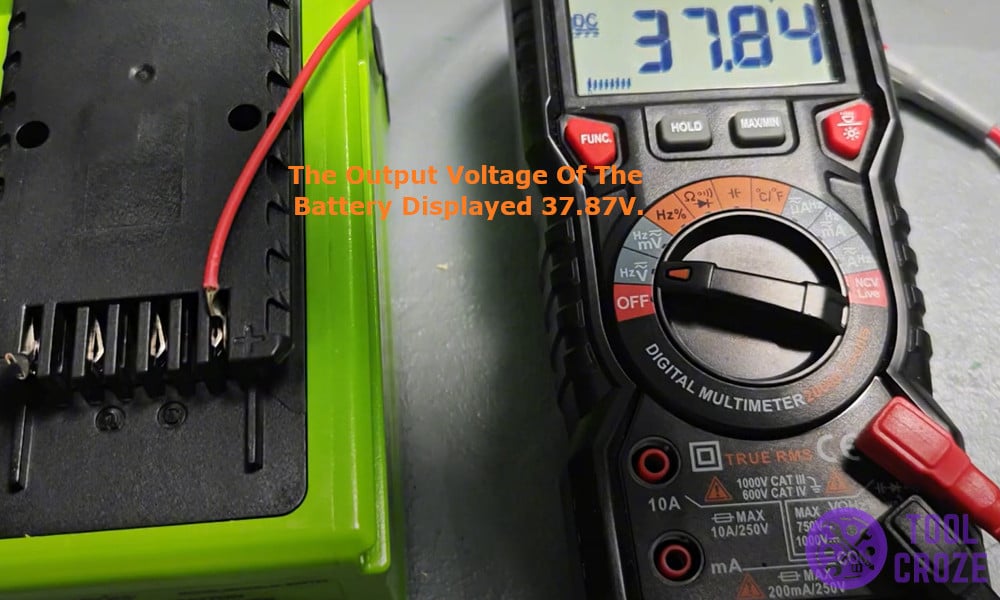
After connecting the wires, the output voltage of the battery displayed 37.87V, well within the 37- 40V range, this meant the battery is working well and it might be the motor that is at fault.
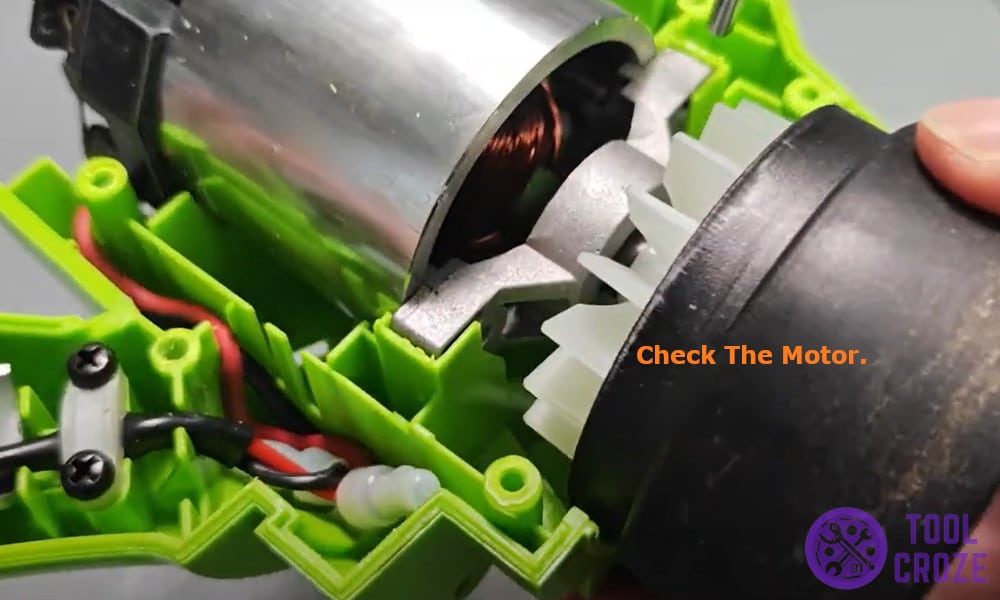
2. Check the motor
Once I was sure that the battery wasn’t at fault, I got to removing the motor to check that too.
To disassemble the motor, the first step was to remove the black trimmer head, for that I removed the two screws and pushed my screwdriver into the narrow gap between the body and the head to shimmy it open.
From there, I removed the rest of the screws and again used the narrow part of the screwdriver to pry it open and reveal the battery. It was a pretty easy job to disassemble it, just a tip, make sure you keep an eye on those little screws.
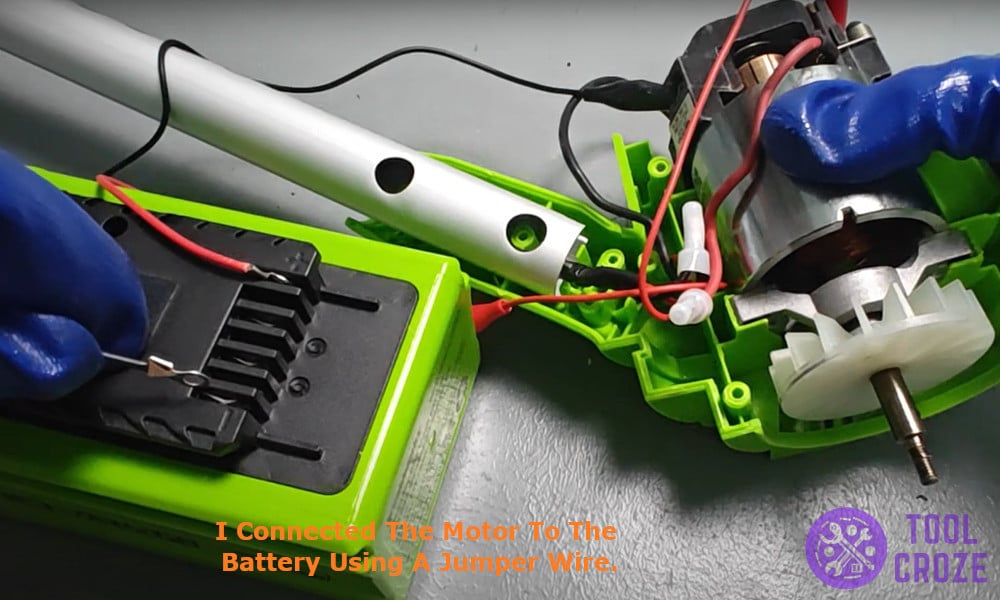
Next, I connected the motor to the battery using the jumper wire to check if it’s working and turns out the motor wasn’t spinning and it was indeed the battery that was the issue.
3. Replace and test the motor
After singling out the issue with the motor, the next step was to replace it to get the trimmer working again.
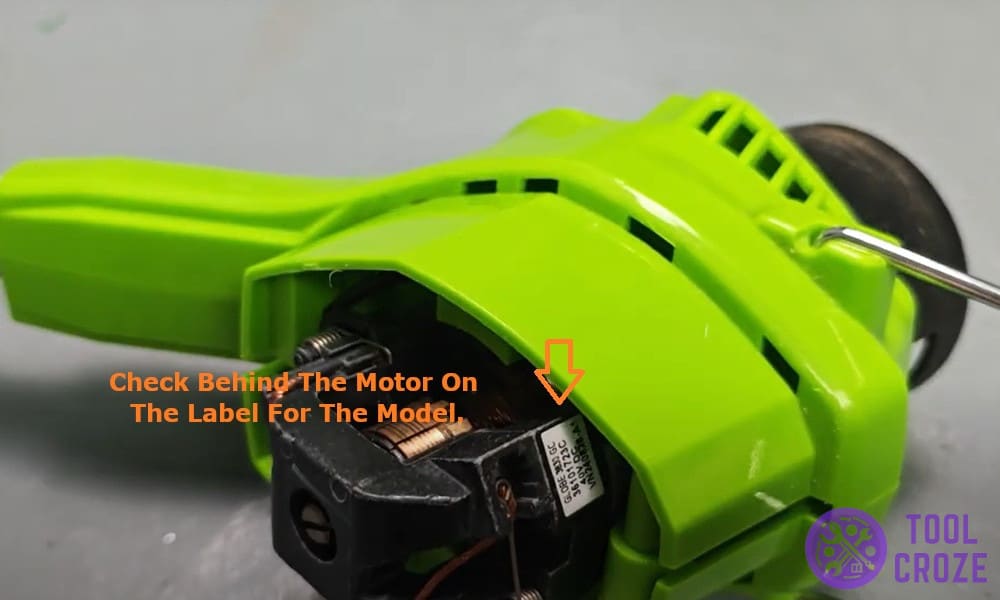
I checked behind the motor on the label for the model and ordered a replacement, which arrived today and so I got to swapping the old one with the new, just putting the trimmer back together one screw at a time.
I pressed the trigger to check if everything was working and as expected, the blades spun and the trimmer was all set to handle my overgrown yard again.
