I have been using Black & Decker devices around my house and garage for many years now, it has been a trusted brand among me and my handy friends.
It is our go-to company for a few reasons – its reliability, sleek design, functionality, and obviously its battery life.
I mostly use the appliances to keep my lawn in shape and with a 40V battery, it is a great choice as it can work for long rounds without having to charge it again and again.
I never really had any issue with the battery or charger until a few days ago when I plugged the battery in and the charger started showing a blinking red light instead of charging normally.
But before you continue reading this article, you may first watch the short video I made about this topic. You can watch it below.
On the video, I reset the bad battery using a good one. I connected them for around around 15 seconds then remove. Then I try to charge the battery again and it’s now charging fine.
How to Fix Black and Decker 36V/40V Battery Not Charging
That’s when I knew something was off, so here’s how I troubleshooted and fixed the issue.
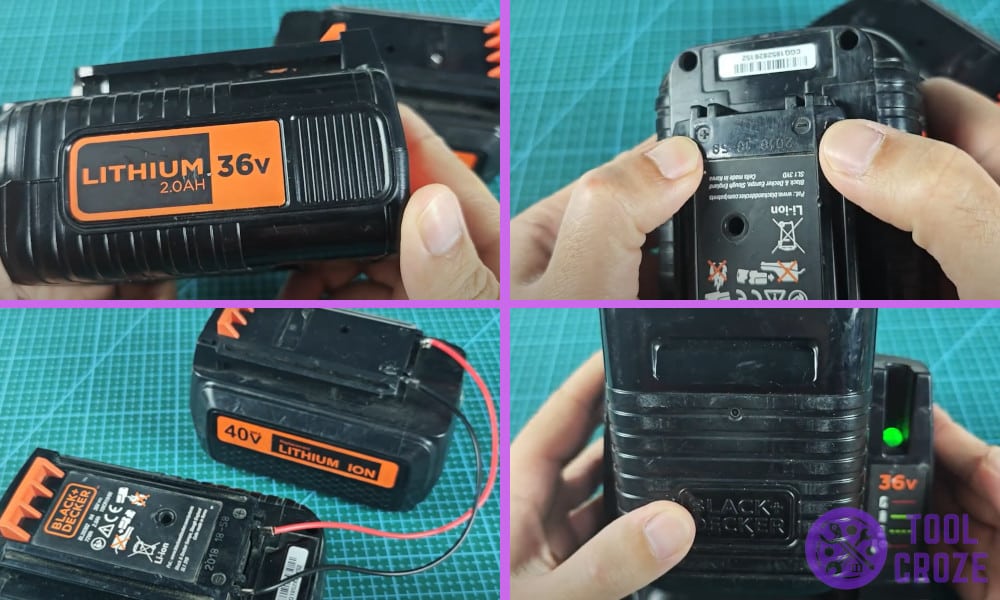
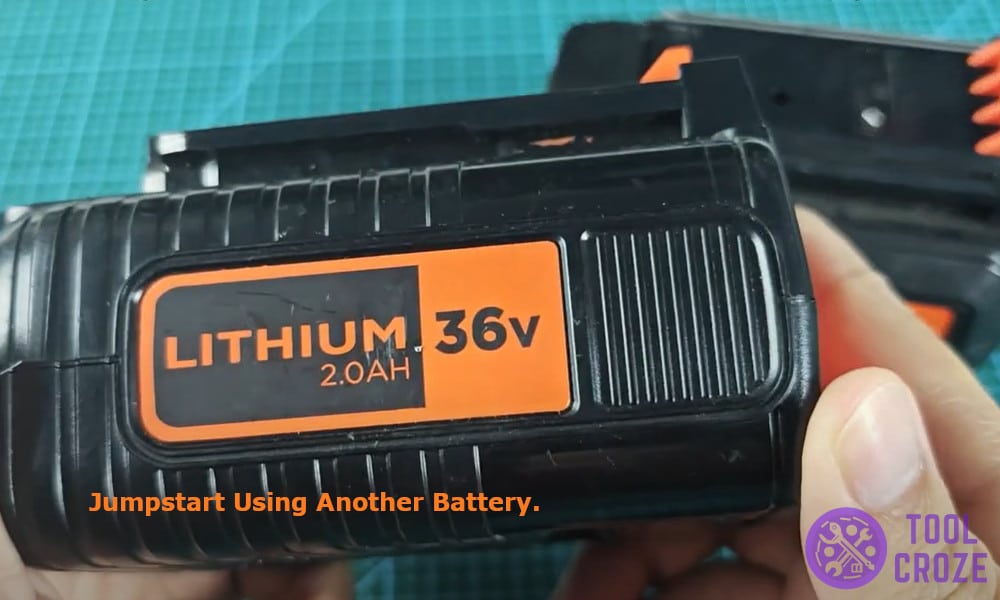
Jumpstart using another battery
When the charger was not able to charge the battery I figured at first that it might be a power issue which sometimes occurs but the charger still kept blinking a red light even when I changed the socket.
So this is the fix that I came up with- resetting the battery using a fresh working one. Sometimes, when left uncharged for a long time, the battery drains to a voltage lower than the limit and then it becomes difficult to pick that charge up.
Although, that does mean that the battery is dead, but you can try this fix before tossing it out.
To reset and jump start the battery, I took a good condition battery and tested it on the charger, it showed a solid red light meaning that the battery was charged.
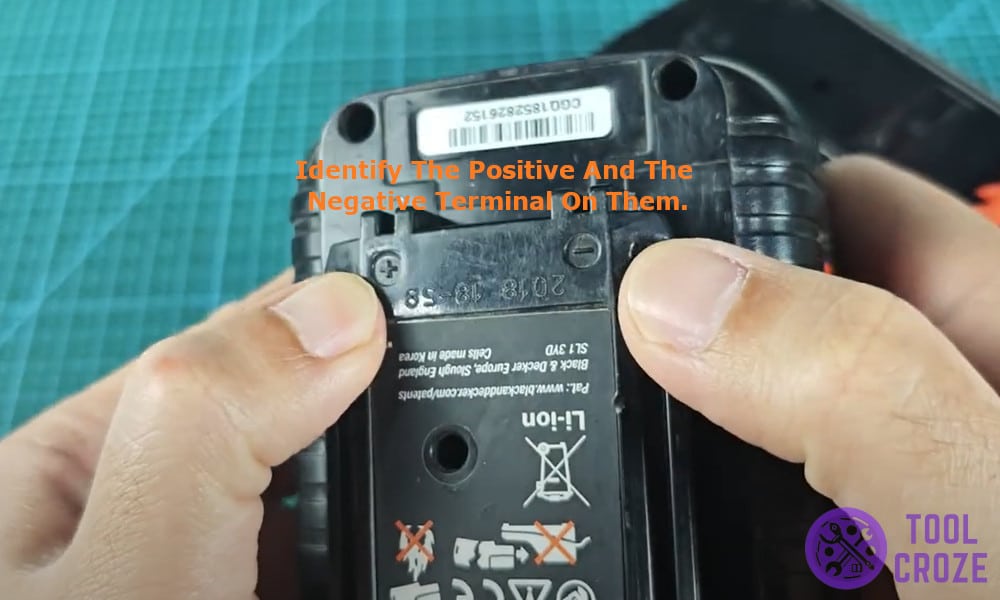
Once confirmed, I inspected both the batteries to identify the positive and the negative terminal on them.
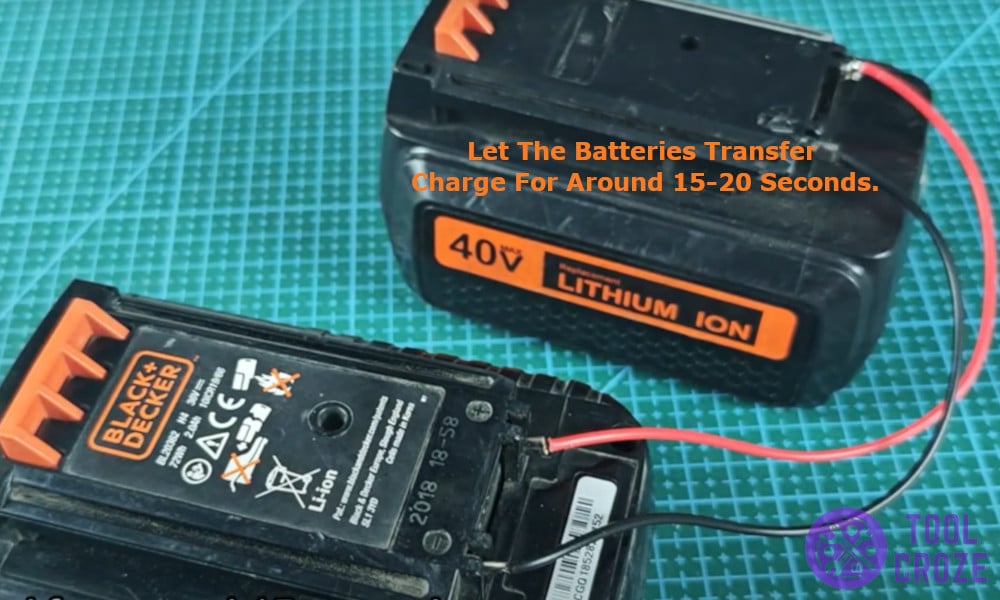
Next I used a pair of jumper wires and connected the two batteries, positive terminal to positive and negative terminal to negative, and let the batteries transfer charge for around 15-20 seconds.
Remember to keep a very close eye on the batteries and the wires, and not let them short circuit, manual connections like these can be dangerous as a spark can occur. Just make sure you disconnect the wires immediately if it starts melting or smoking.

After 15-20 seconds, I disconnected the batteries and plugged it back into the charger. This time, the charger was blinking a green light meaning the battery had started charging.
This is how I fixed my drained battery issue, I hope it helps if you are facing a similar problem with your battery. Just remember to keep a plier at hand to safely disconnect the two batteries if they spark and you’re good to go.
